


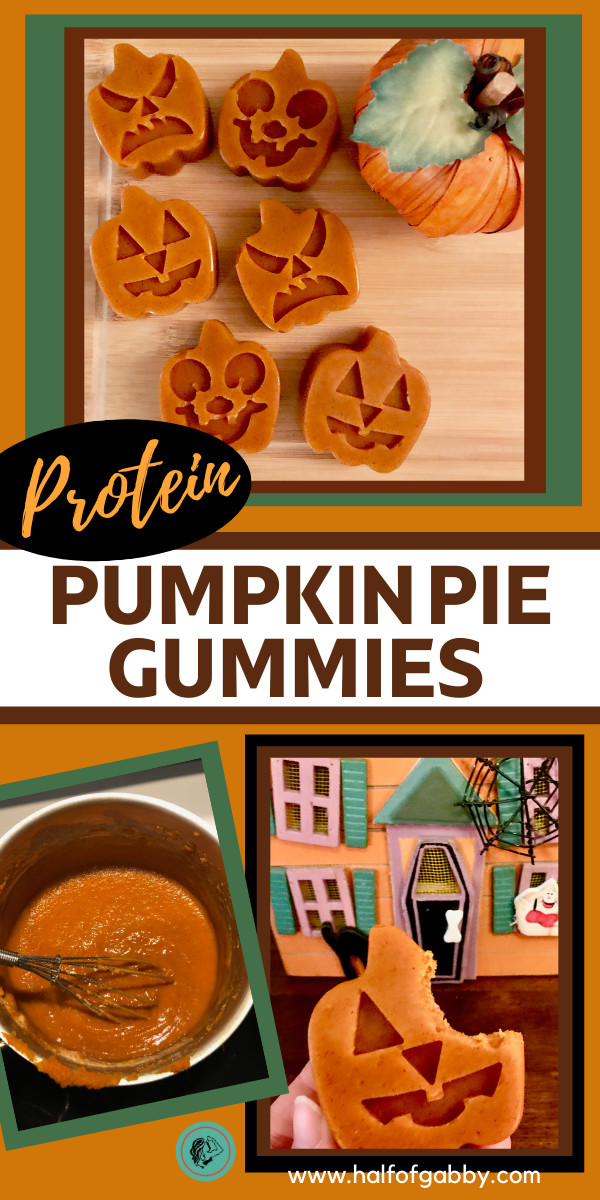
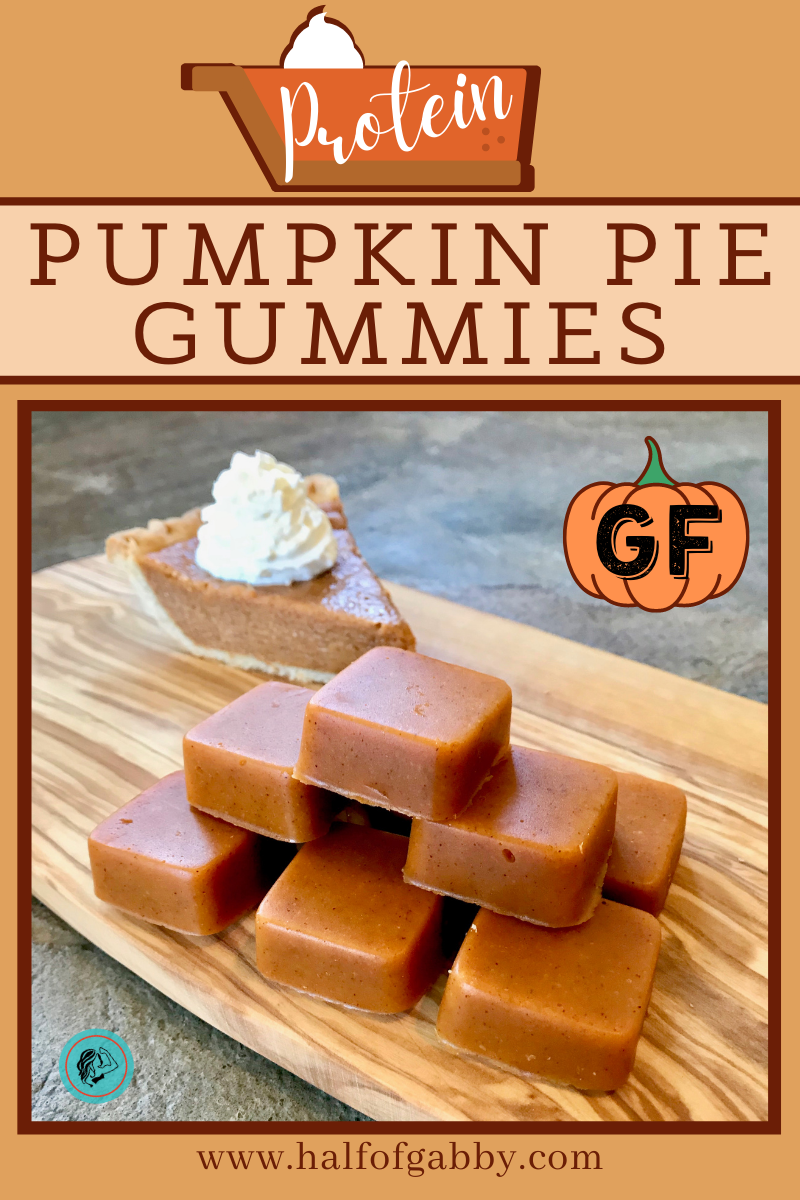
Pumpkin Pie Protein Gummies
GLUTEN-FREE | HIGH PROTEIN | LOW FAT | REFINED SUGAR-FREE
Four years ago I started making protein gummies for my daughters. They loved the gummy fruit snacks in the stores, but I didn’t love the ingredients. They’re basically just candy and even when they claim to be made with real fruit, it’s really just fruit juice… which is really just sugar. So I started making my own fruit gummies. My gummies are in fact made with real fruit… actual fruit.
What surprised me the most was that my girls actually loved them. I thought for sure they were going to give me a hard time about them not being the fruit snacks they were used to. I was fully expecting them to whine and moan and give me an ass ache over the switch. I was pleasantly shocked that they loved my healthy gummy version even better. Another surprise that hit me upside the head was how much I loved the protein gummies. Honestly, I think I like them even more than my kids. I got my husband and even my mom hooked on these suckers. I’m tellin’ you, they are really good!
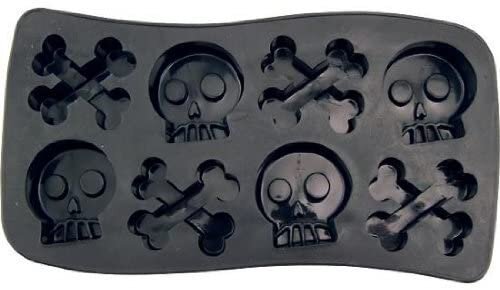
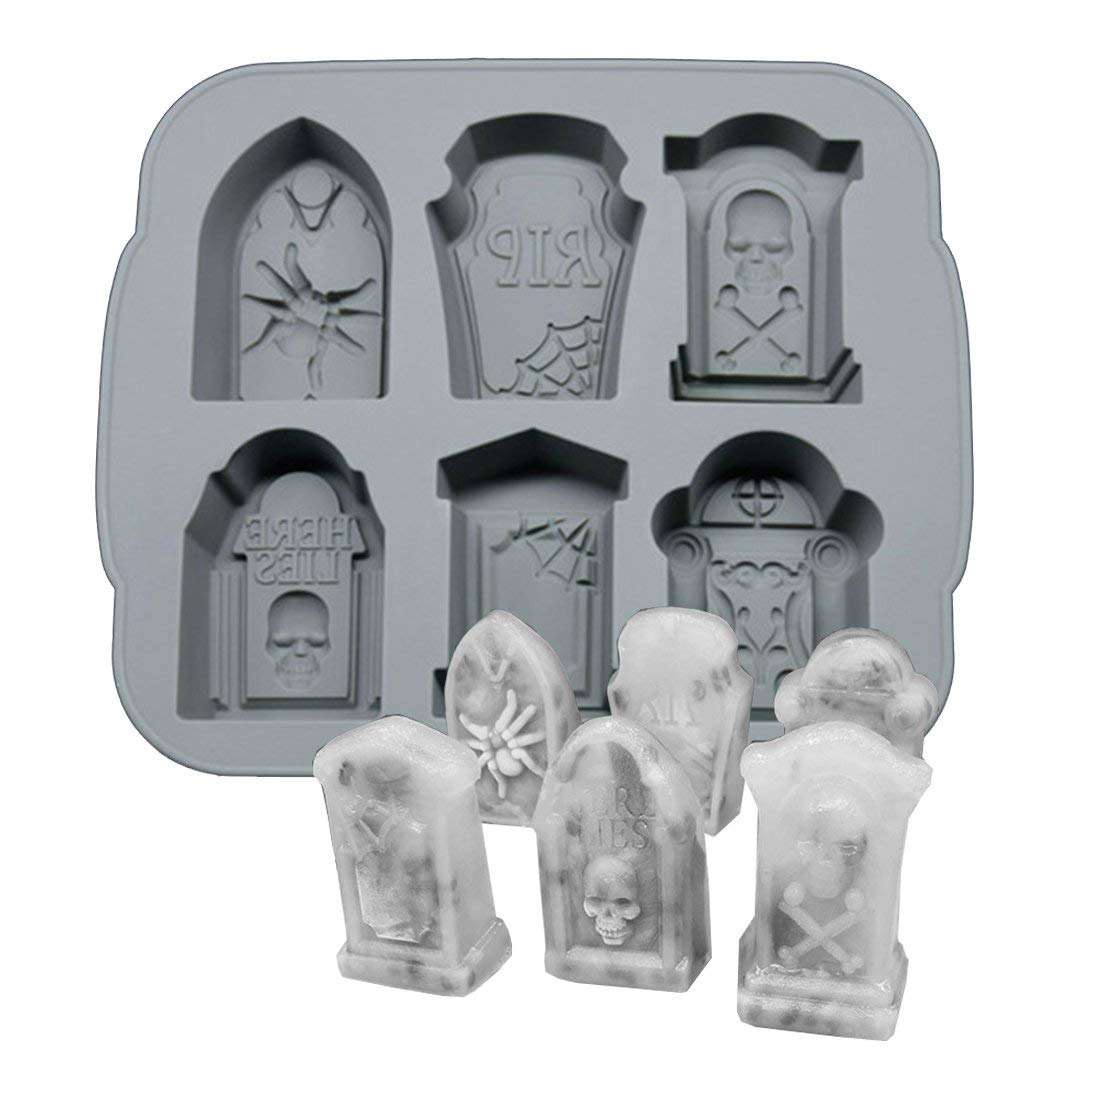
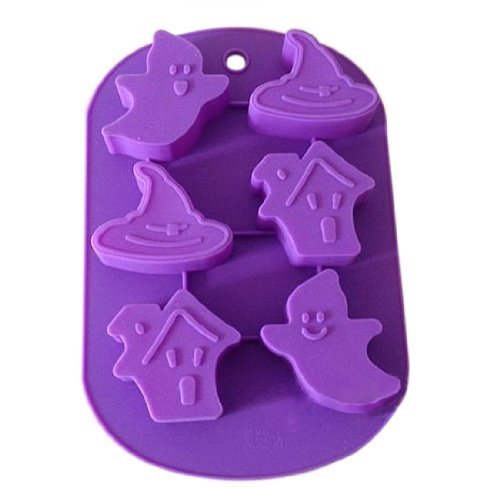
Before I give you the recipe for the Pumpkin Pie Protein Gummies, I want to make sure you know there’s many different kinds of protein gummies you can make. It’s Halloween time right now, so this week I made some protein fruit gummies with my Halloween silicone molds. But these healthy treats are delicious to make all year round!
Some of the favorite gummy flavors in my house are strawberry, blueberry, and banana (as seen below). It’s hard to pick a favorite when they all taste so amazing.
Once fall comes around, I start craving pumpkin spice everything. Soooo I got to thinking (this is usually a dangerous thing for me)… ‘I should make pumpkin pie gummies!’ It took me a good many batches before I got it just right, but OMG it was so worth it!
These healthy gummies are just what I needed for my pumpkin pie cravings! I love them so much! Even my husband likes them and he’s not a big fan of pumpkin anything (I know, total freakin’ weirdo). But he is a massive fan of gummies!

To make these adorable Jack O’Lantern gummies I used this silicone mold.

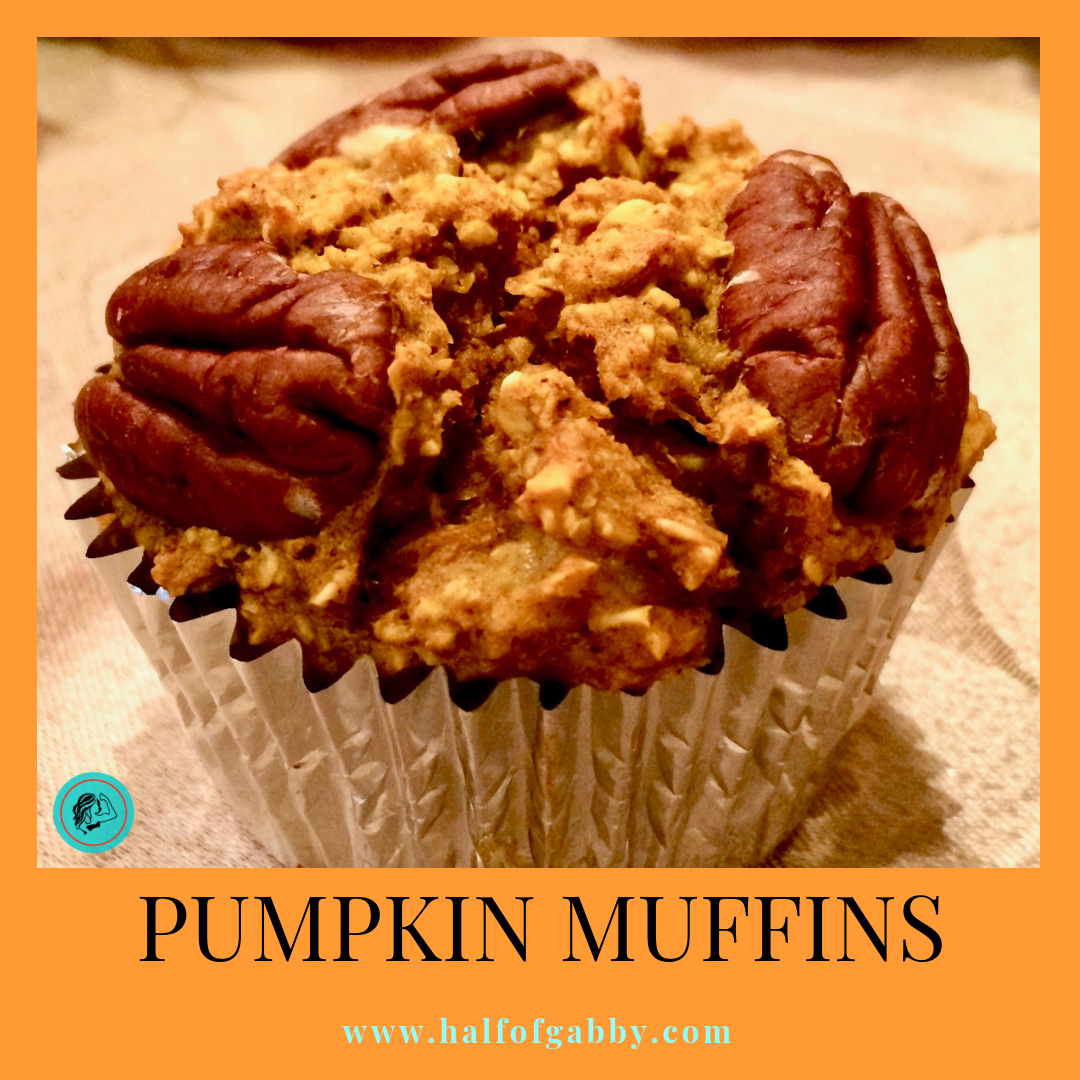
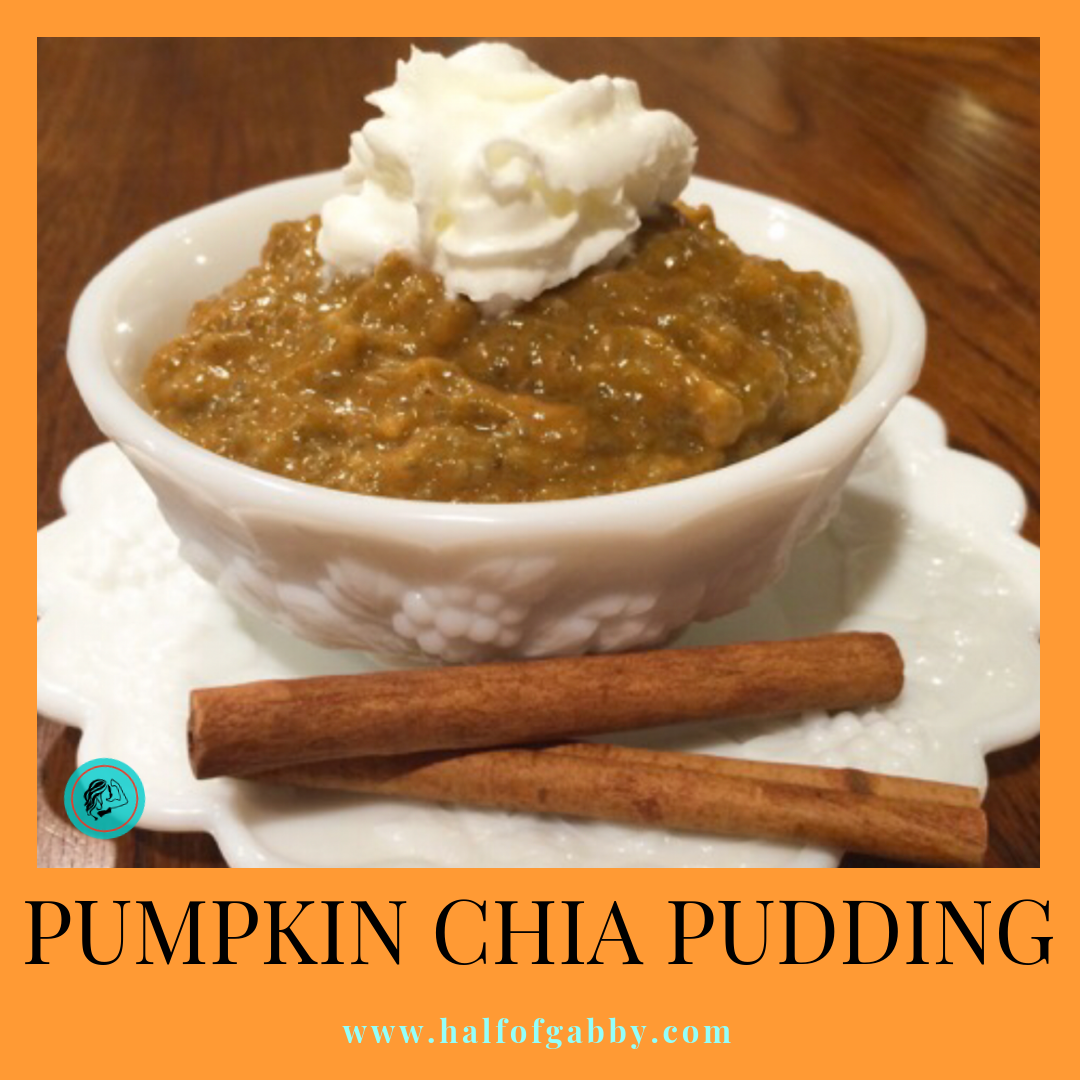
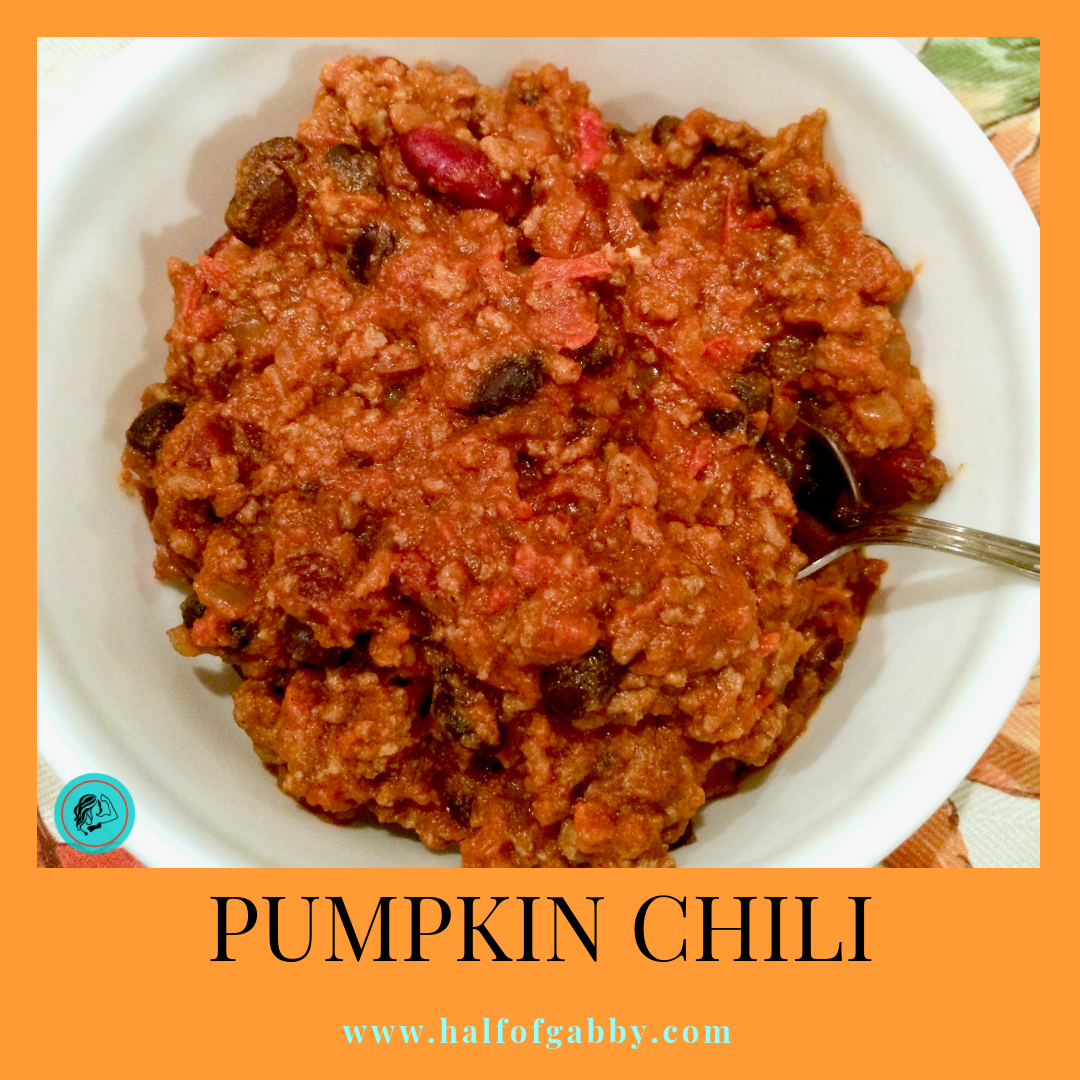
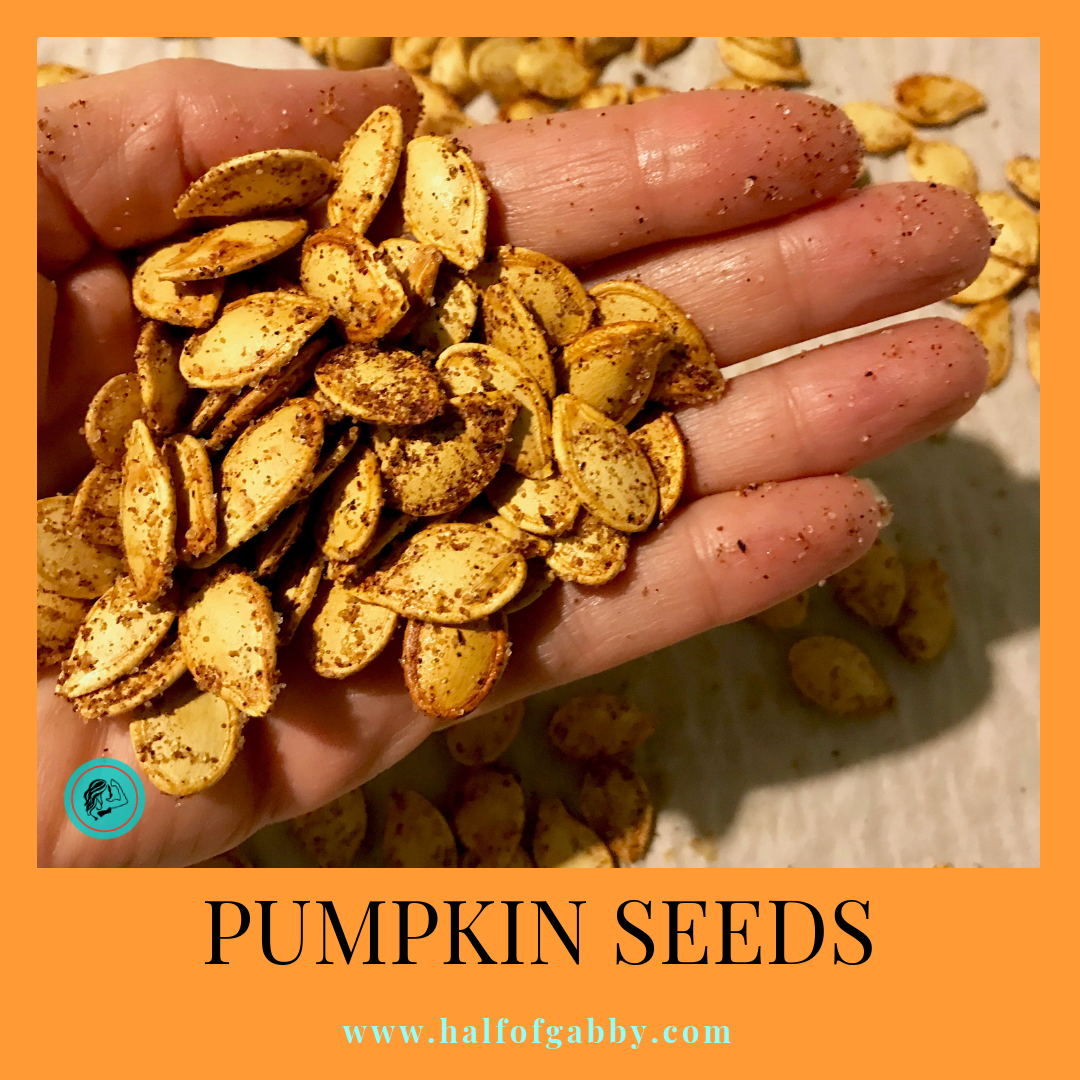
If you’re a pumpkin spice freak like me, you will love these healthy recipes too:
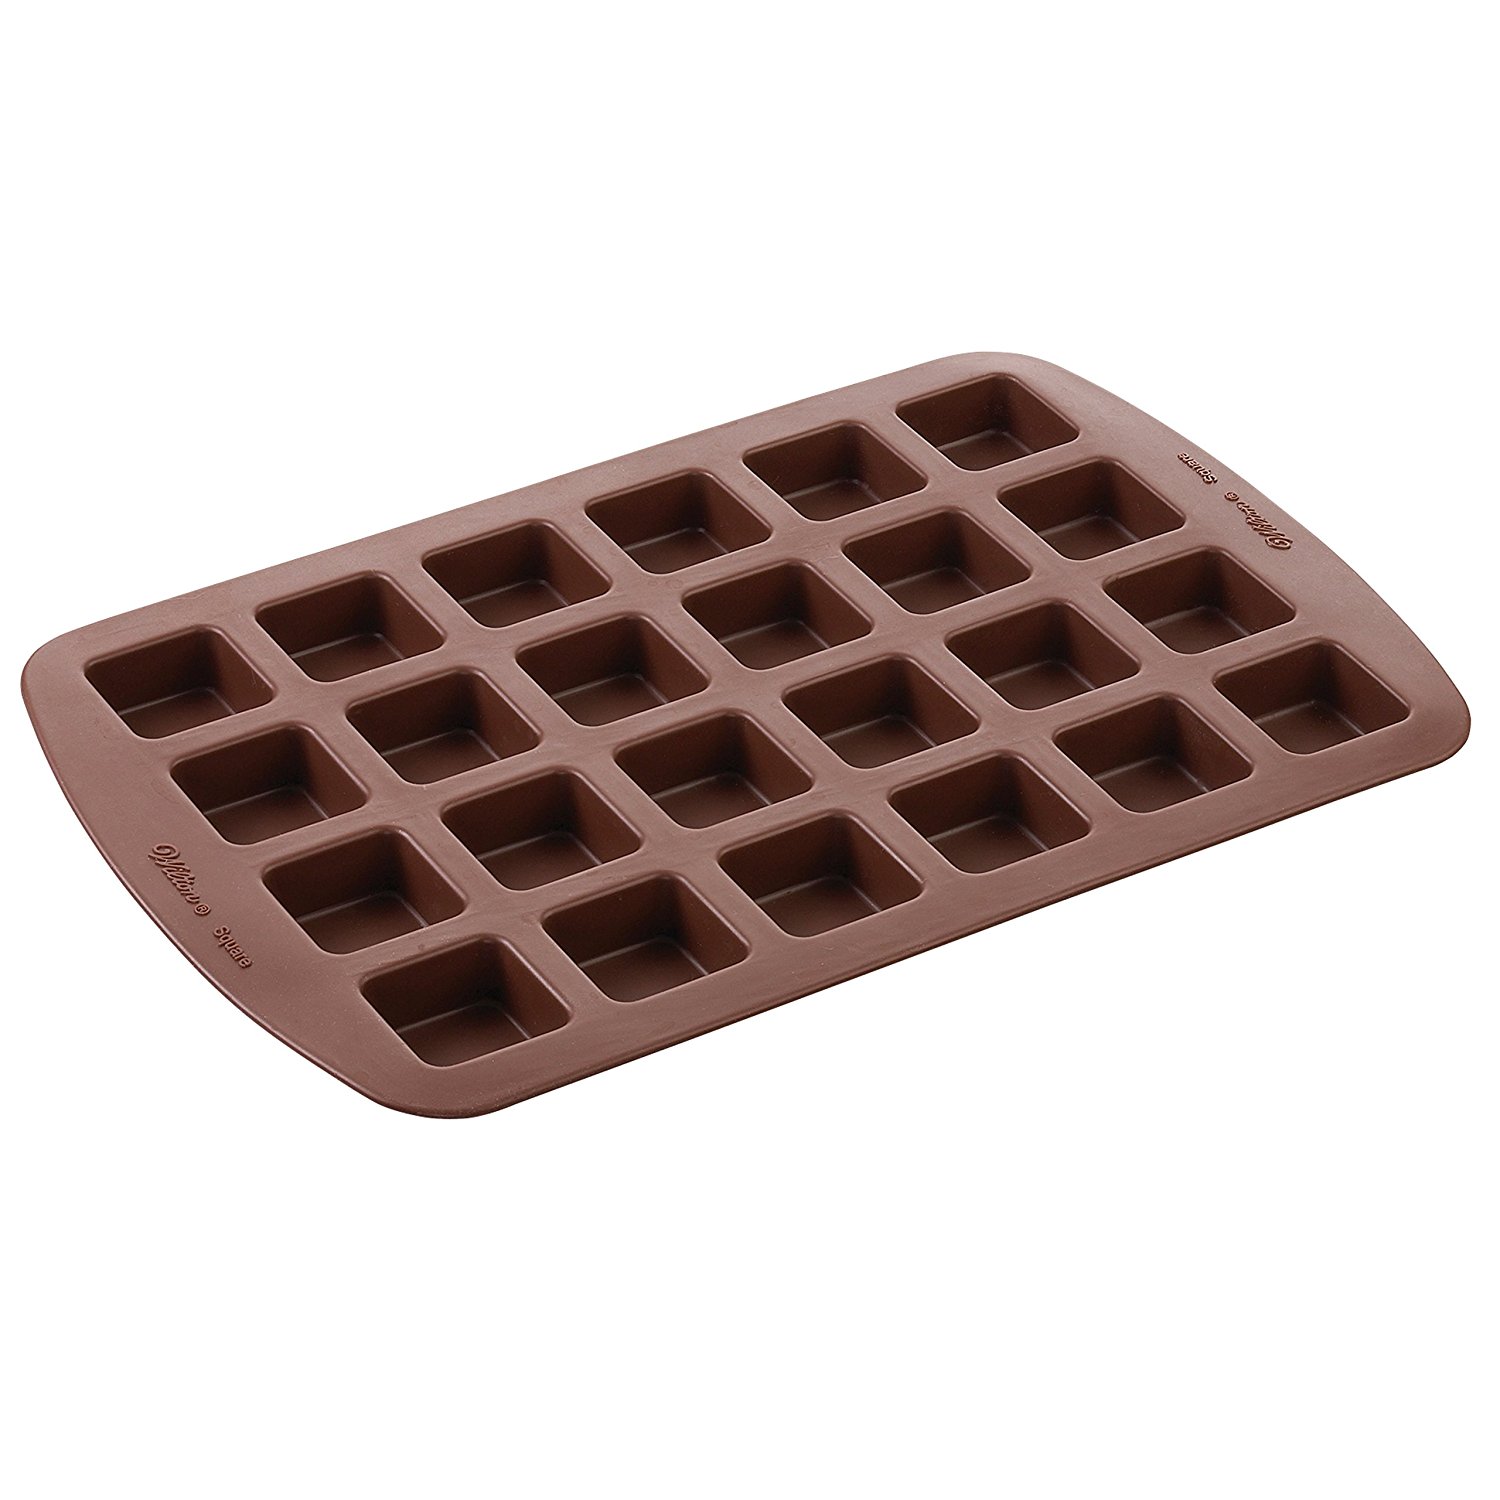
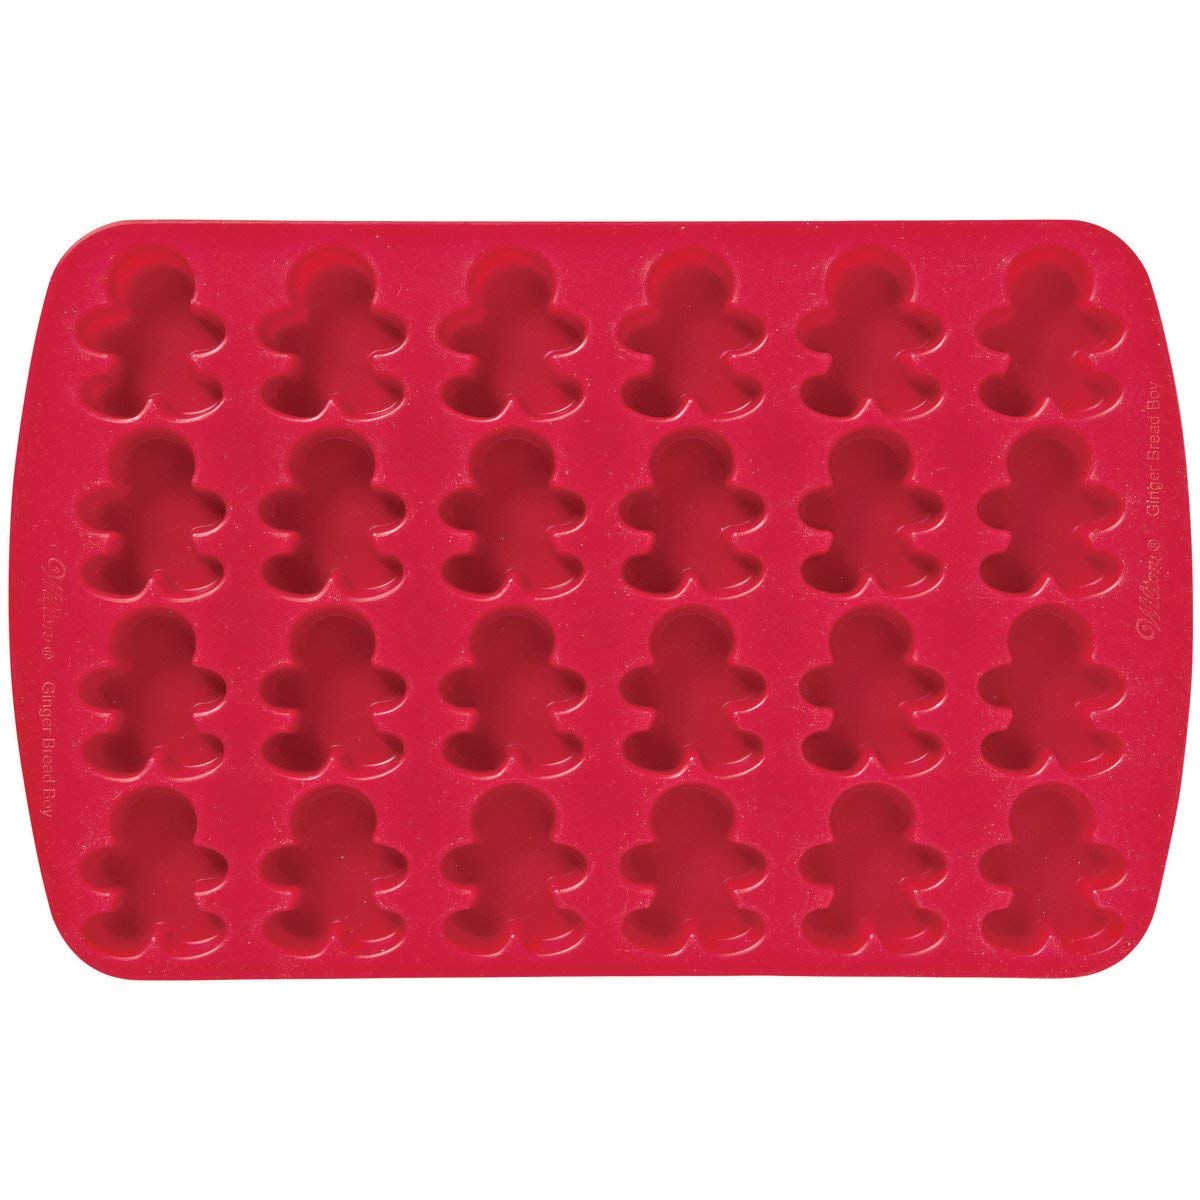
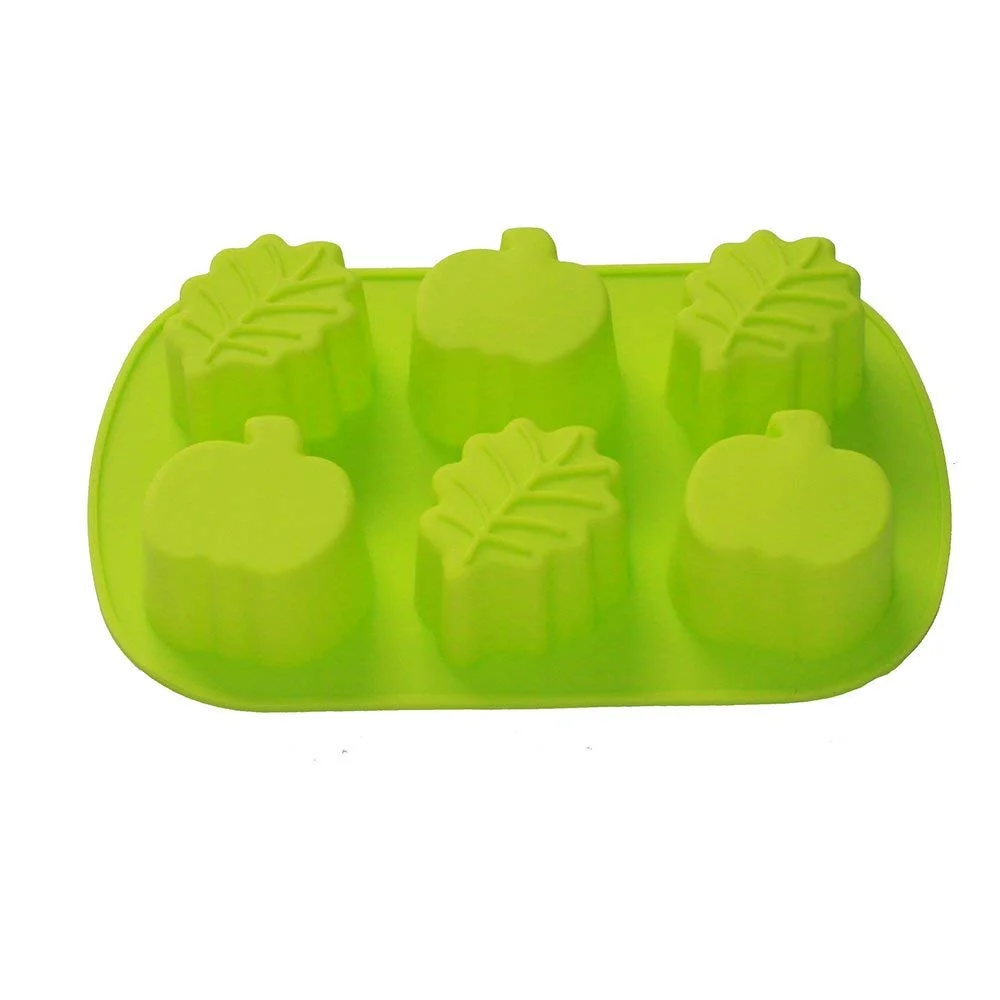
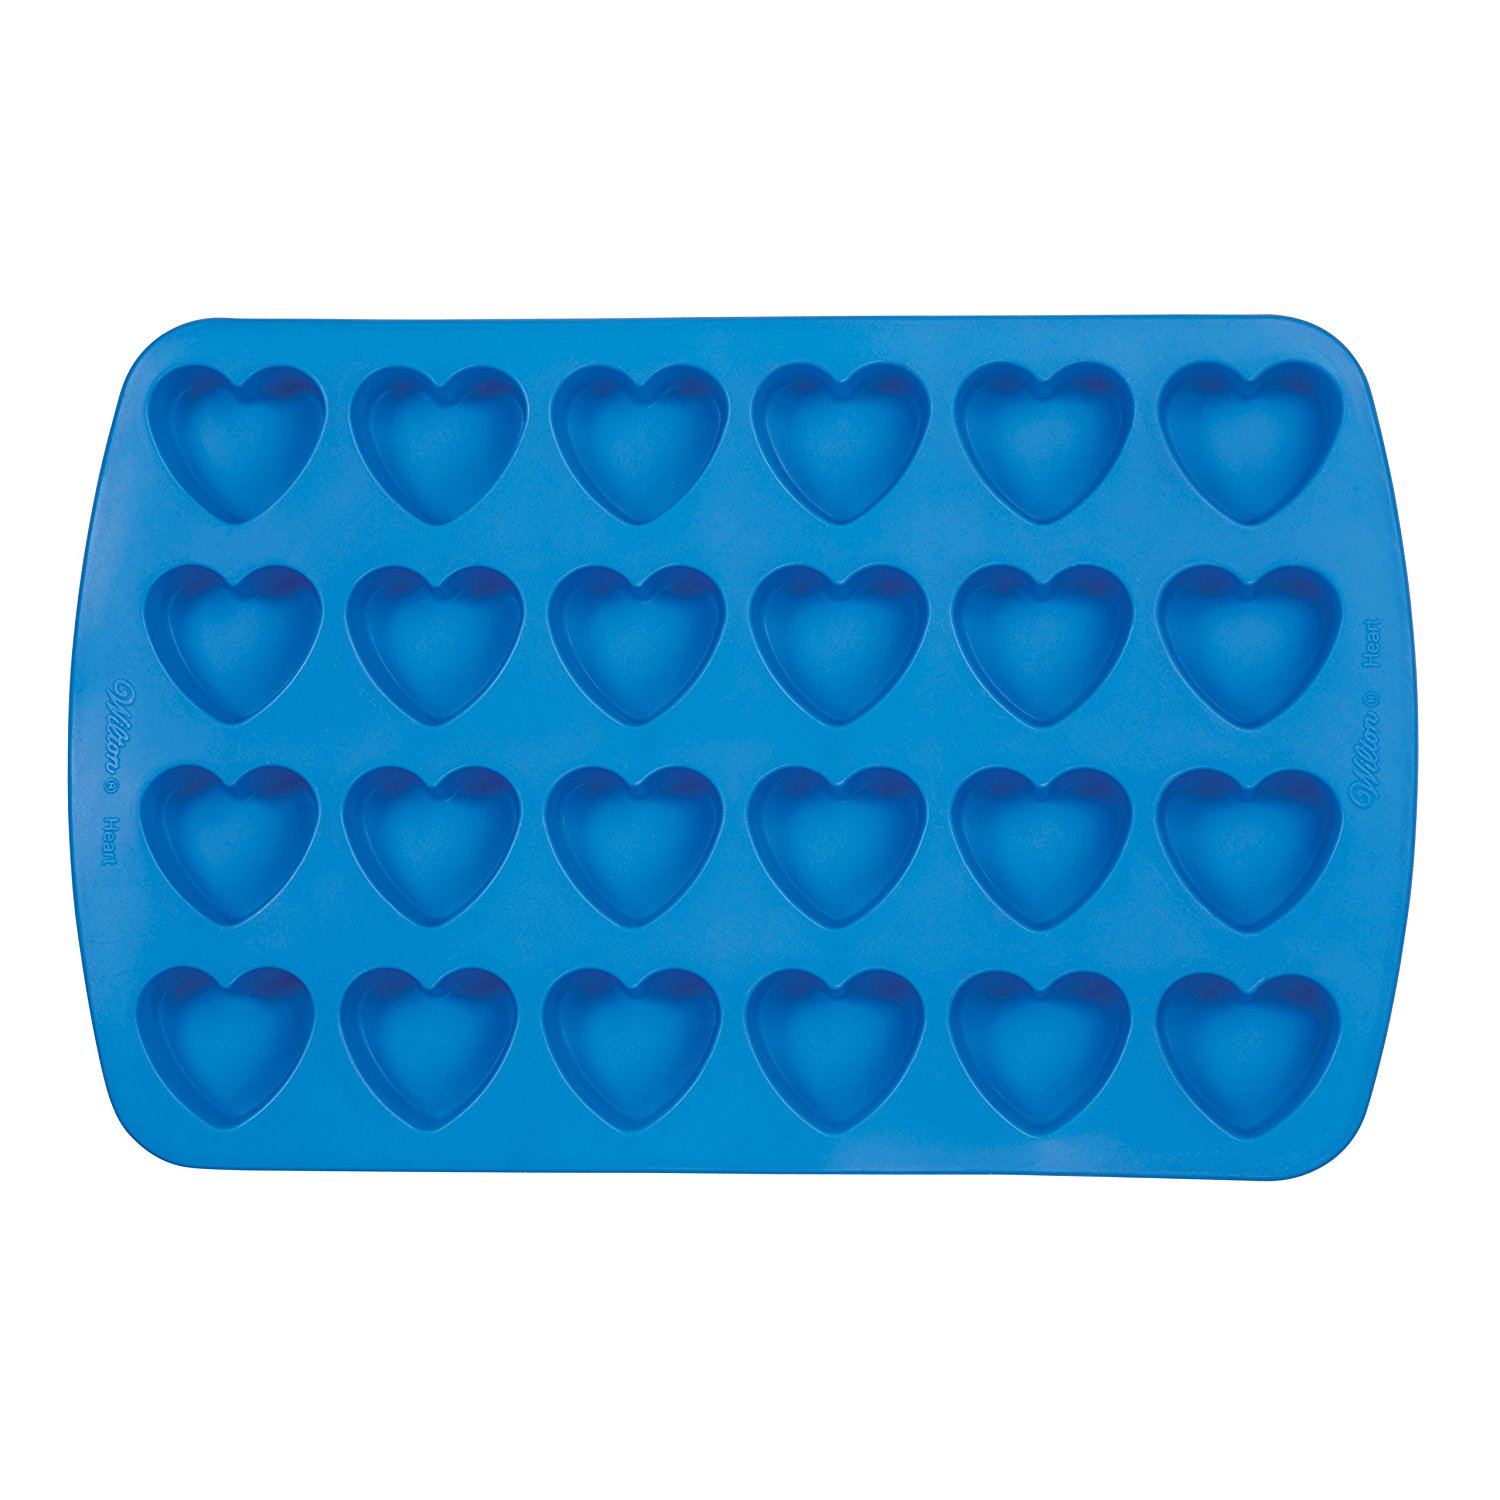
If it’s not a special time of year or holiday, I usually use either my trusty square silicone mold (which is also the perfect size for my healthy fudge recipe) OR my gingerbread / little people mold. If you haven’t discovered the world of silicone molds yet, trust me… they’re a game changer. They work like magic and there is virtually no clean up! Mama likes that.
Fall is a dangerous time for my waistline. I swear there was a time I’d trample small children to get to a piece of pumpkin pie piled high with whipped cream or a big fat piece of pumpkin roll. Not to mention all the spiced cookies and pumpkin gobs and apple pie and oh the list goes on and on. It’s really important for me to come up with recipes that satisfy my fall hankerings so that I don’t get way off track. These Pumpkin Pie Protein Gummies help me so much! They give me the fall flavors and foodie feels that I crave and I don’t have to worry about my ass growing.
Click to buy mold:
~
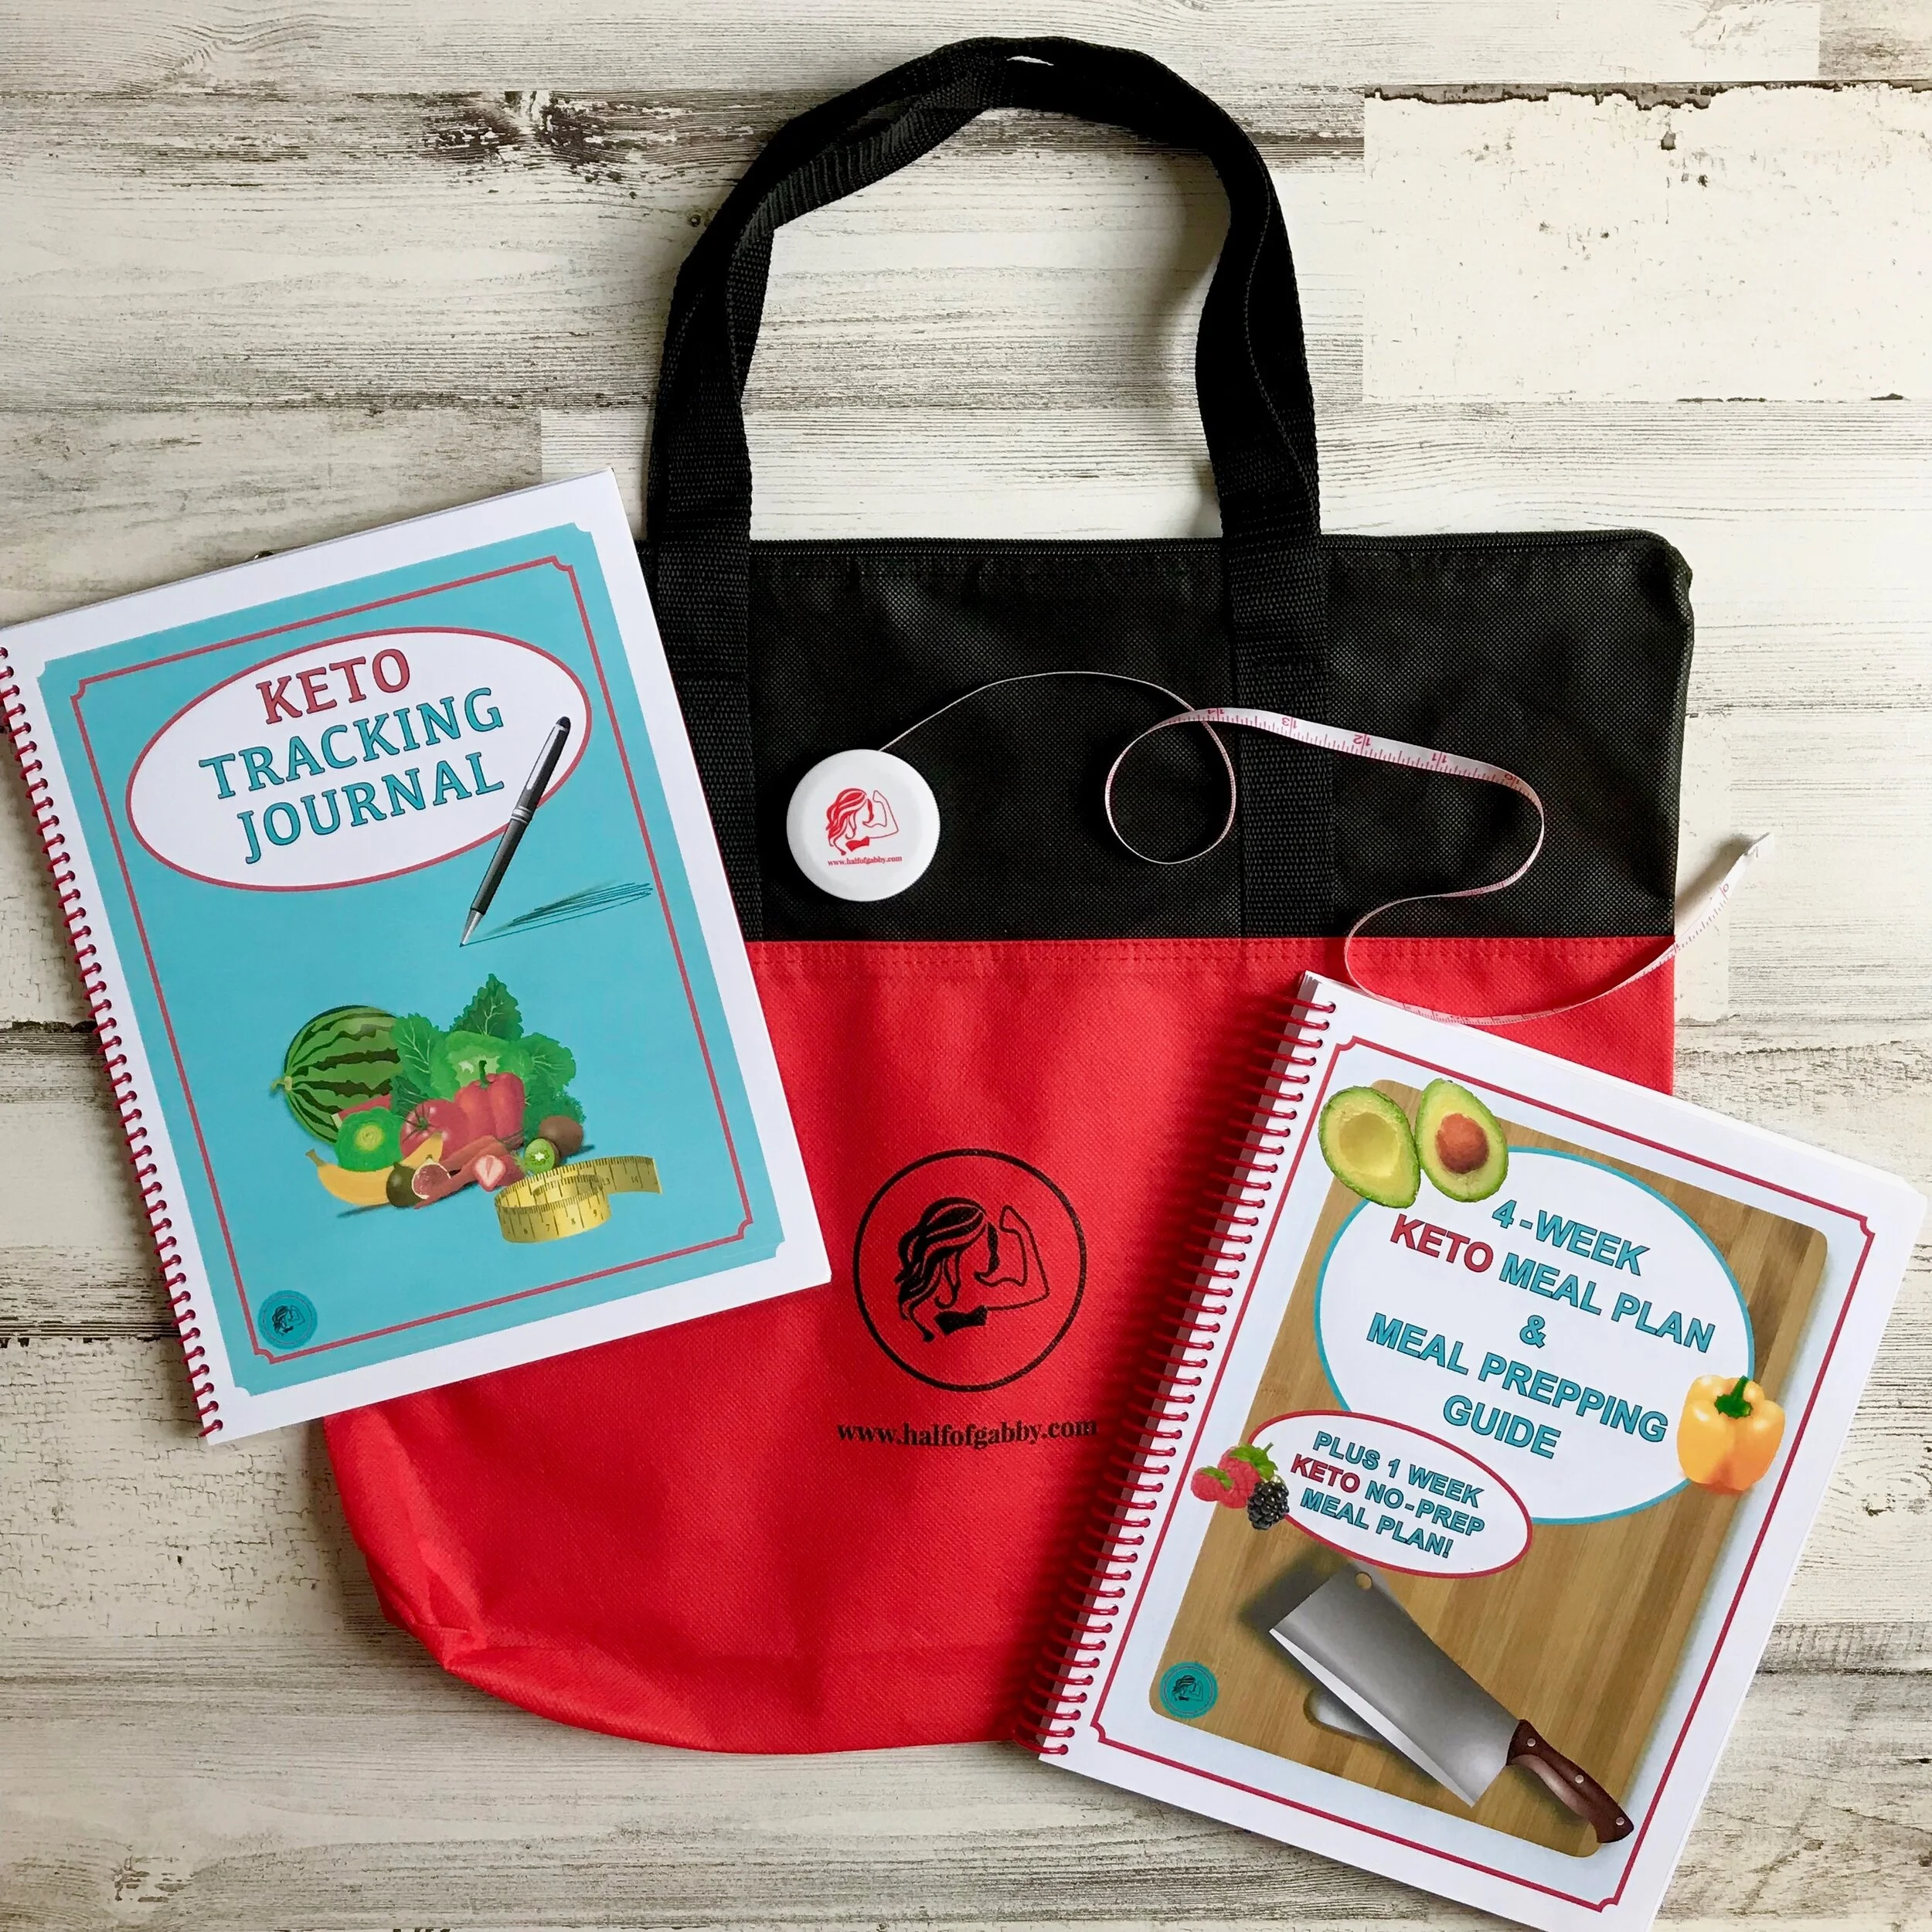
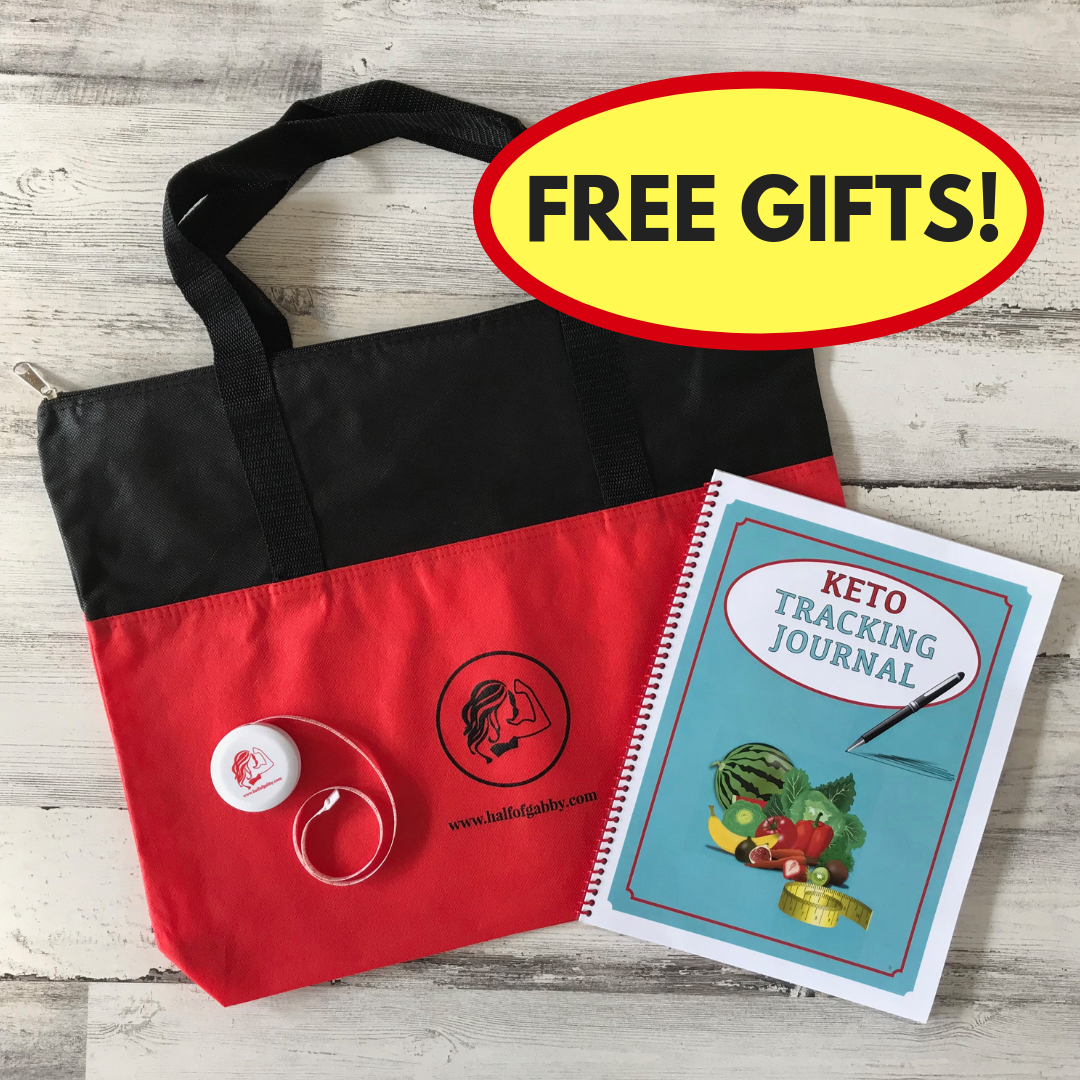
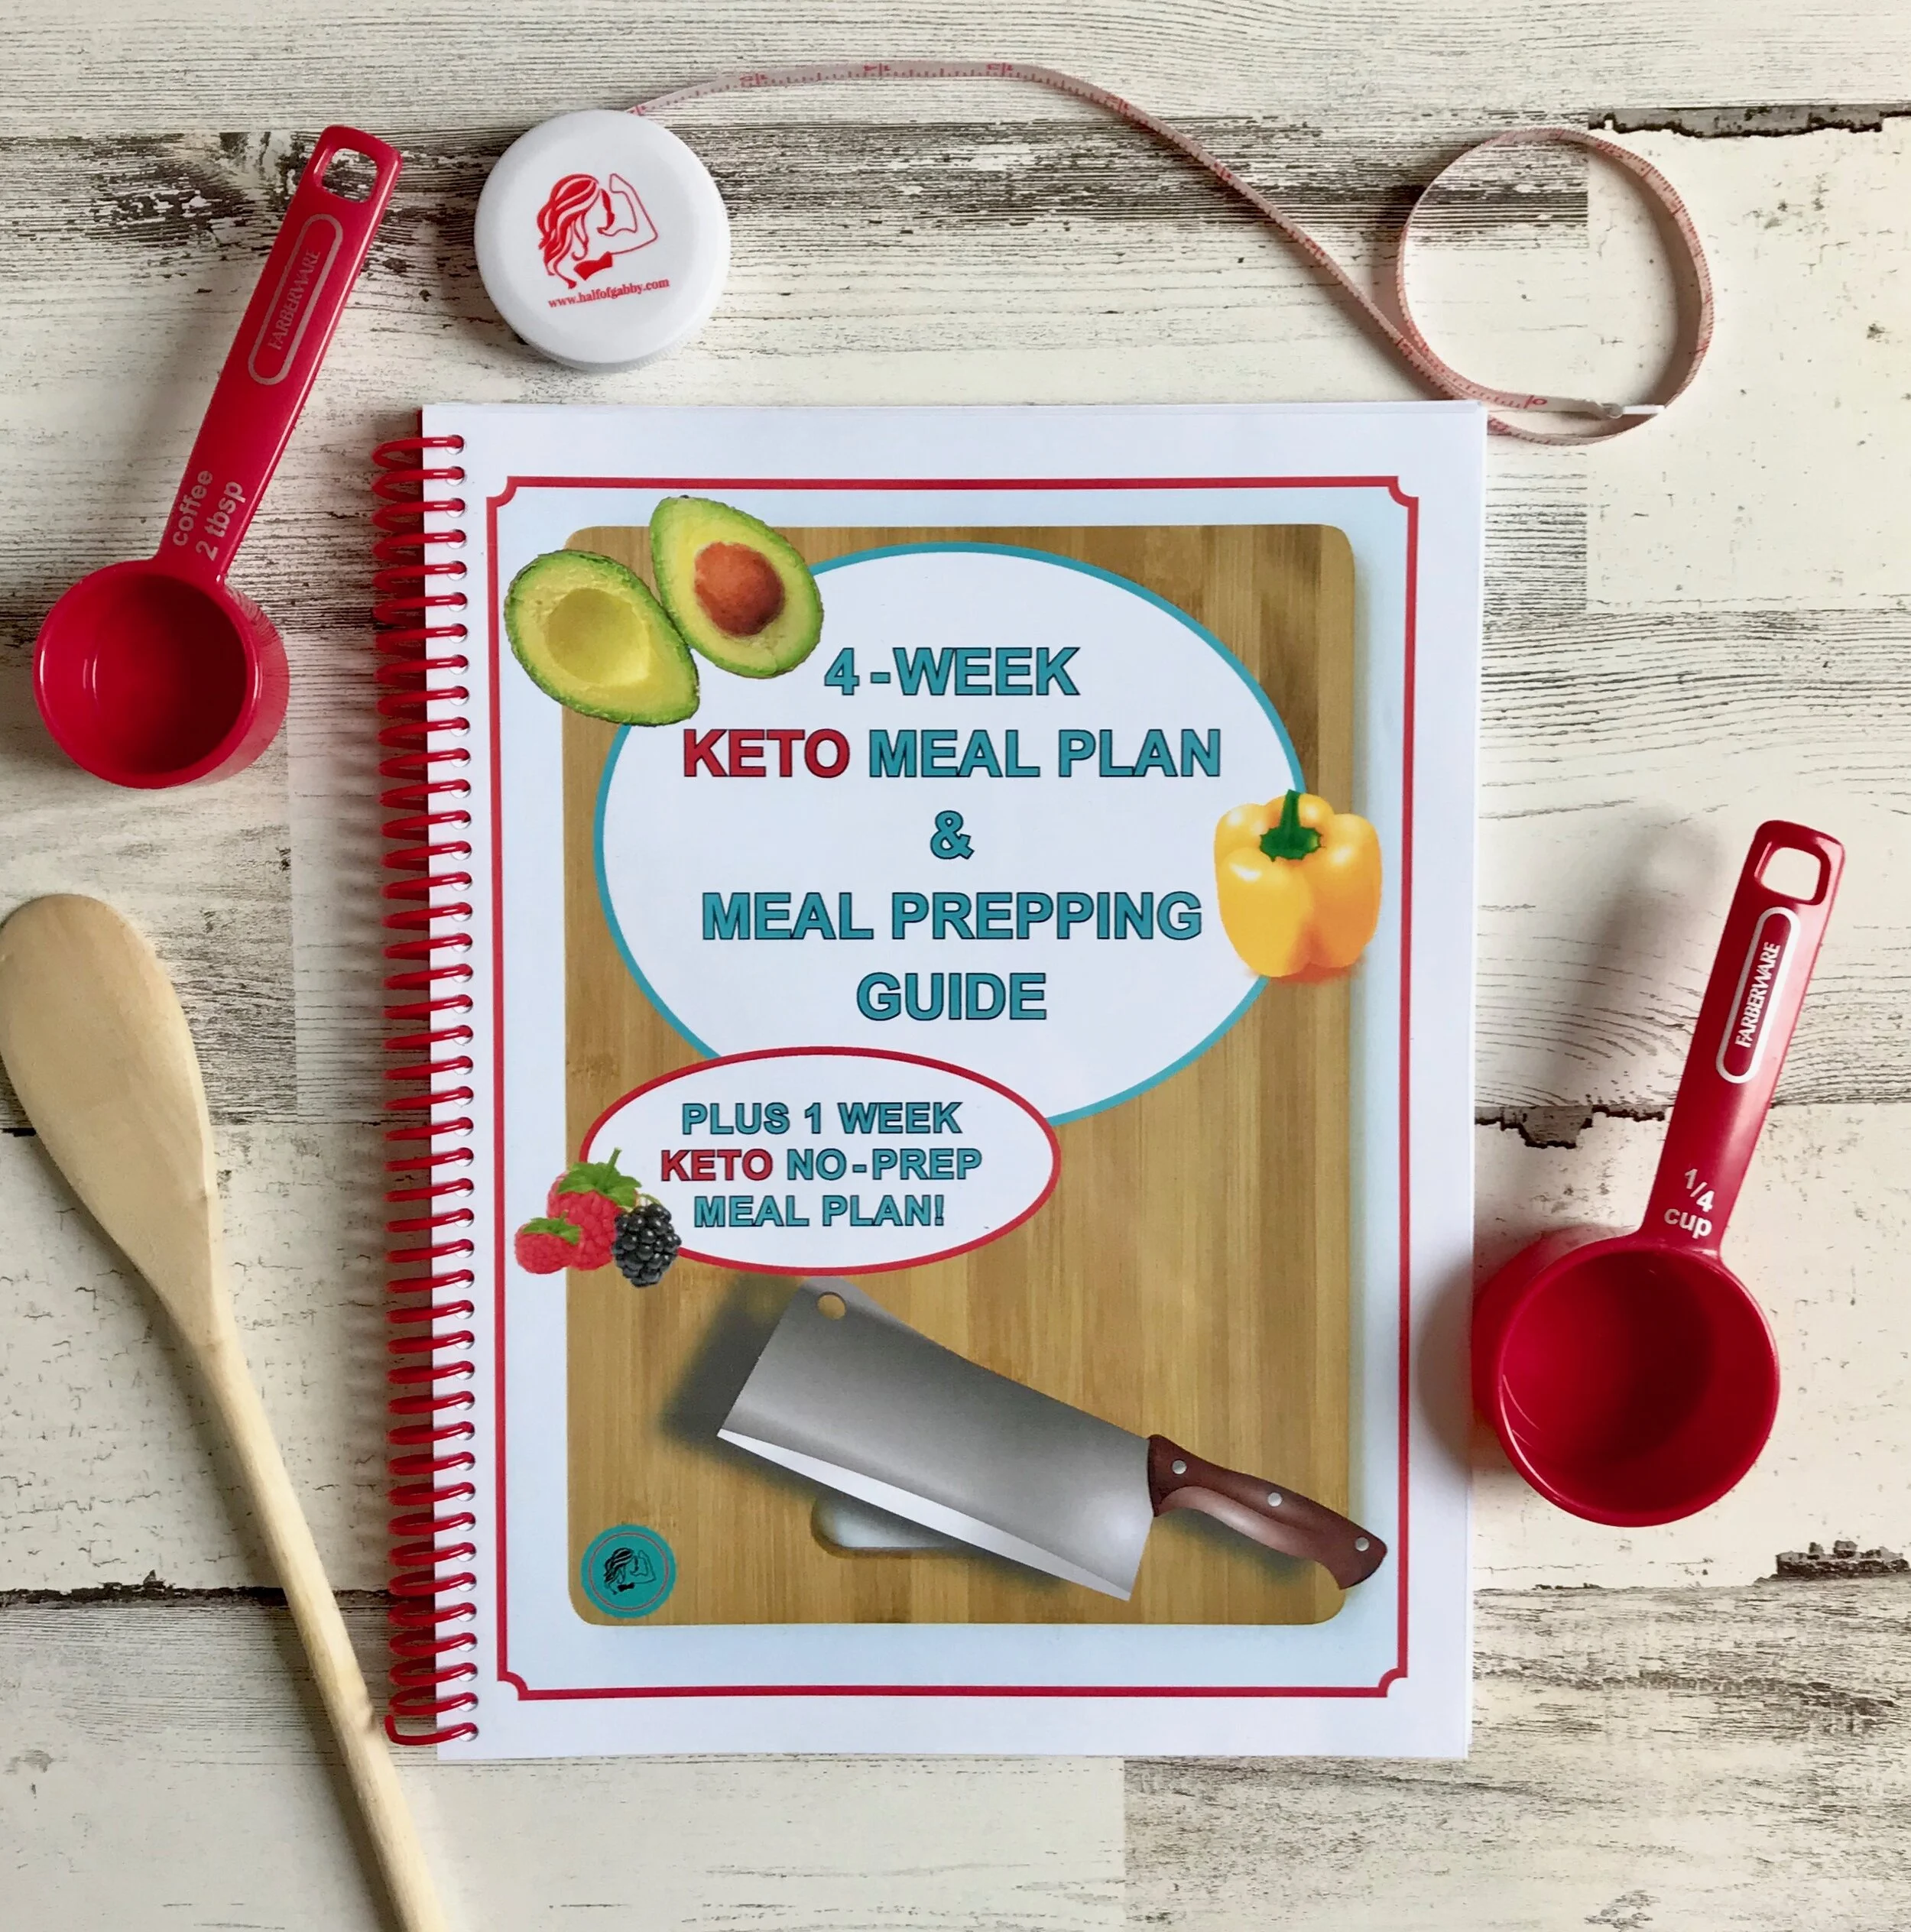
Do you need some guidance in meal prepping or need a healthy meal plan?
TRY MY
4 Week KETO Meal Plan & Meal Prepping Guide
~
Pumpkin Pie Protein Gummies
Makes 22 Squares (1.5”x 1.5”) OR 6 Large Jack O’Lanterns (2.6” x 2.3”)
WHATCHU NEED:
1 (15 oz) can of Pure Pumpkin Purée (Not Pumpkin Pie Mix)
2 tablespoons Pure Maple Syrup (not the artificial processed crap)
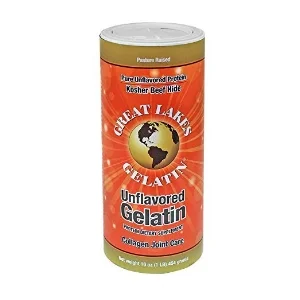
1/4 cup Gelatin (Grass-fed is best)
1 teaspoon Pumpkin Pie Spice
1/4 cup Granulated Stevia OR preferred sweetener
1/4 cup Half & Half
Silicone mold OR a 8” x 8” glass baking dish
THE MOLDS:
Note: JIGGLY OR FIRM?
If you want your protein gummies more jiggly, use less gelatin and if you want them harder, use more. The recipe above, IMO, is right smack in the middle of jiggly and firm. This is the consistency my family likes. You can play around with the gelatin amount to get it perfect for you and your clan :)
Note: TYPE OF GELATIN?
I use gelatin from a grass-fed source, because that is the healthiest option. Grass-fed is harder to find in stores though. If you can’t find it in your local health store, you can order it online. This is the gelatin that I use. But you can certainly use the grocery brands as well. They usually come in packets.
WHATCHU DO:
1. Add pumpkin purée and maple syrup in a small saucepan. Sprinkle gelatin on top and let sit for 2-3 minutes. If the pumpkin purée starts to look a little wrinkled from the gelatin, no worries, that’s totally normal. Do NOT turn heat on yet.
2. Whisk mixture until well blended.
3. Put saucepan over low-medium heat. You do NOT want to boil this! You’re simply warming up the mixture so that the flavors blend together and to make the mixture more pourable. If you can't put your finger into the purée because it's too hot to touch, then it's too hot! Once you have your mixture warm, turn the heat on the lowest setting.
4. Add the remaining ingredients to the pumpkin purée mixture, see note*. Continue warming and stirring for 2-3 minutes.
*Note:
Add your stevia (or preferred sweetener) one tablespoon at a time and taste test. Not only does everyone have their own sweetness preferences, but every brand/type of sweetener varies greatly in sweetness. Don't use artificial sweeteners! You'll end up turning an incredibly healthy snack into a very chemical-laden and unhealthy one.
5. Once mixture is warmed and blended. Remove from heat and set aside while you get your mold ready.
IMPORTANT:
Put the empty mold inside of a 13” x 9” baking dish (or on a baking sheet) BEFORE you fill them! Because once you fill up the mold, it will be impossible to lift it by itself without spilling it everywhere. Make sure it’s on a stable surface.
6. Pour mixture into a pourable measuring cup. This makes it easier to fill your mold cavities (this step is unnecessary if using a glass baking dish). Then fill your silicone mold. The mixture can still be warm when you fill your mold. If you’re not using a silicone mold, you can simply pour the mixture into a glass baking dish.
7. Place mold (or glass dish) in the freezer for around 25-35 minutes OR let it set up in fridge for 2-3 hours. I always put mine in the freezer so we can eat them right away.
8. Pop the gummies out of the molds (or cut squares from baking dish). Immediately put the gummies into a sealed container. If you let the gummies sit too long in the molds or baking dish, it'll be harder to get them out later.
Note:
The gummies should pop out of the molds like magic. The molds will be clean and free from gummy residue. Same with using a baking dish, the squares should easily come out. If your gummies are coming out flaky or leaving residue in the mold as you’re trying to pop them out, then they aren't done setting up yet. Put them back in the fridge/freezer and check them in a little bit.
9. Store your gummies in a sealed container in the fridge. They will stay fresh for 5-7 days. But believe me, they won't make it that long! You’ll need to make another batch before then ;)
10. Enjoy!
NUTRITIONAL INFORMATION:
*The nutritional info will vary depending on which molds you use; however, the information provided here is based on the two different molds I used.
Serving size: 5 Square Gummies (1.5” x 1.5”)
115 Calories
1.5g Fat
14.5g Carbs
3g Fiber
10g Sugar
15g Protein
Serving size: 2 Large Jack O’Lantern Gummies (2.6” x 2.3”)
174 Calories
2g Fat
21g Carbs
5g Fiber
14g Sugar
18g Protein
Click to buy mold:

~~~
*The information on this site is not intended or implied to be a substitute for professional medical advice, diagnosis or treatment. All content in this article is for general information purposes only. I am not a doctor, nor am I a dietitian. Talk to your physician before making any changes in your diet or exercise regimen. The information found in this article is from various sources which include, but are not limited to, the sites listed above. I encourage you to do your own research and talk with your physician before making any changes in diet or exercise. What has worked for me may not work for you. This information in this article or on this website should never replace or serve as medical advice.
NEVER DISREGARD PROFESSIONAL MEDICAL ADVICE OR DELAY SEEKING MEDICAL TREATMENT BECAUSE OF SOMETHING YOU HAVE READ ON OR HAVE ACCESSED THROUGH THIS WEB SITE.
*Affiliate Disclaimer: As an Amazon Associate, I earn from qualifying purchases. The Federal Trade Commission (FTC) requires all affiliates to put a disclaimer on their website/blog. I will be providing links just as I've always done but now will receive a very small commission, at no cost to you, if you purchase an item through the affiliate link that I provide. An affiliate link is simply a link that brings you to a place where you can buy that product. I will not earn a commission by you simply clicking on the link, you must actually purchase the item(s) within 24 hours of putting it in your Amazon cart. Prices are exactly the same for you if you purchase through an affiliate link on Half of Gabby. You will NOT pay more by clicking through the link. My promise to you is that I will never recommend a product that I don’t fully 100% believe in and/or use myself and recommend to close friends and family.