


HOW TO SET UP A HOT COCOA BAR: Crockpot Recipe and Guilt-Free Recipe Included
{This article contains affiliate links. See bottom of page for details.}
This was so much fun! My husband and I had a Fall bonfire with family and friends and we had a Hot Chocolate Bar! OMG, everyone just loved it!...and not just the kids!
This would be great to do on Thanksgiving weekend if you have family still visiting. Actually there just isn't a bad time to do this... I mean it's hot cocoa with all the fixings that you could dream of... and it's straight up awesome.
We will be having another Hot Chocolate Bar night during Christmas time too so of course then I'll be dressing up the bar area with all the season's magnificent colors and accents that go along with that... Oh, I can taste the crushed peppermint in there now!
Okay, now before you get all excited about this being a guilt-free hot chocolate crockpot recipe, let me squash that right now.
Yes, I know this is a weight loss and fitness blog and yes, I know I'm not supposed to be condoning sugar and other bad stuff. However, along with a healthy lifestyle and a consistent commitment to living a fit life, every once in a while you are allowed to indulge a little. I think it's fair to say that a mug of hot cocoa with a handful of your favorite toppings is not going to kill you... unless you're me.
I can't have dairy. If I get in the ring with dairy, I get KO'd in under a minute... and this boxing match ends up with me in the bathroom praying for death.
So on that lovely note, in addition to the hot chocolate crockpot recipe, I will be giving you the recipe for the sugar-free and dairy-free hot cocoa that I drank which is totally guilt-free.
I had to skip the yummy guilt-ridden cocoa and stick with riding the healthy train. Which was just fine by me because it was still yummy. But make no mistake about it, folks, there were a few toppings that found their way into my mug ;)
Honestly, I don't know who loved this hot cocoa bar more, the kids or the grown-ups. It was just a really fun and different thing to do. I really wanted to share it with you all so that maybe you could experience it too.
Putting this whole thing together was super easy. My 7 year old helped me. It came off looking really Martha Stewart-y but it was a cinch to do. I love when you come off so crafty and clever and in reality it's effortless.
CROCKPOT HOT CHOCOLATE RECIPE
*Warning: This creamy hot chocolate is DELICIOUS!
WHATCHU NEED:
6 cups Whole Milk
1 ½ cups Heavy Whipping Cream
1 (14oz) can Sweetened Condensed Milk
2 cups Milk Chocolate Chips (not semi-sweet)
1 tsp Pure Vanilla Extract
*Double this recipe for larger groups
WHATCHU DO:
Stir all ingredients together in a 6-7 quart crockpot (Especially if you're doubling the recipe. You could use a 5 quart for a single batch).
Cover and cook on LOW for 2-3 hours, then switch the setting to warm.
Stir frequently until chocolate chips are completely melted (Every 10-15 minutes or so).
Even after chips are long melted, still occasionally stir the cocoa.
Notes:
Make sure the cocoa is done before the guests arrive.
When you're just starting out with the recipe and are pressed for time, you can temporarily put the heat setting on high to get the chocolate chips to melt, but as soon as they're melted, switch back down to low!
THAT'S IT! EASY PEASY!
Okay, here is the recipe for a mug of guilt-free, sugar-free, and dairy-free cocoa in case you're like me and get your ass kicked by a dollop of cream.
SUGAR-FREE, DAIRY-FREE HOT COCOA RECIPE
Microwave Recipe: Makes One Mug
WHATCHU NEED:
1 cup Almond Milk (or preferred milk)
¼ tsp Pure Vanilla Extract
Stevia packets, desired amount (I used 2 packets) *Not baking stevia.
1 Mug
*If you CAN have dairy but still want a low-fat and guilt-free cup of hot cocoa, just use skim milk or whatever milk you prefer instead of the almond milk.
WHATCHU DO:
Put cocoa powder in a mug.
Heat milk in the microwave for 1 minute and then add 30 second intervals until hot.
Gradually add hot milk to the cocoa powder and stir until well mixed.
Add vanilla extract and stevia.
OKAY, NOW ONTO THE FUN PART!
HOW TO SET UP YOUR HOT CHOCOLATE BAR!

1. After you decide where you want your bar to be, set it up with a tablecloth that matches your theme or season. I set my bar on top of my washer and dryer because my laundry room is right off of our backyard where we were having our bonfire.
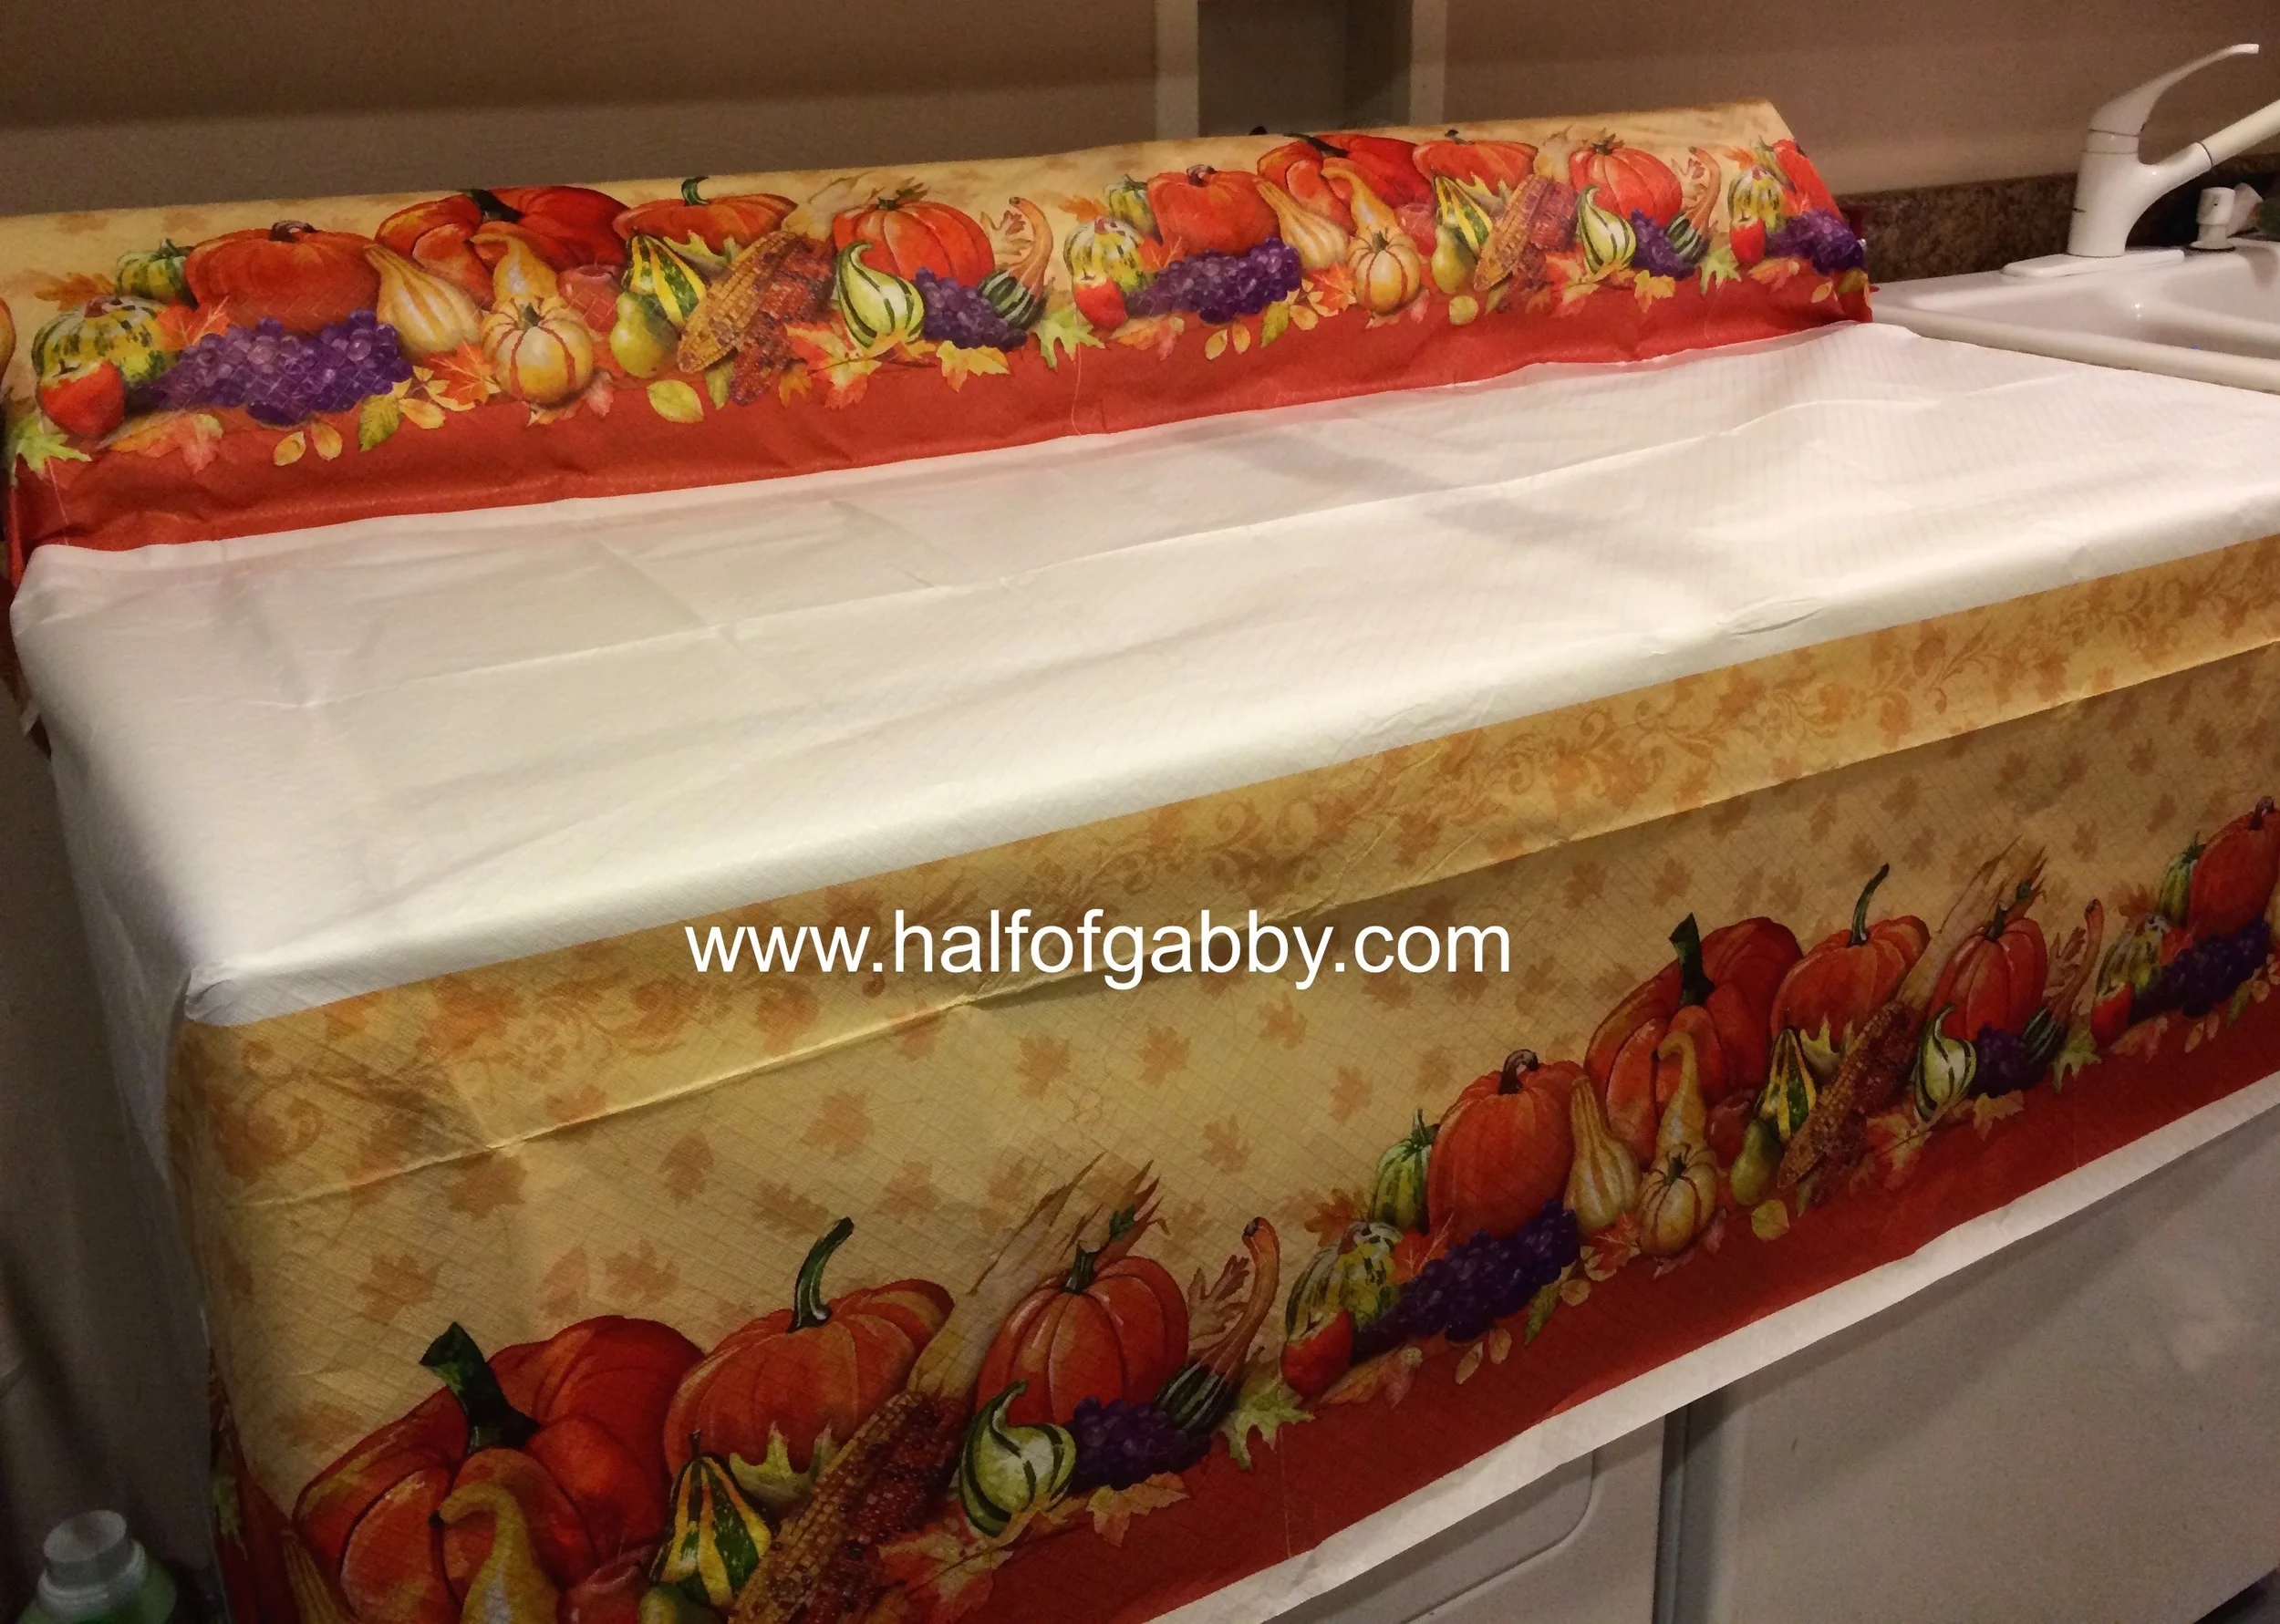
*I taped my $2.99 tablecloth all around my washer and dryer with clear packaging tape.
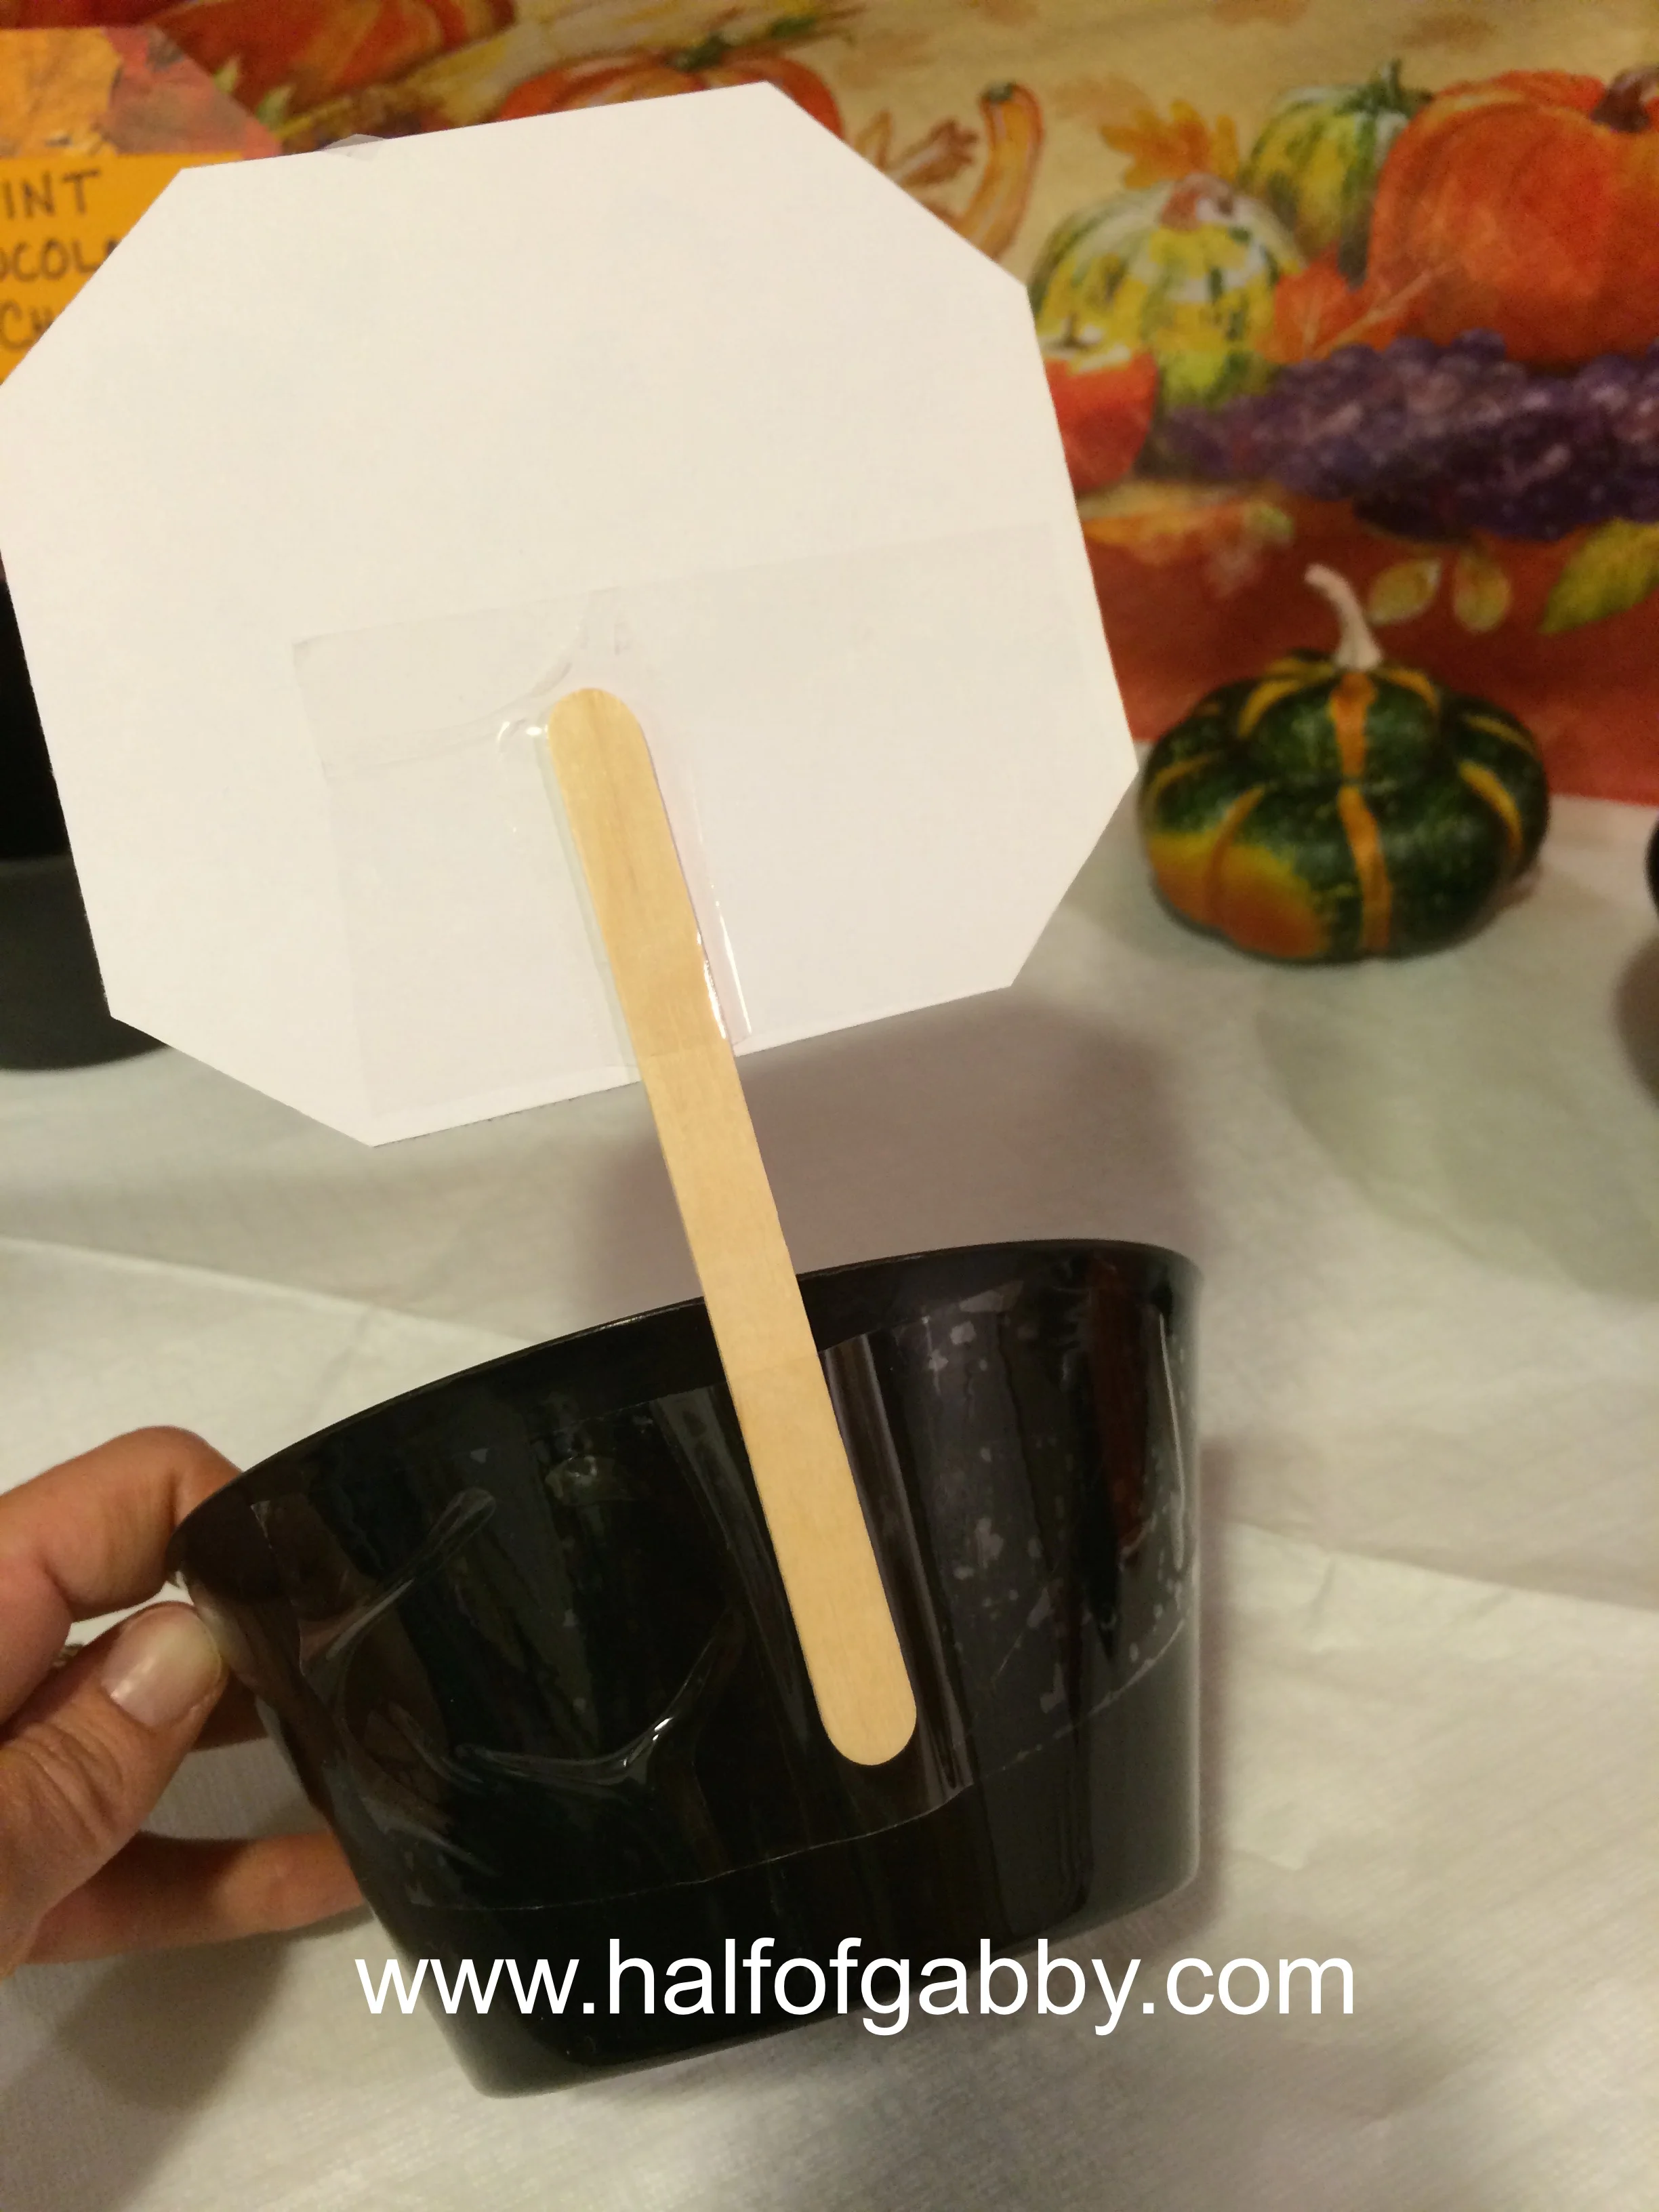
2. I got enough bowls for each one of the hot cocoa toppings and made labels for each one. I simply cut out some octagon shapes out of some Fall scrapbook paper I already had. I taped them to popsicle sticks and the bowls. Clear packaging tape works very well because it's strong yet very easy to remove.
Obviously you could cut out any shape you desired and if you don't have themed paper at home, you can buy a sheet of 12"x12" scrapbook paper for about $.50 at a local craft store (Joann Fabrics and Michael's).
I used two sheets.
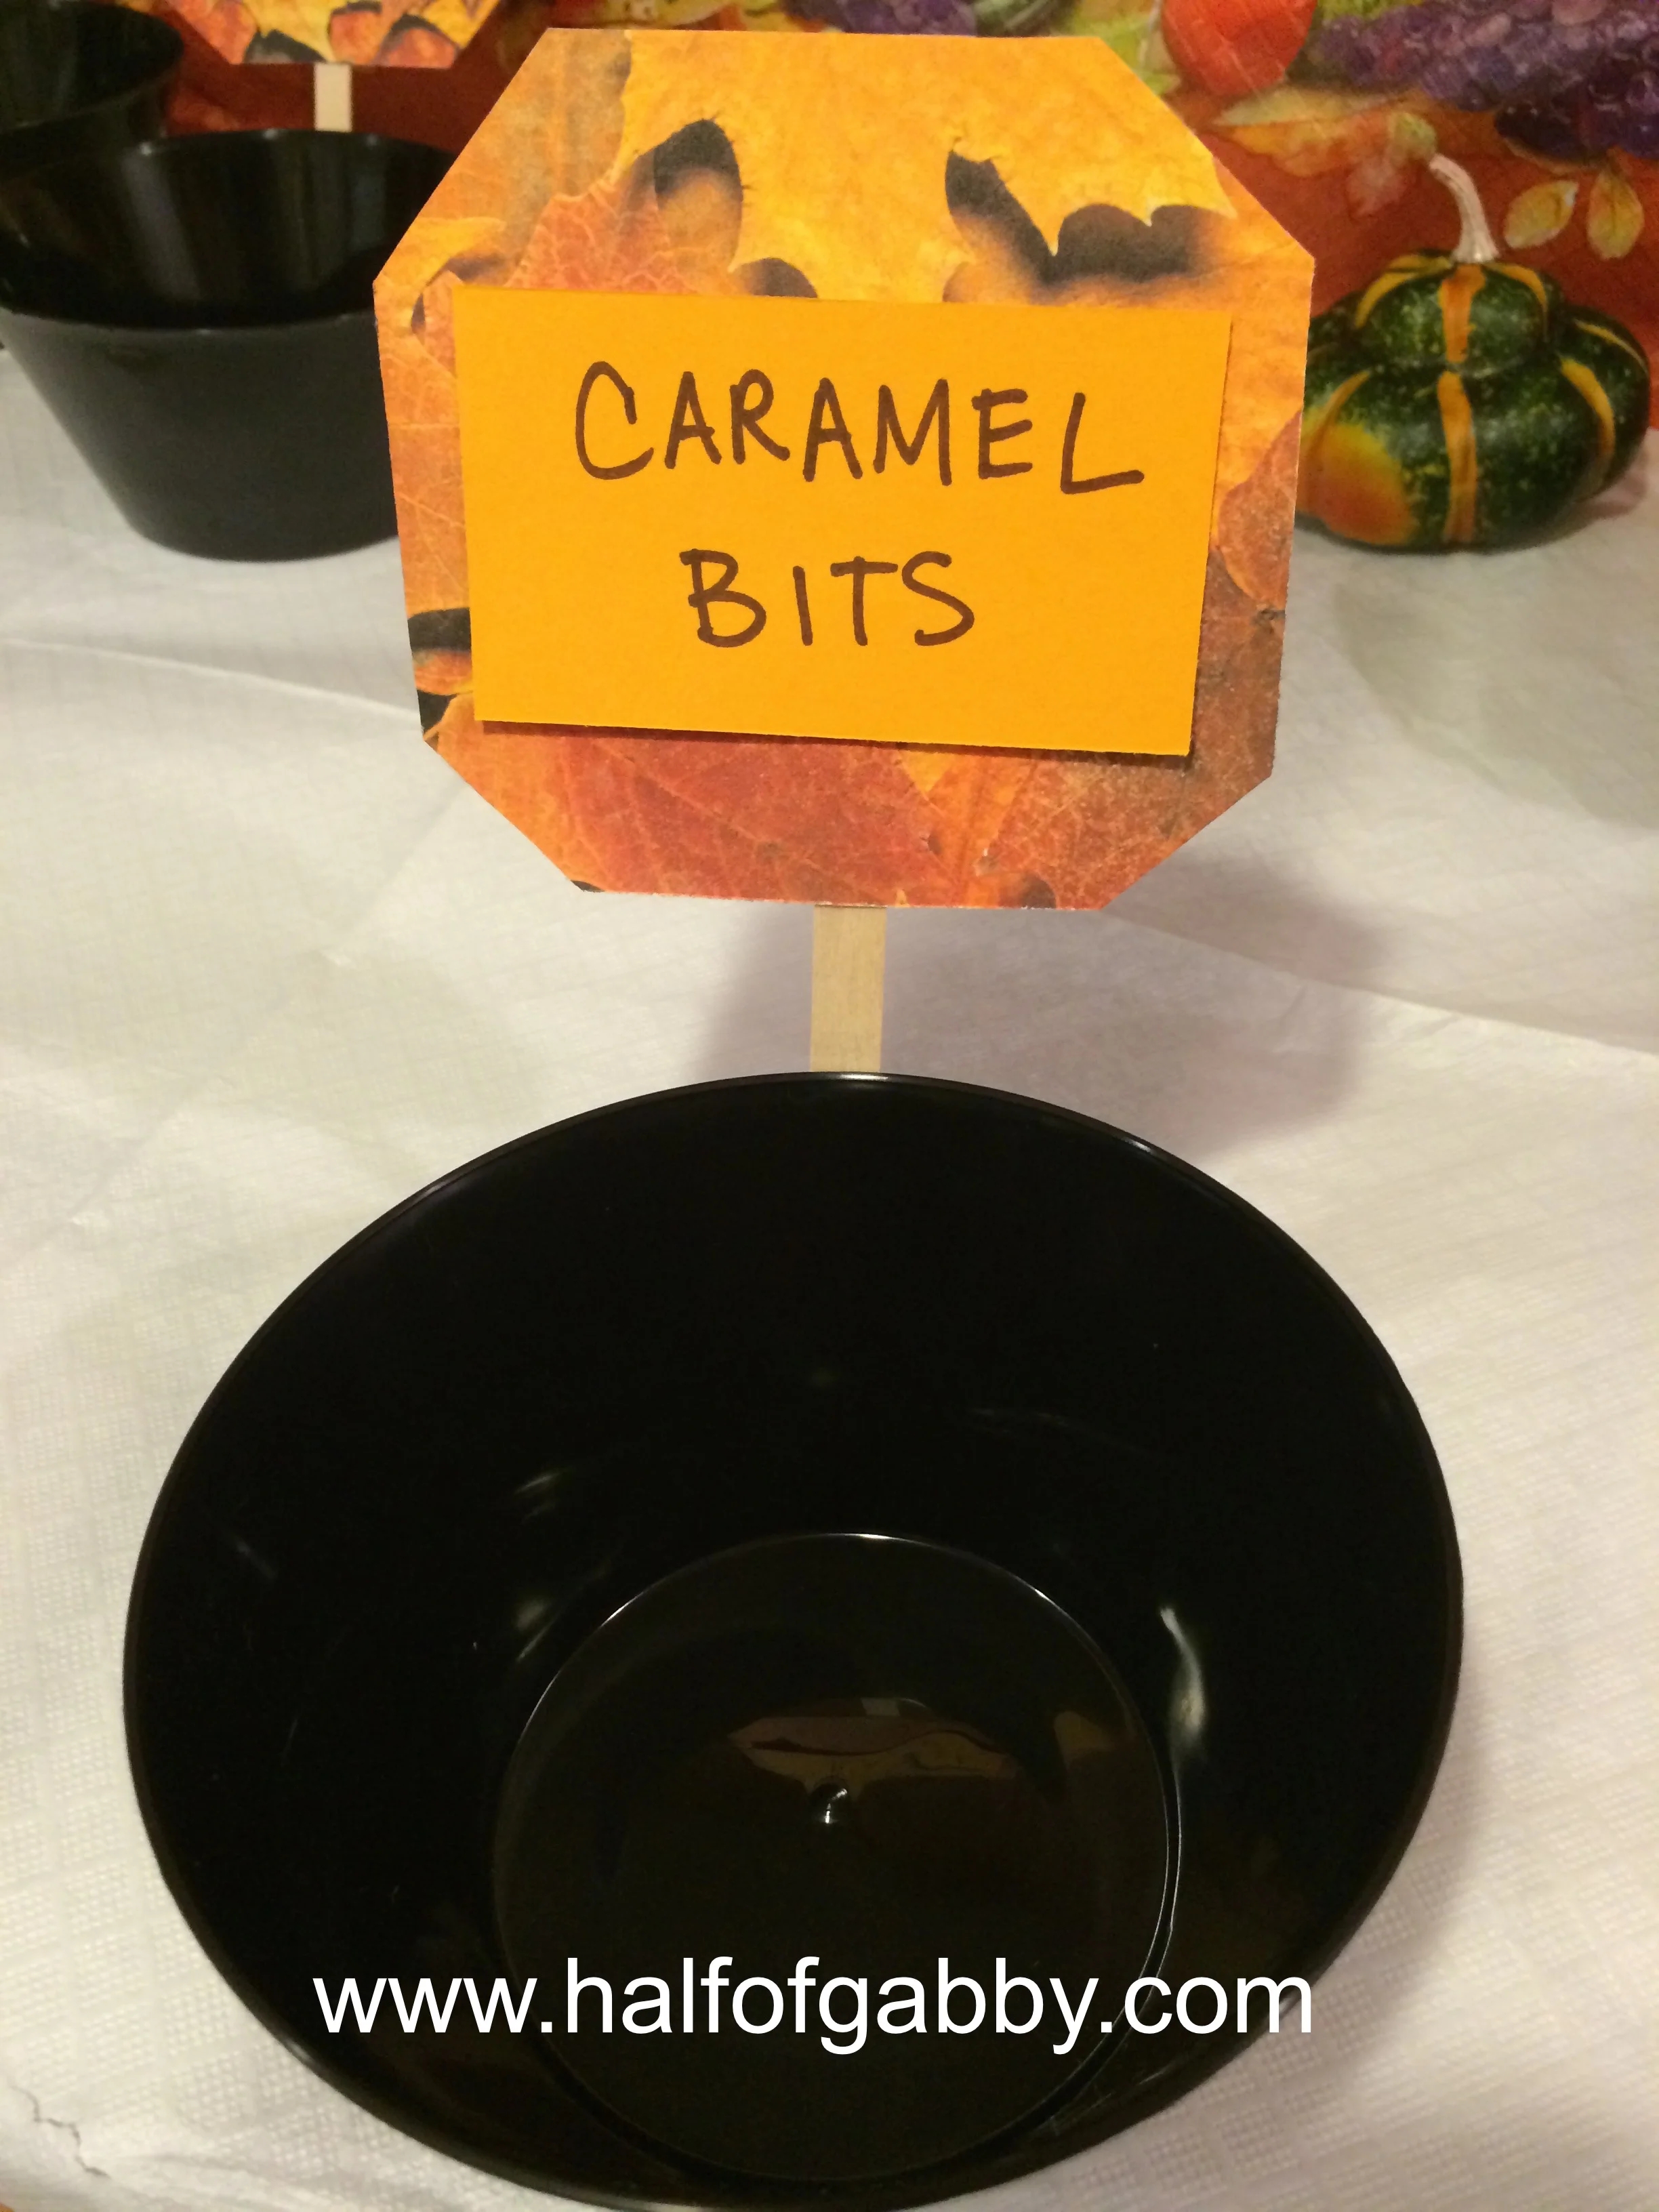
3. Once I got the labels attached to the bowls, I cut out rectangles from construction paper and with a Sharpie wrote the name of the topping. I attached the rectangles with double-sided tape.

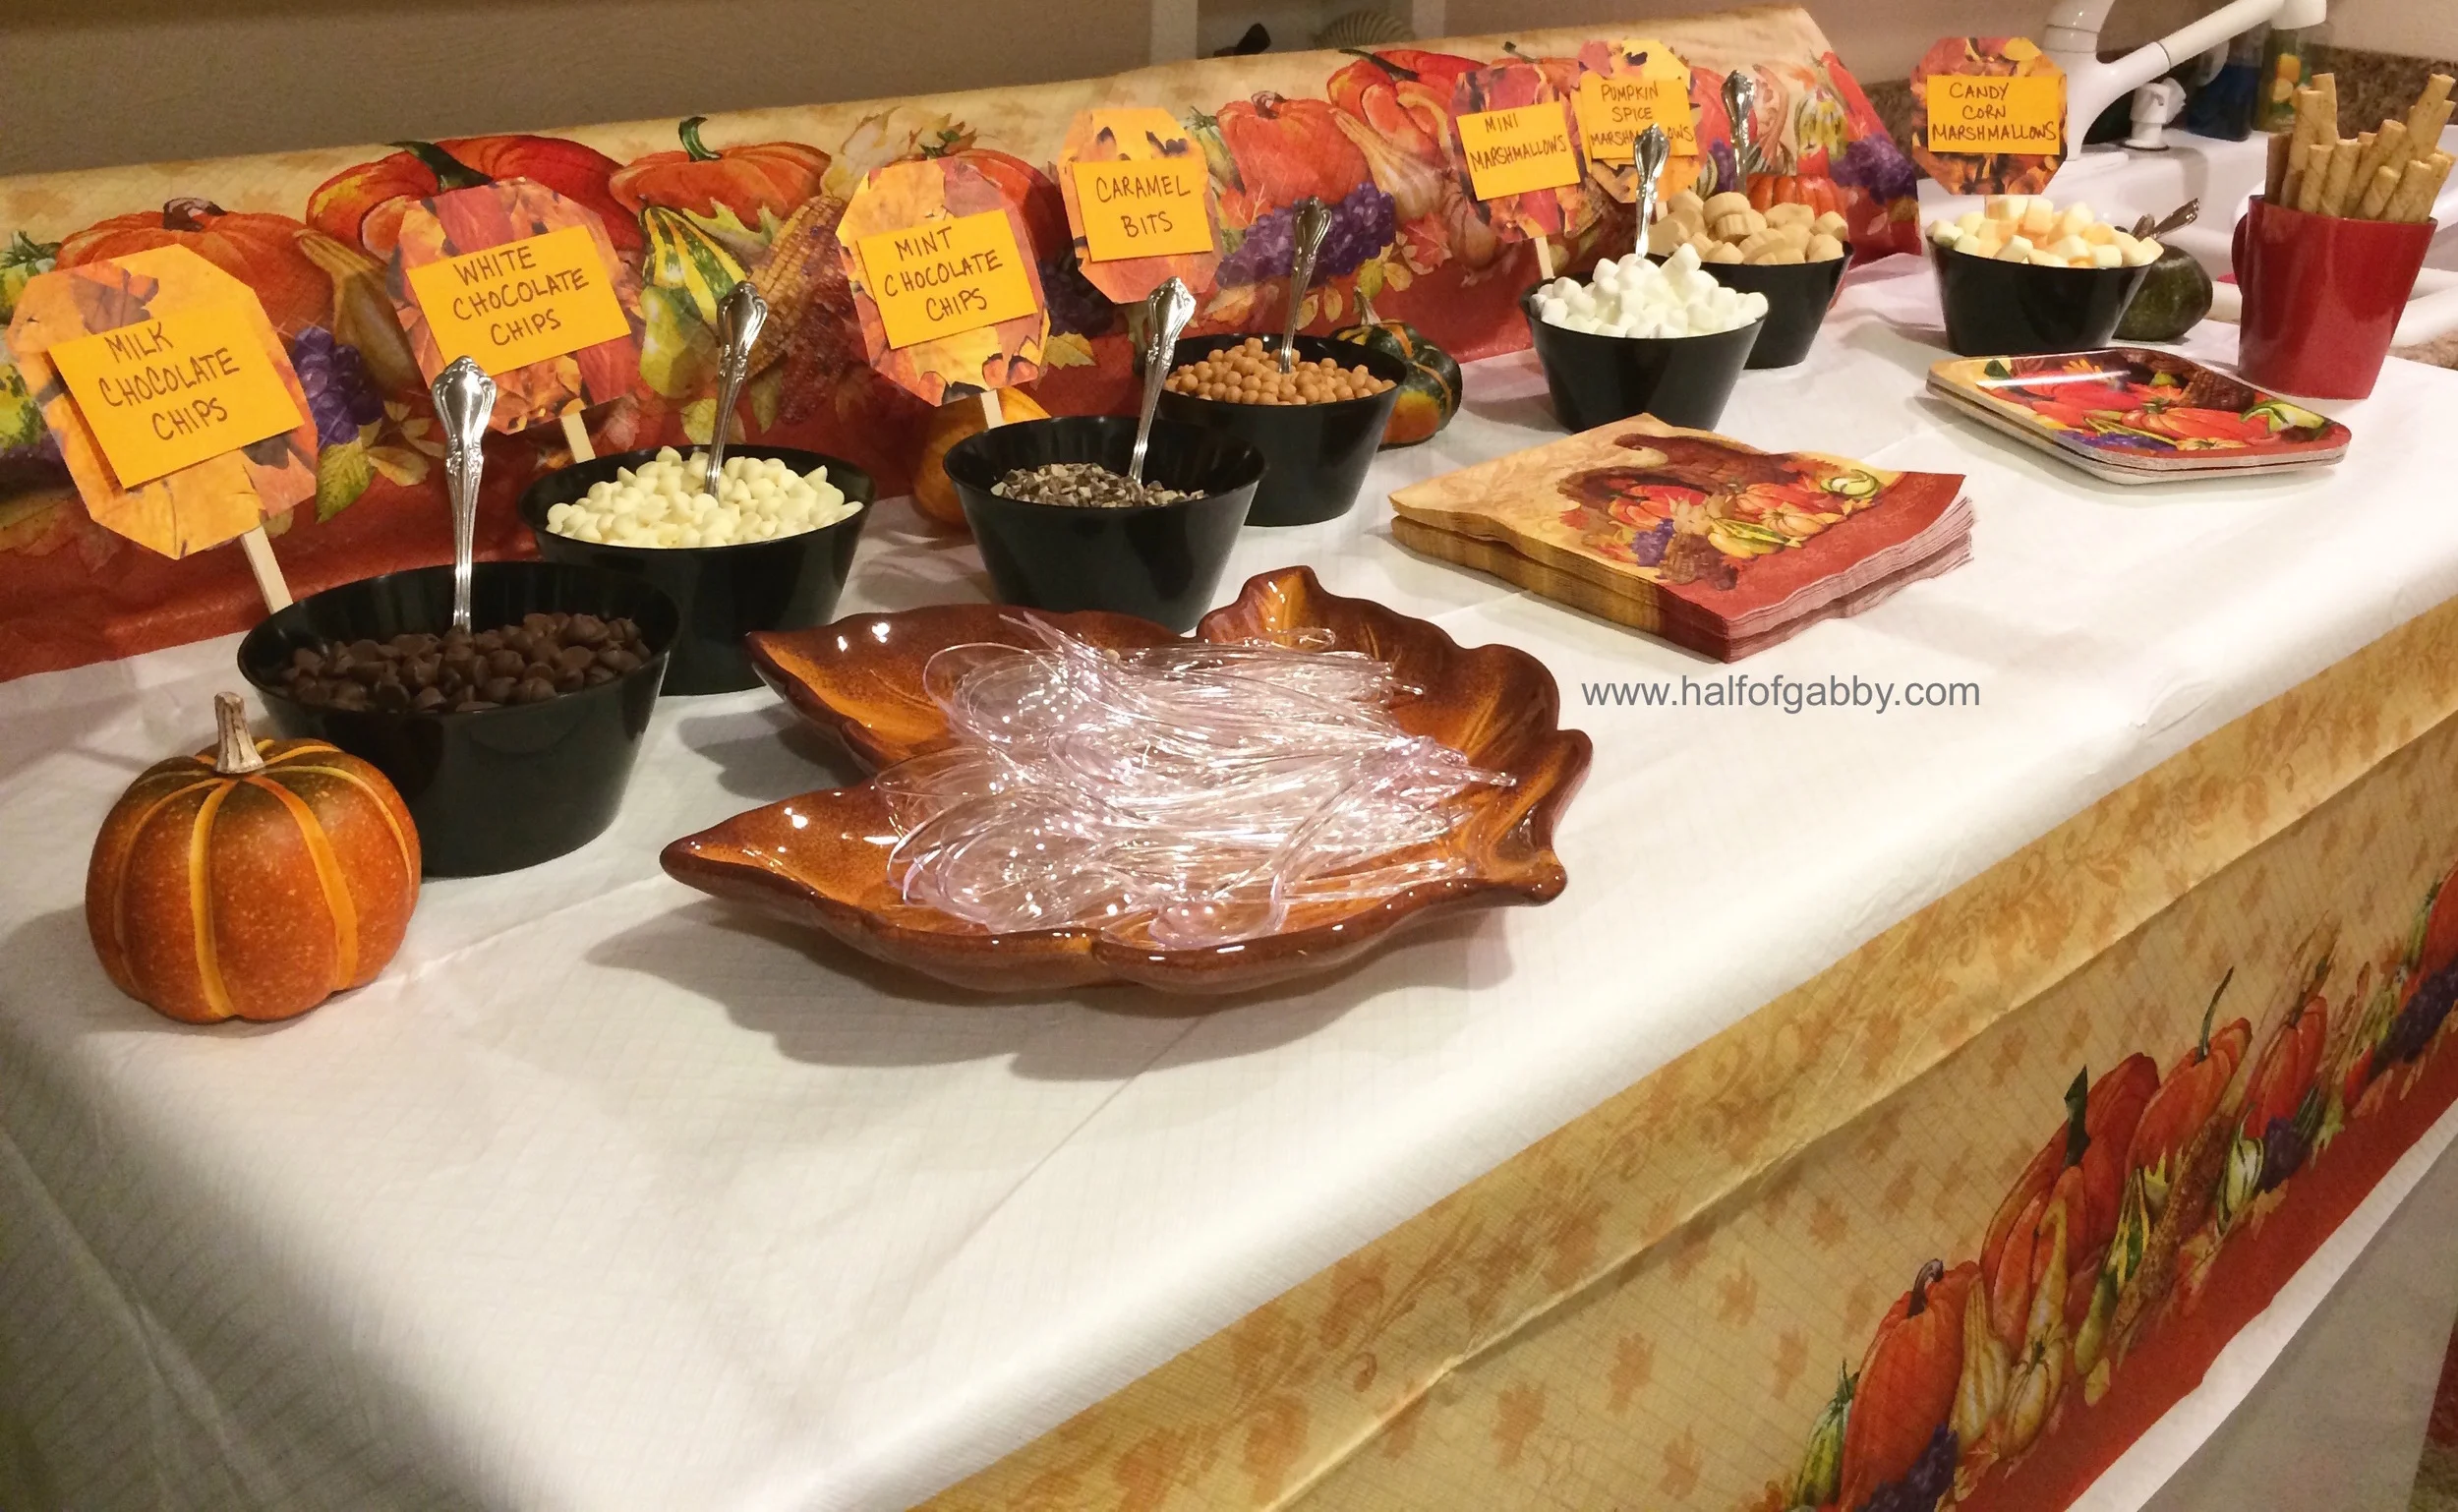
4. Then you fill up the bowls with all your yummies!

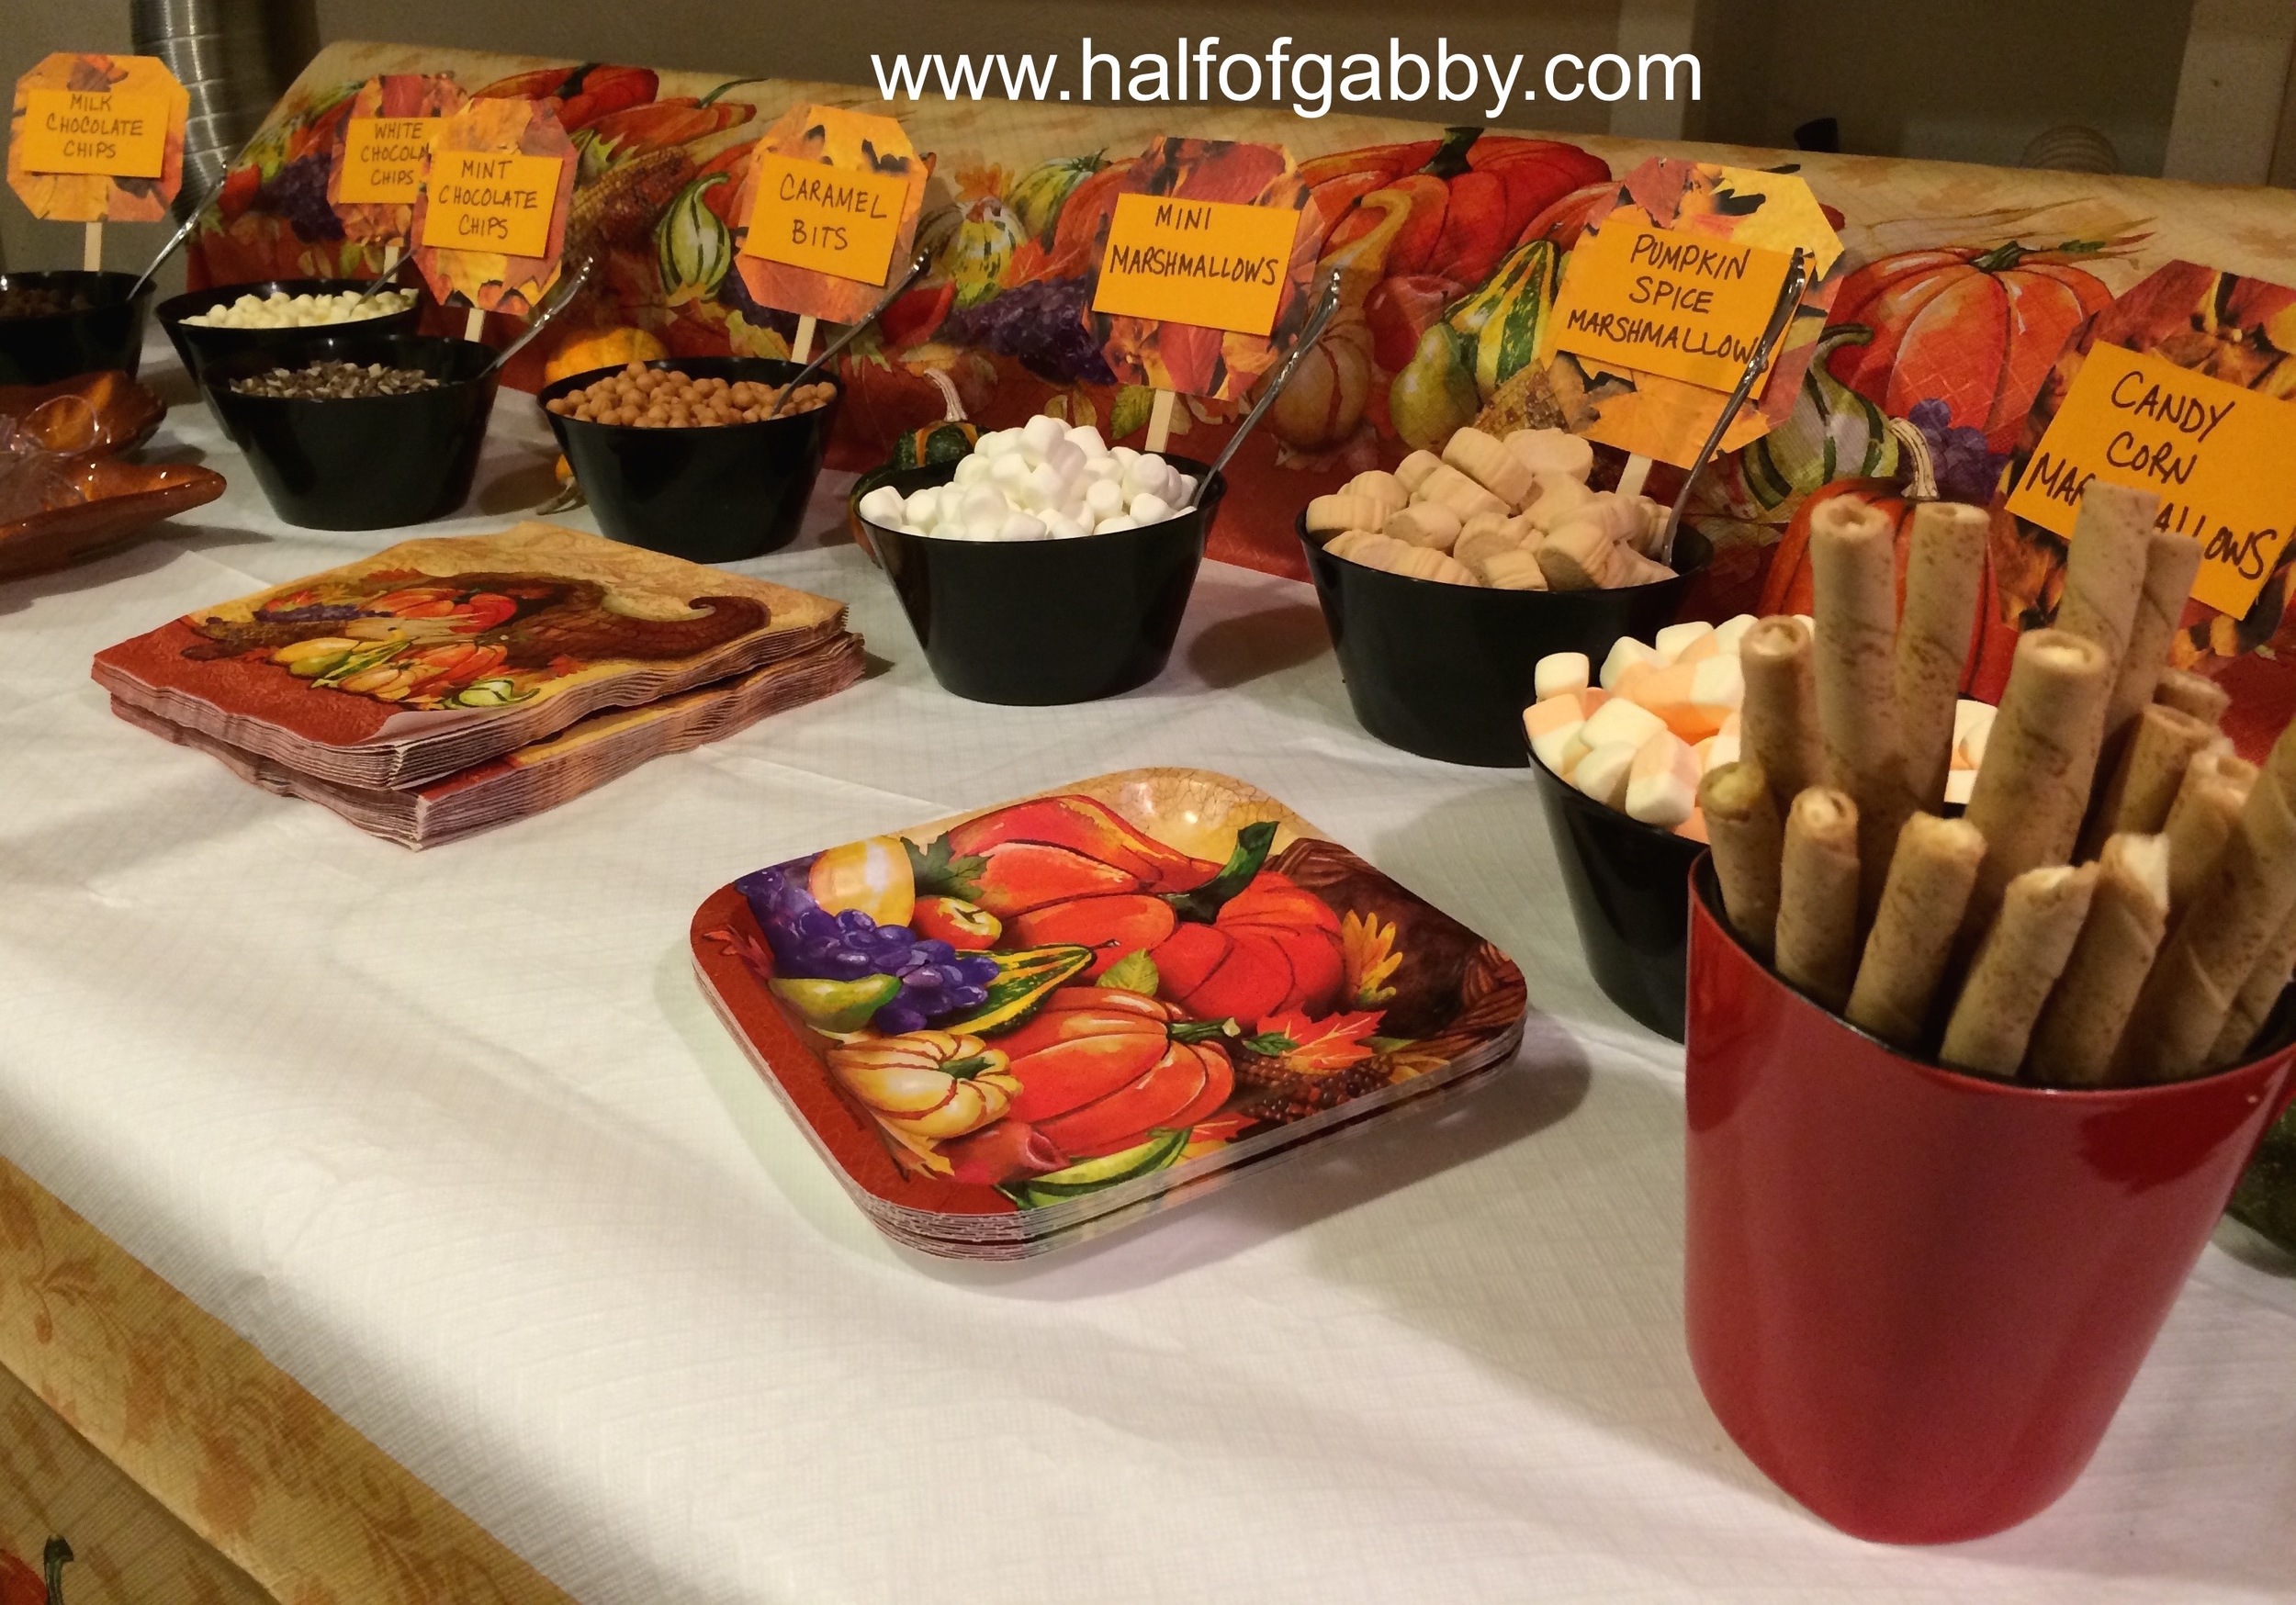
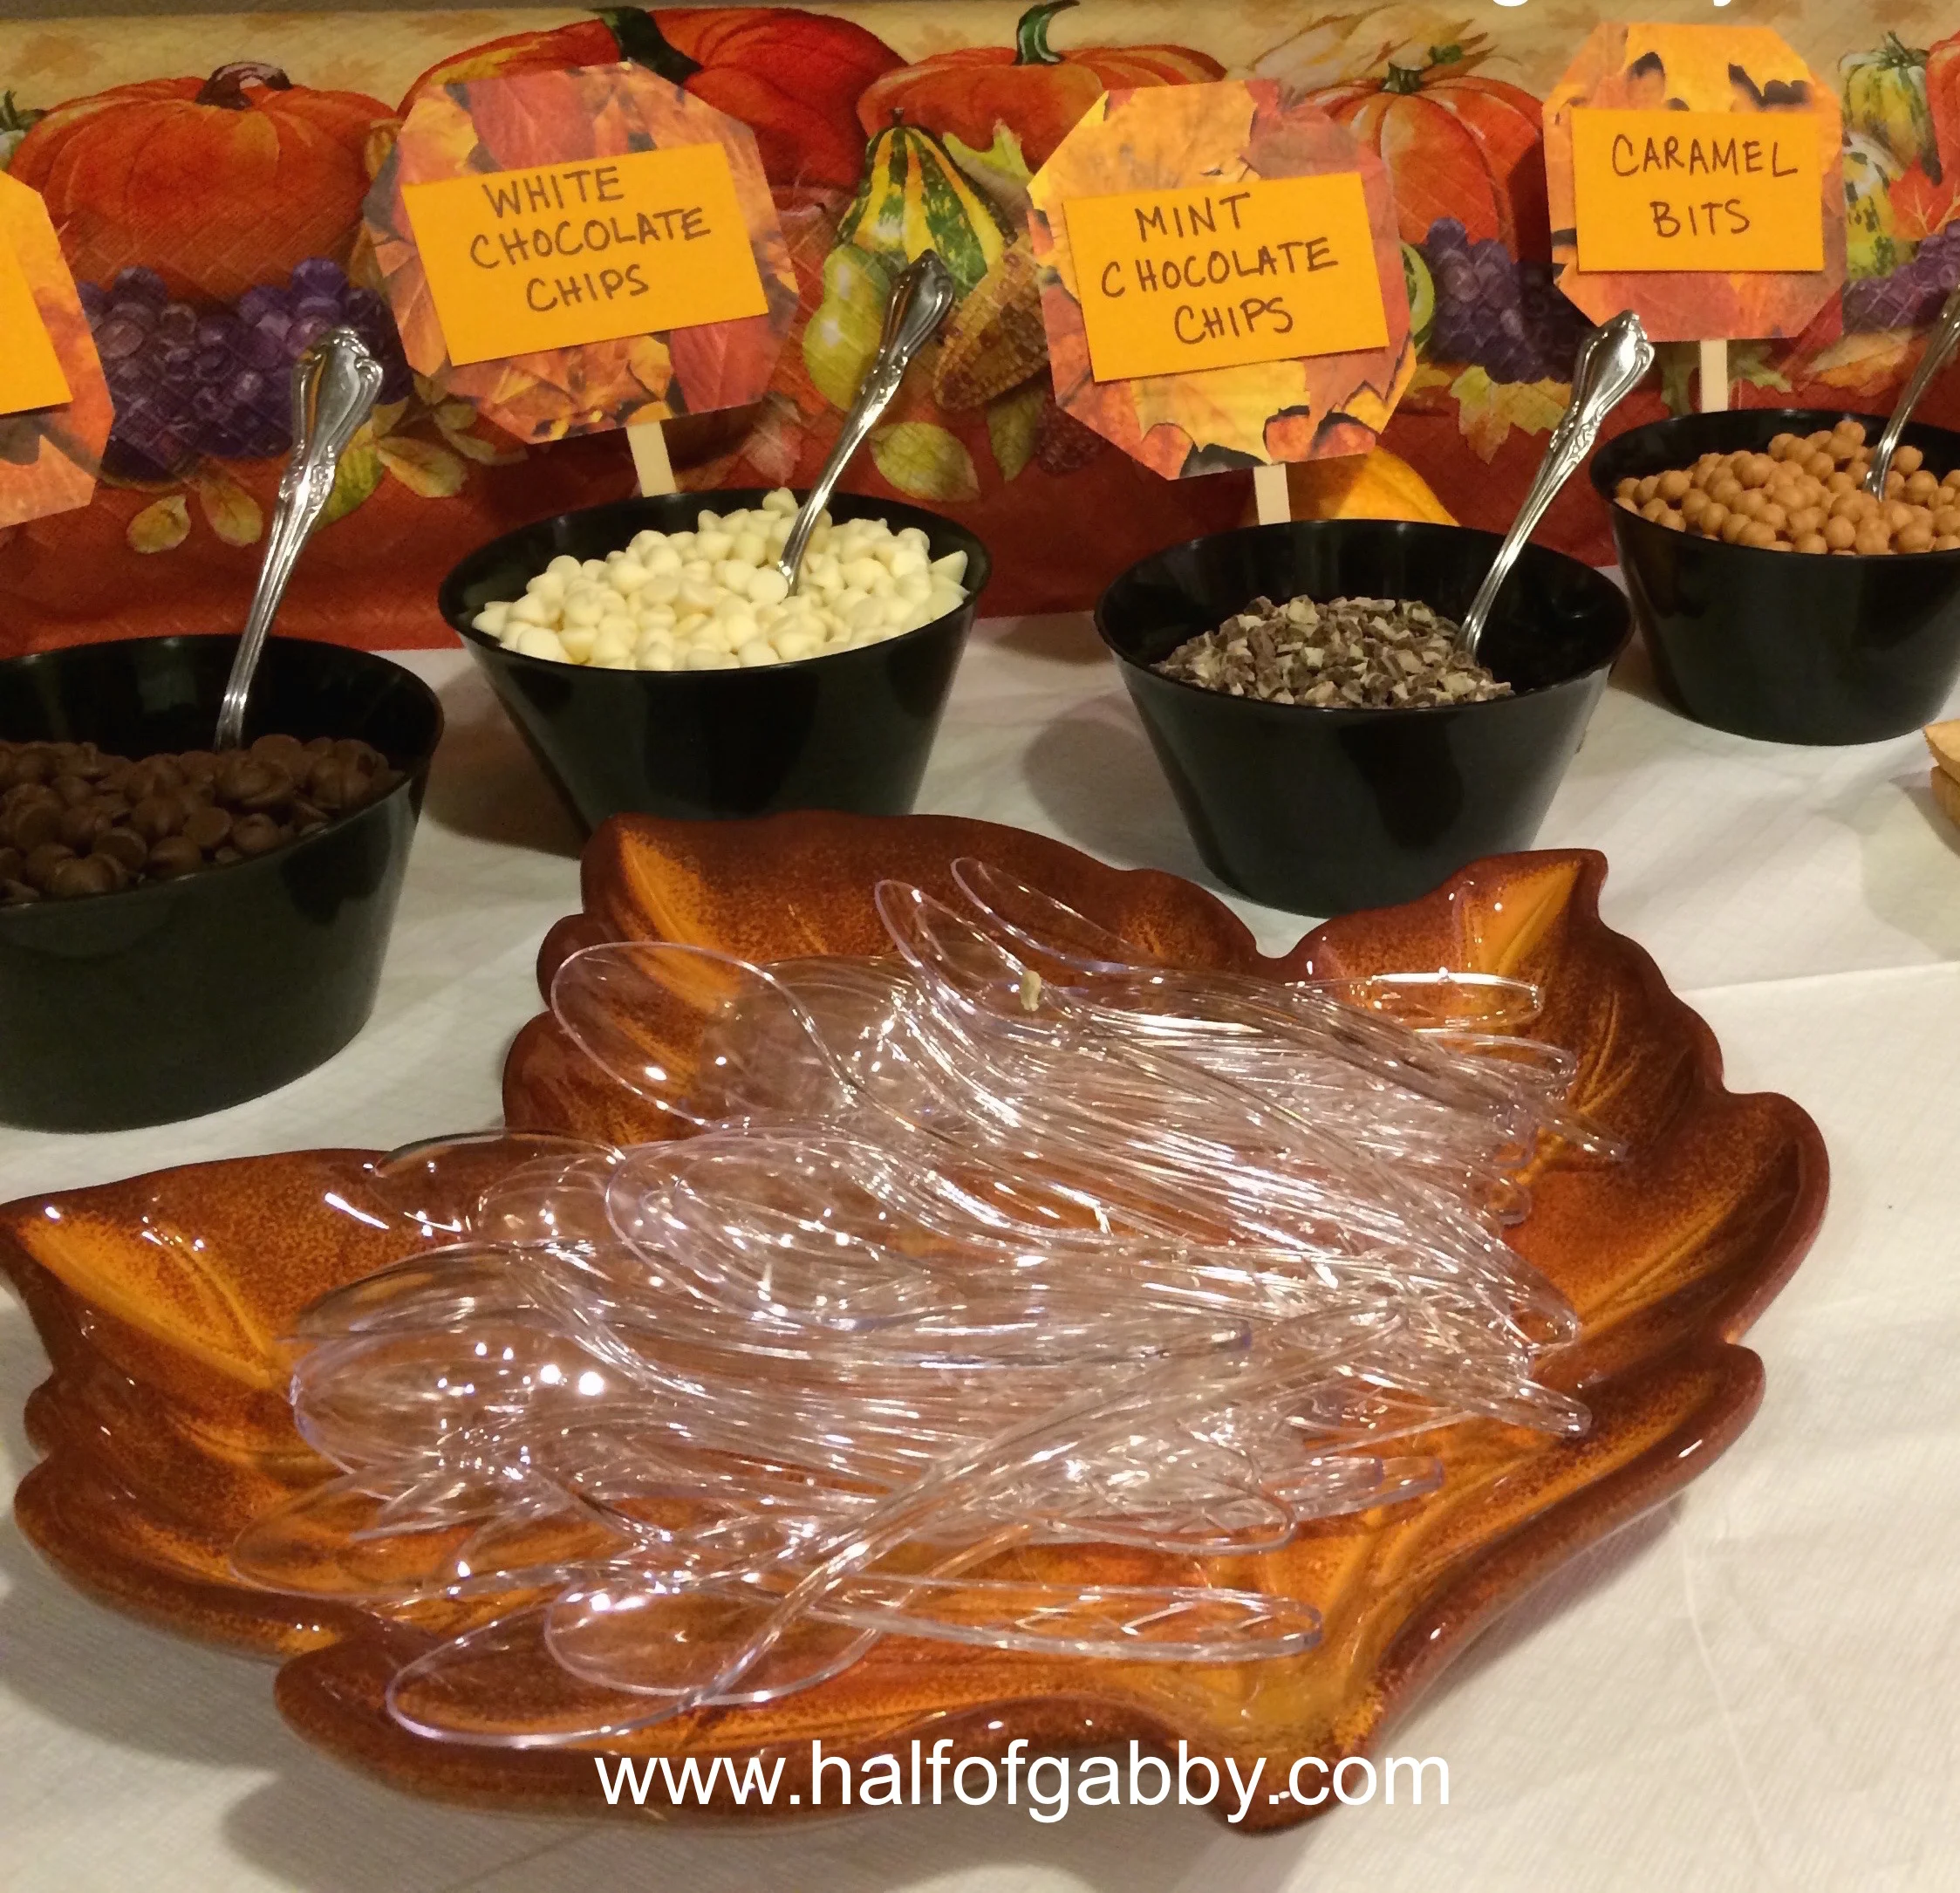
You can pick any kind of toppings that your little heart desires. I picked out some Fall flavor toppings such as candy corn and pumpkin spice mini marshmallows to go along with the theme but I also had all the classic yummies: Mini marshmallows, caramel bits, chocolate chips, white chocolate chips, and I had to throw in mint chocolate chips for my 10 year old because that is her favorite flavor of all time :)
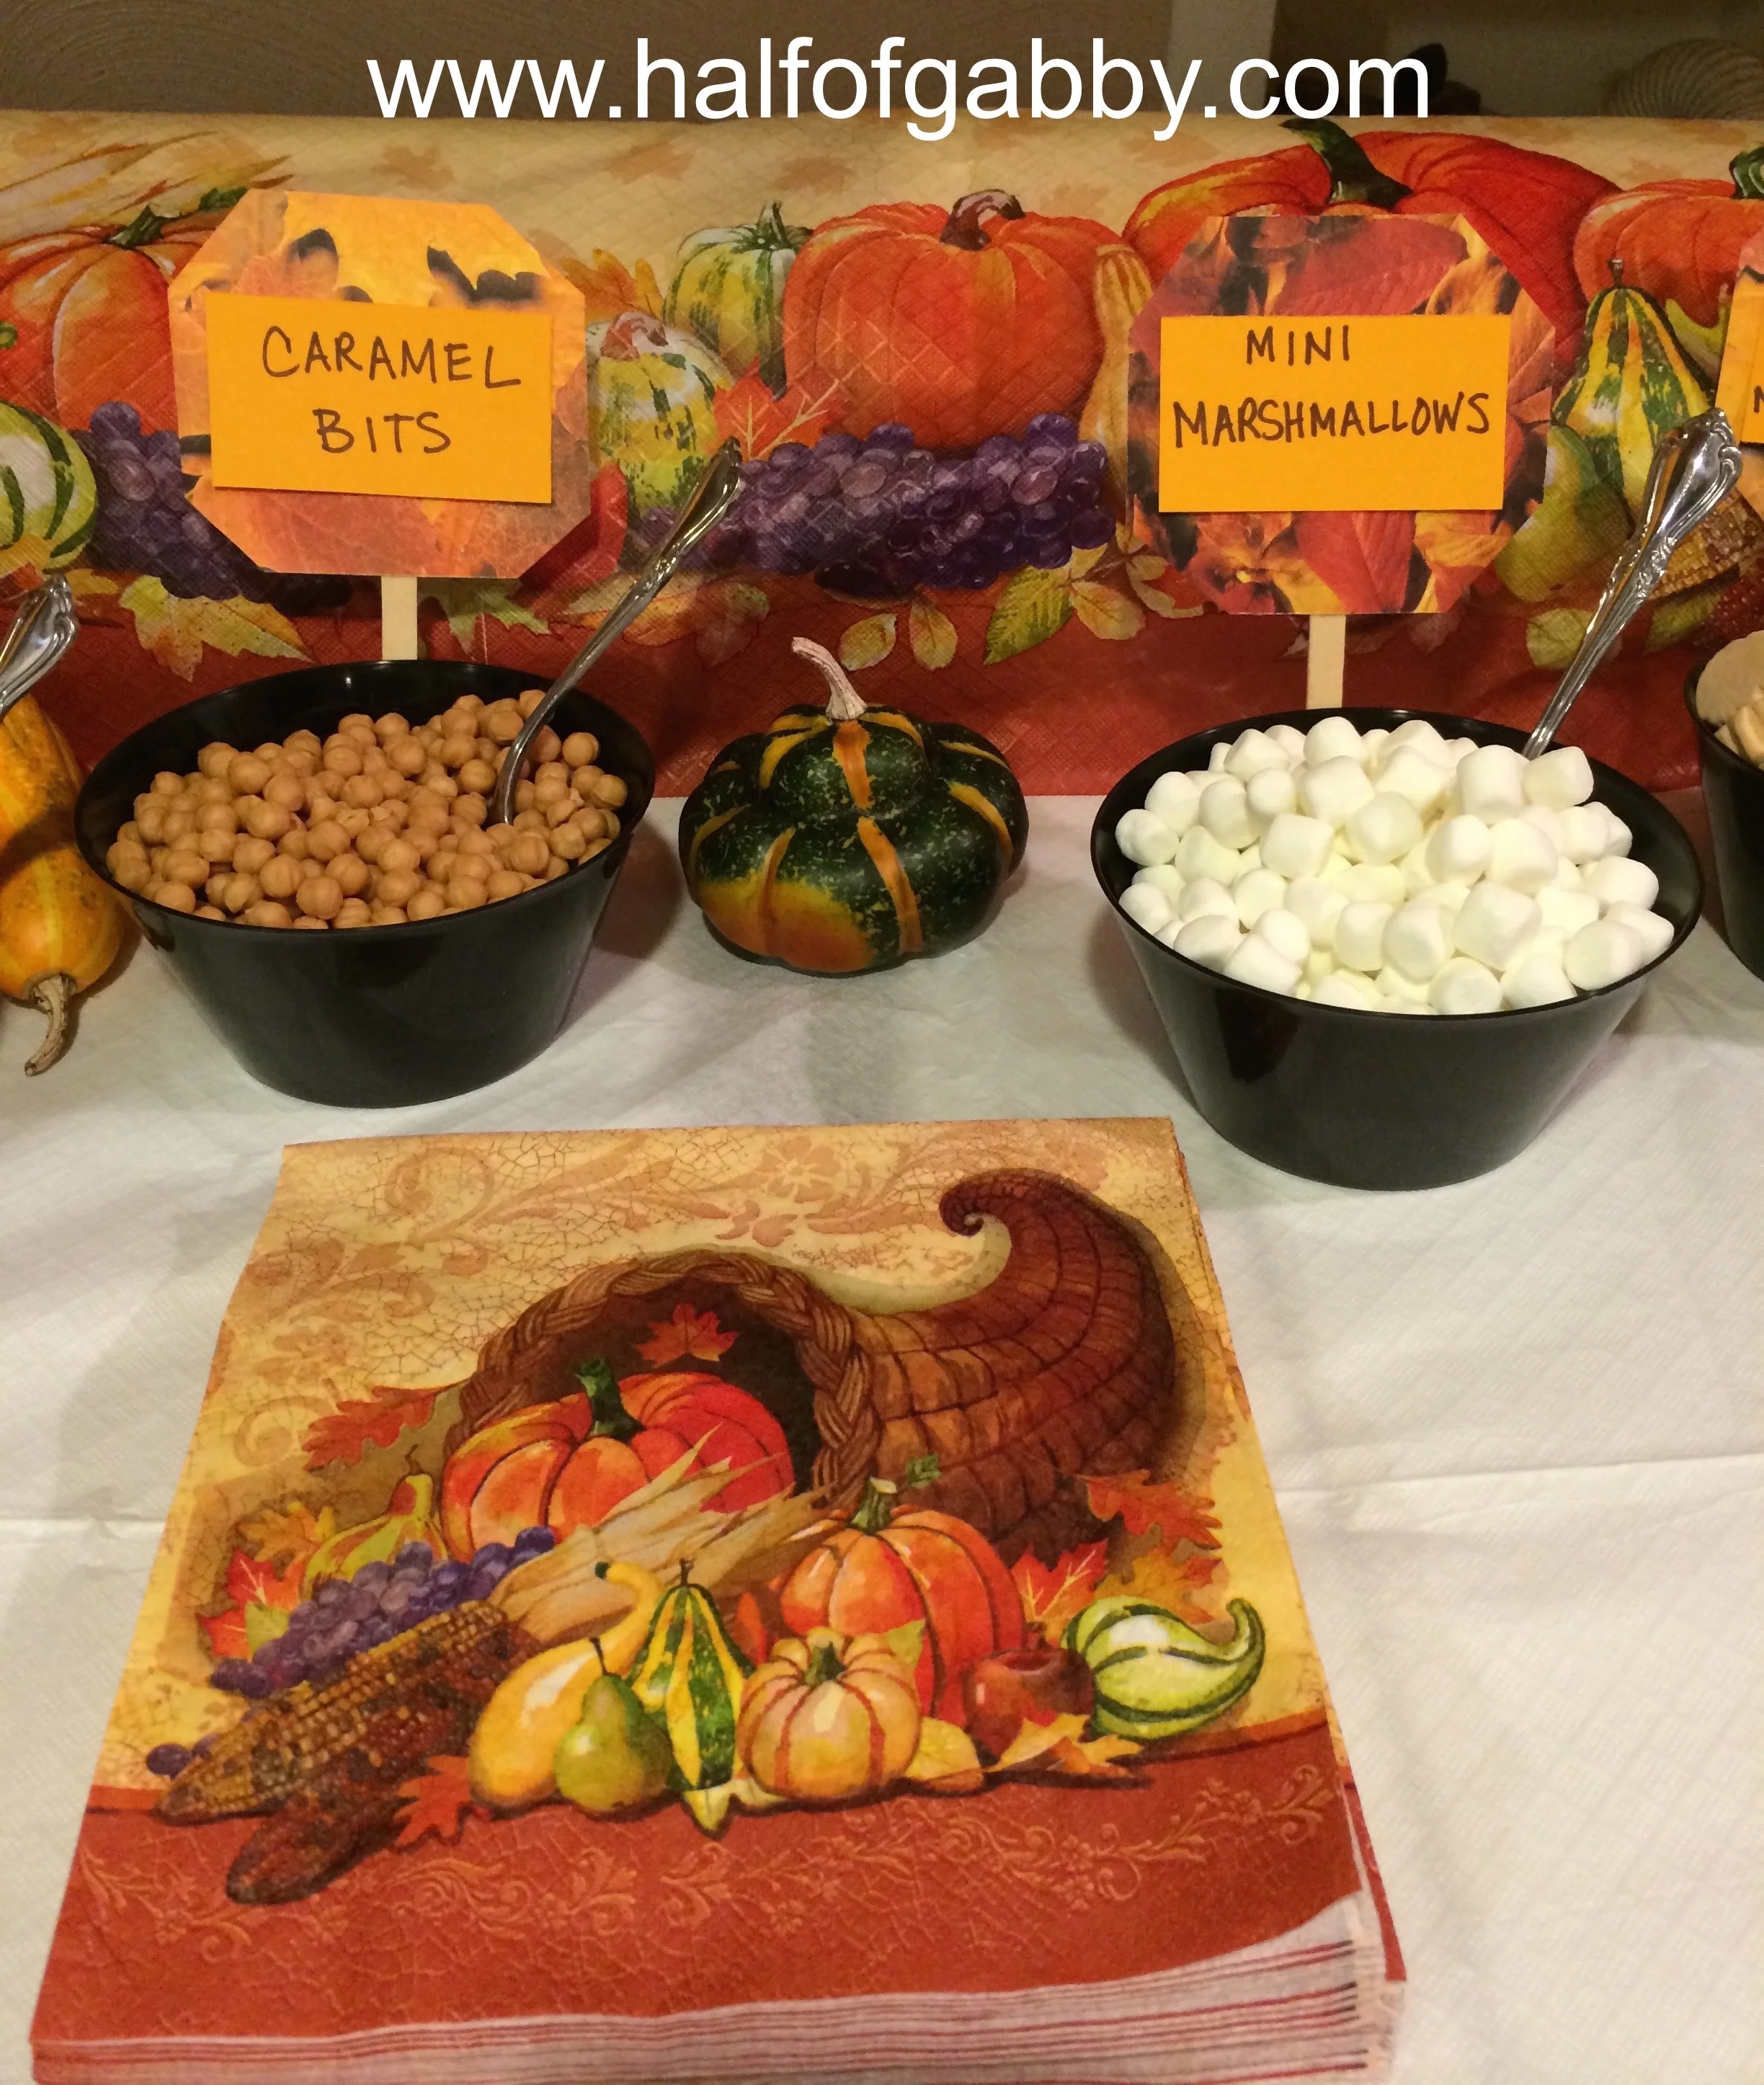
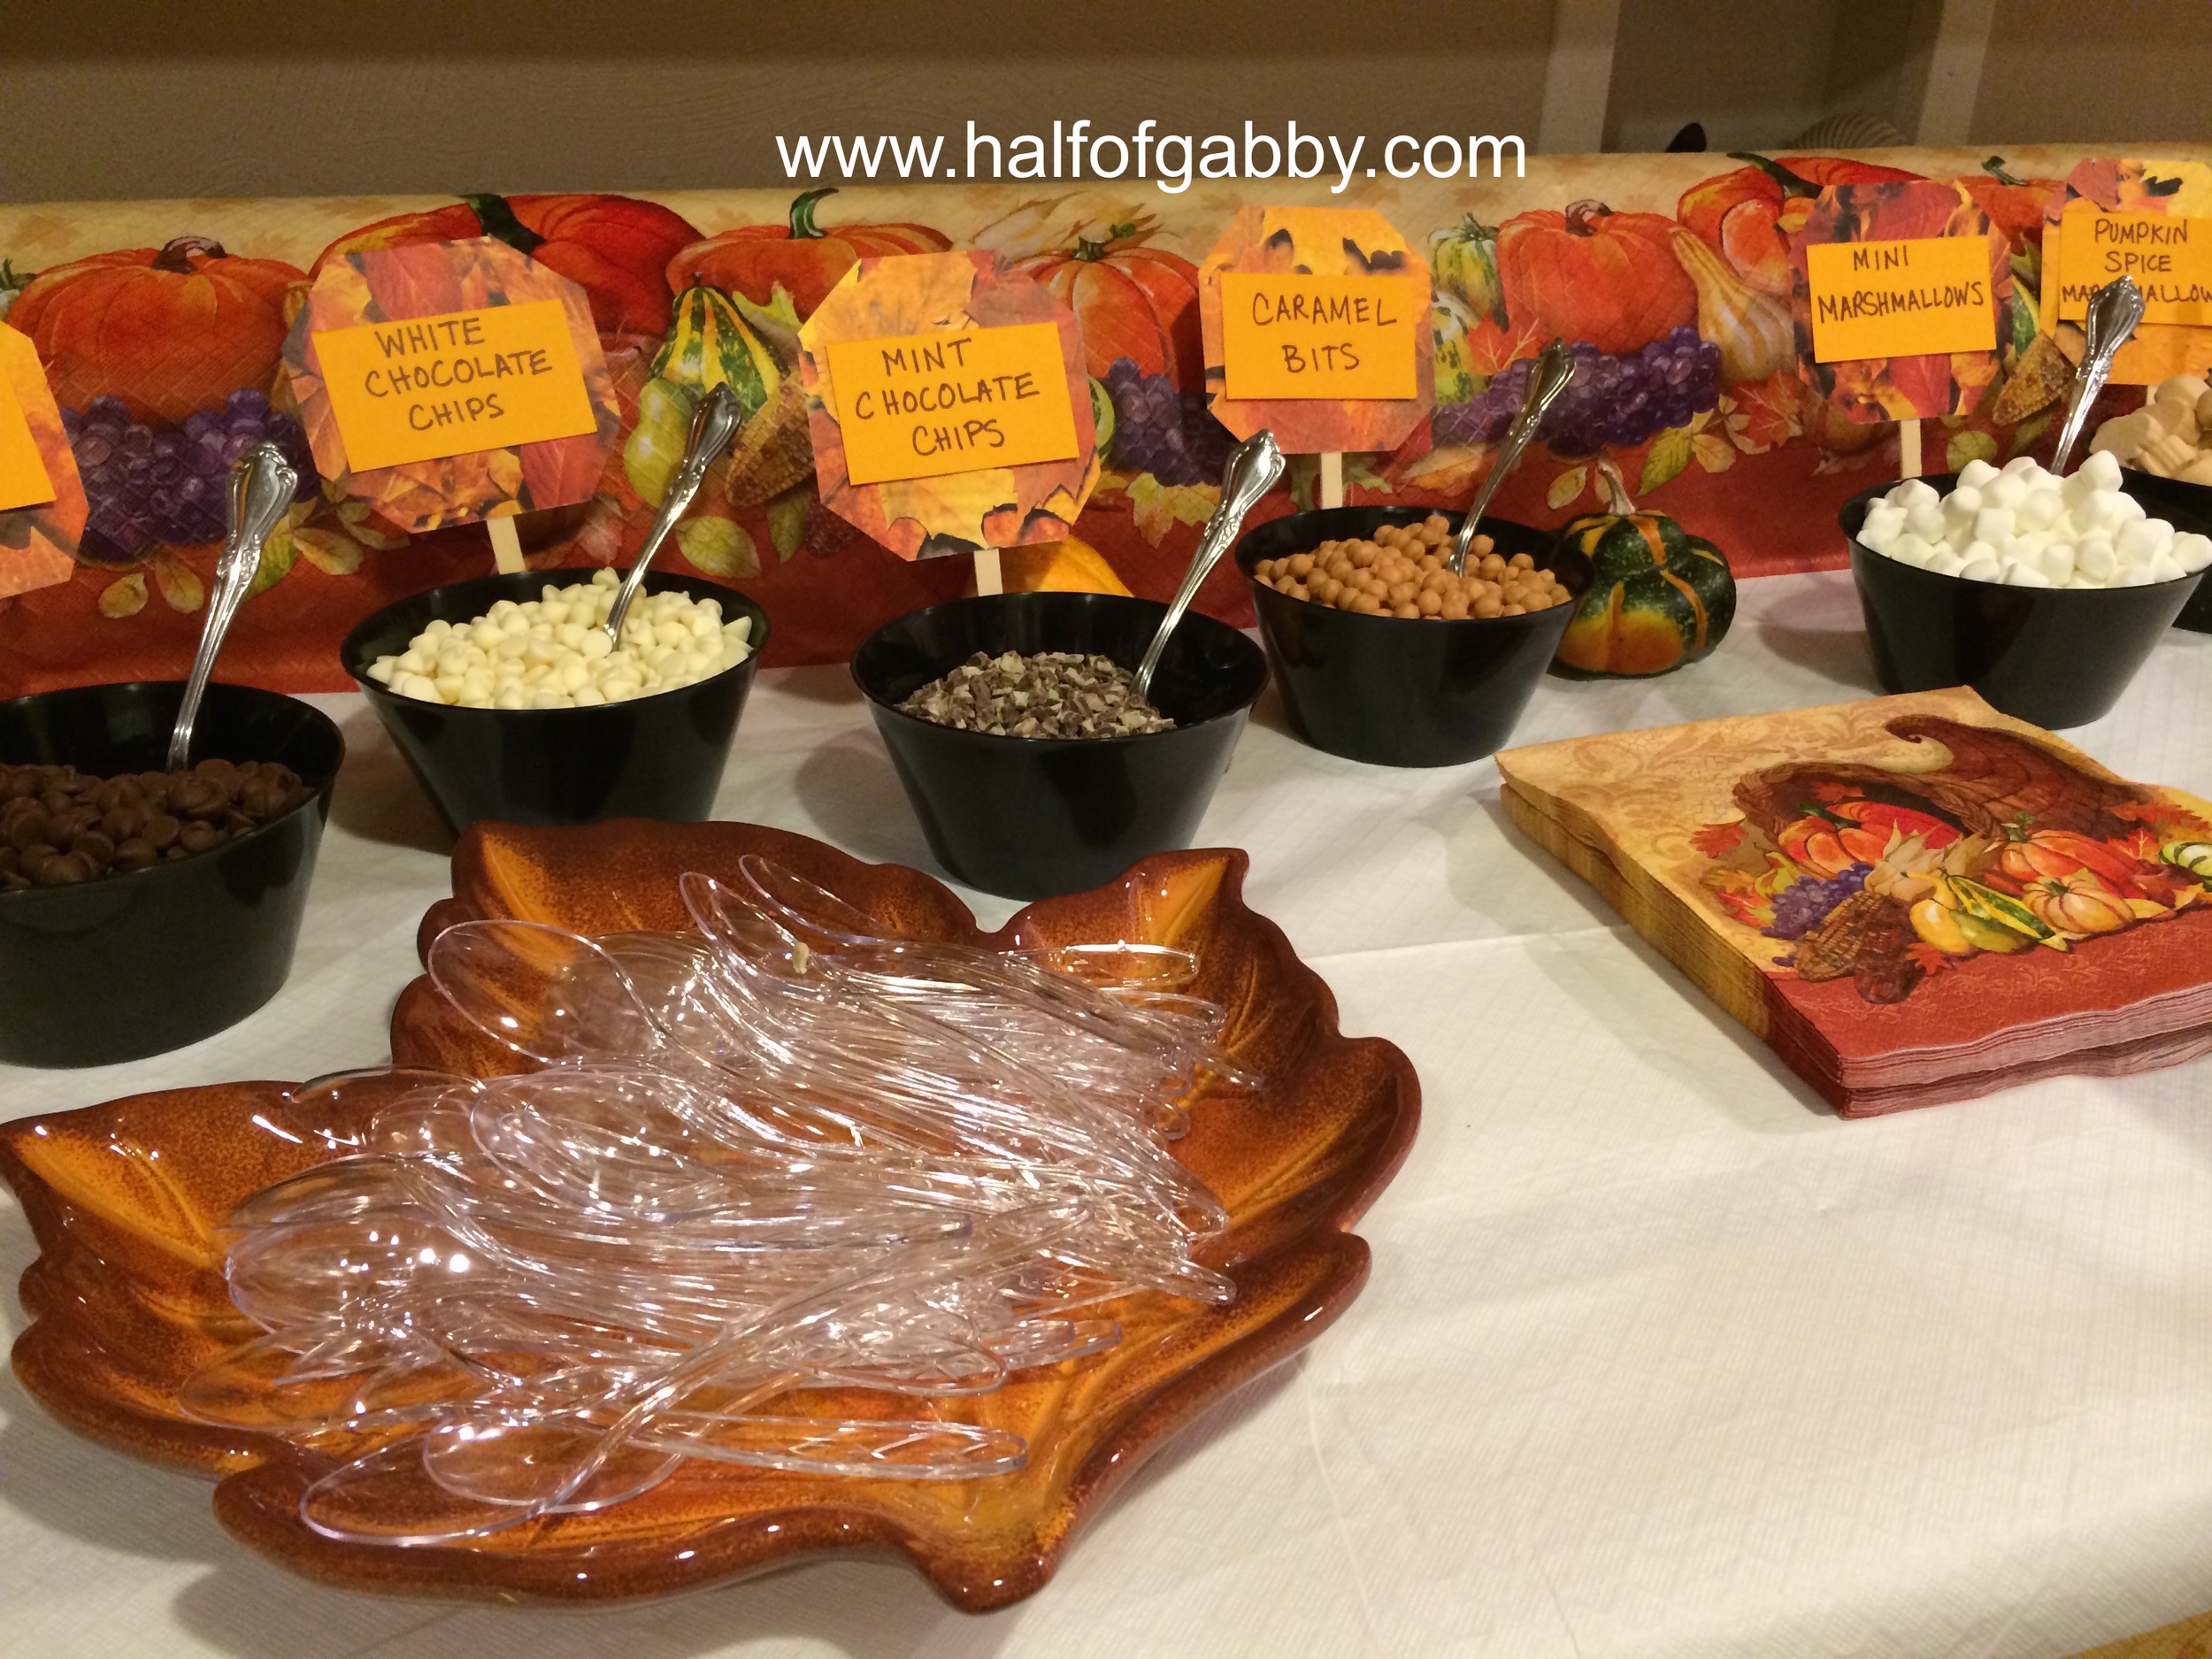
5. After you have all your toppings rearranged to your liking, then you add your napkins, plates, cocoa stirrers, and anything else you might want to use to spruce up the bar area. I placed some mini pumpkins and gourds around for a little something extra.
Tip:
I used Pepperidge Farm Rolled Wafer Cookies for yummy stirrers.
In addition to the rolled wafer cookies for stirrers, I also provided some simple plastic spoons for a more sturdy and traditional stirrer. I threw them in a festive Fall dish that added to the theme.
And that's it, folks! There's really not too much to it!

But even though it doesn't take that much work, it has an OUT OF THIS WORLD WOW FACTOR!

The possibilities are endless!
~~~
*The information on this site is not intended or implied to be a substitute for professional medical advice, diagnosis or treatment. All content in this article is for general information purposes only. I am not a doctor, nor am I a dietitian. Talk to your physician before making any changes in your diet or exercise regimen. The information found in this article is from various sources which include, but are not limited to, the sites listed above. I encourage you to do your own research and talk with your physician before making any changes in diet or exercise. What has worked for me may not work for you. This information in this article or on this website should never replace or serve as medical advice.
NEVER DISREGARD PROFESSIONAL MEDICAL ADVICE OR DELAY SEEKING MEDICAL TREATMENT BECAUSE OF SOMETHING YOU HAVE READ ON OR HAVE ACCESSED THROUGH THIS WEB SITE.
*Affiliate Disclaimer: Half of Gabby has recently become an Amazon Affiliate. The Federal Trade Commission (FTC) requires all affiliates to put a disclaimer on their website/blog. Most disclaimers are so filled with confusing lingo that you don’t even understand what they're saying. I’m going to break it down for you the way I'd want it to be broken down for me. I’m not a fan of complicated and unclear regulation jargon. So here’s the dealio. Half of Gabby takes up a tremendous amount of my time. But because I love it so much, I really want to continue dedicating my time to it. For six years now, I have been providing product links to products that I use and love and in turn recommend them to my readers. These products have helped me maintain a healthy lifestyle and/or improve my family life. I have helped sell countless products for six years and have never received any commissions… Until now. As of September 15, 2016, I will be providing links just as I've always done, but now will receive a very small commission if you purchase an item through the affiliate link that I provide. An affiliate link is simply a link that brings you to a place where you can buy that product. I will not earn a commission by you simply clicking on the link, you must actually purchase the item(s) within 24 hours of putting it in your Amazon cart. Prices are exactly the same for you if you purchase through an affiliate link on Half of Gabby. You will NOT pay more by clicking through the link. My promise to you is that I will never recommend a product that I don’t fully 100% believe in and/or use myself and recommend to close friends and family. This will allow me to continue working hard on Half of Gabby without it using up time that I need to otherwise dedicate to contributing to my household. I'm happy to be able to continue my blog and to continue talking with, meeting, and helping people all over the world with their health journeys!


