


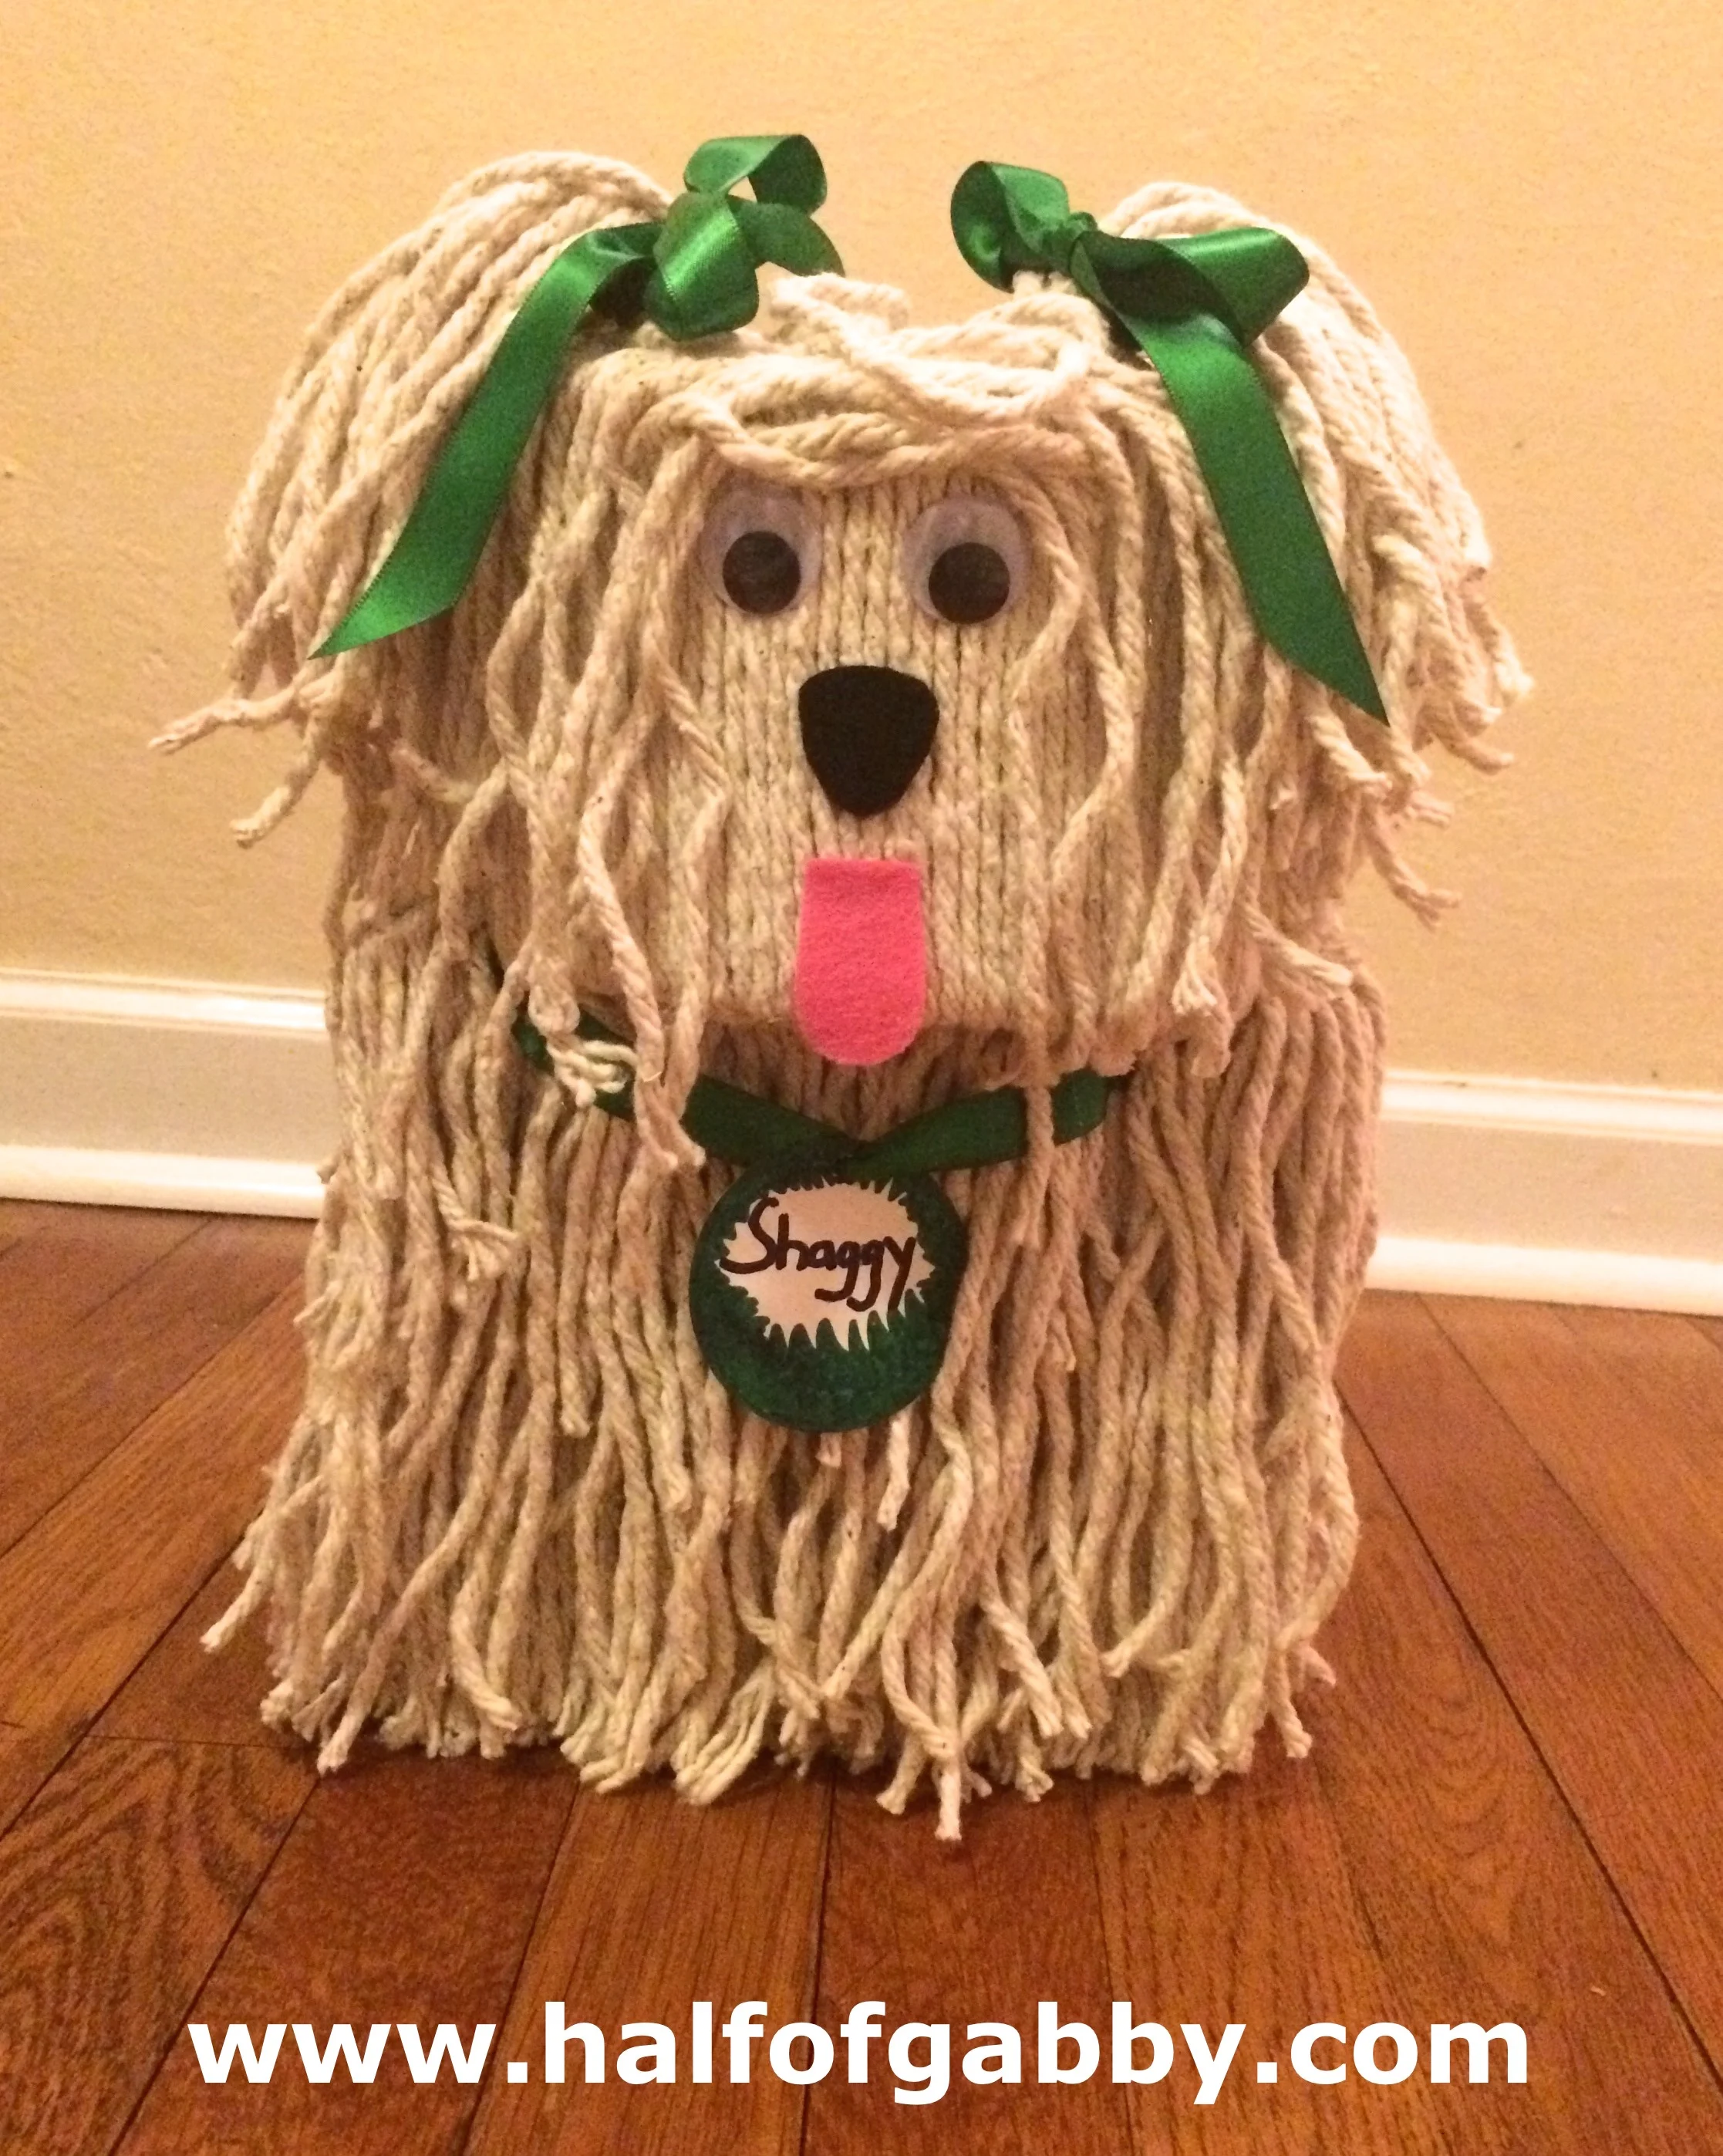
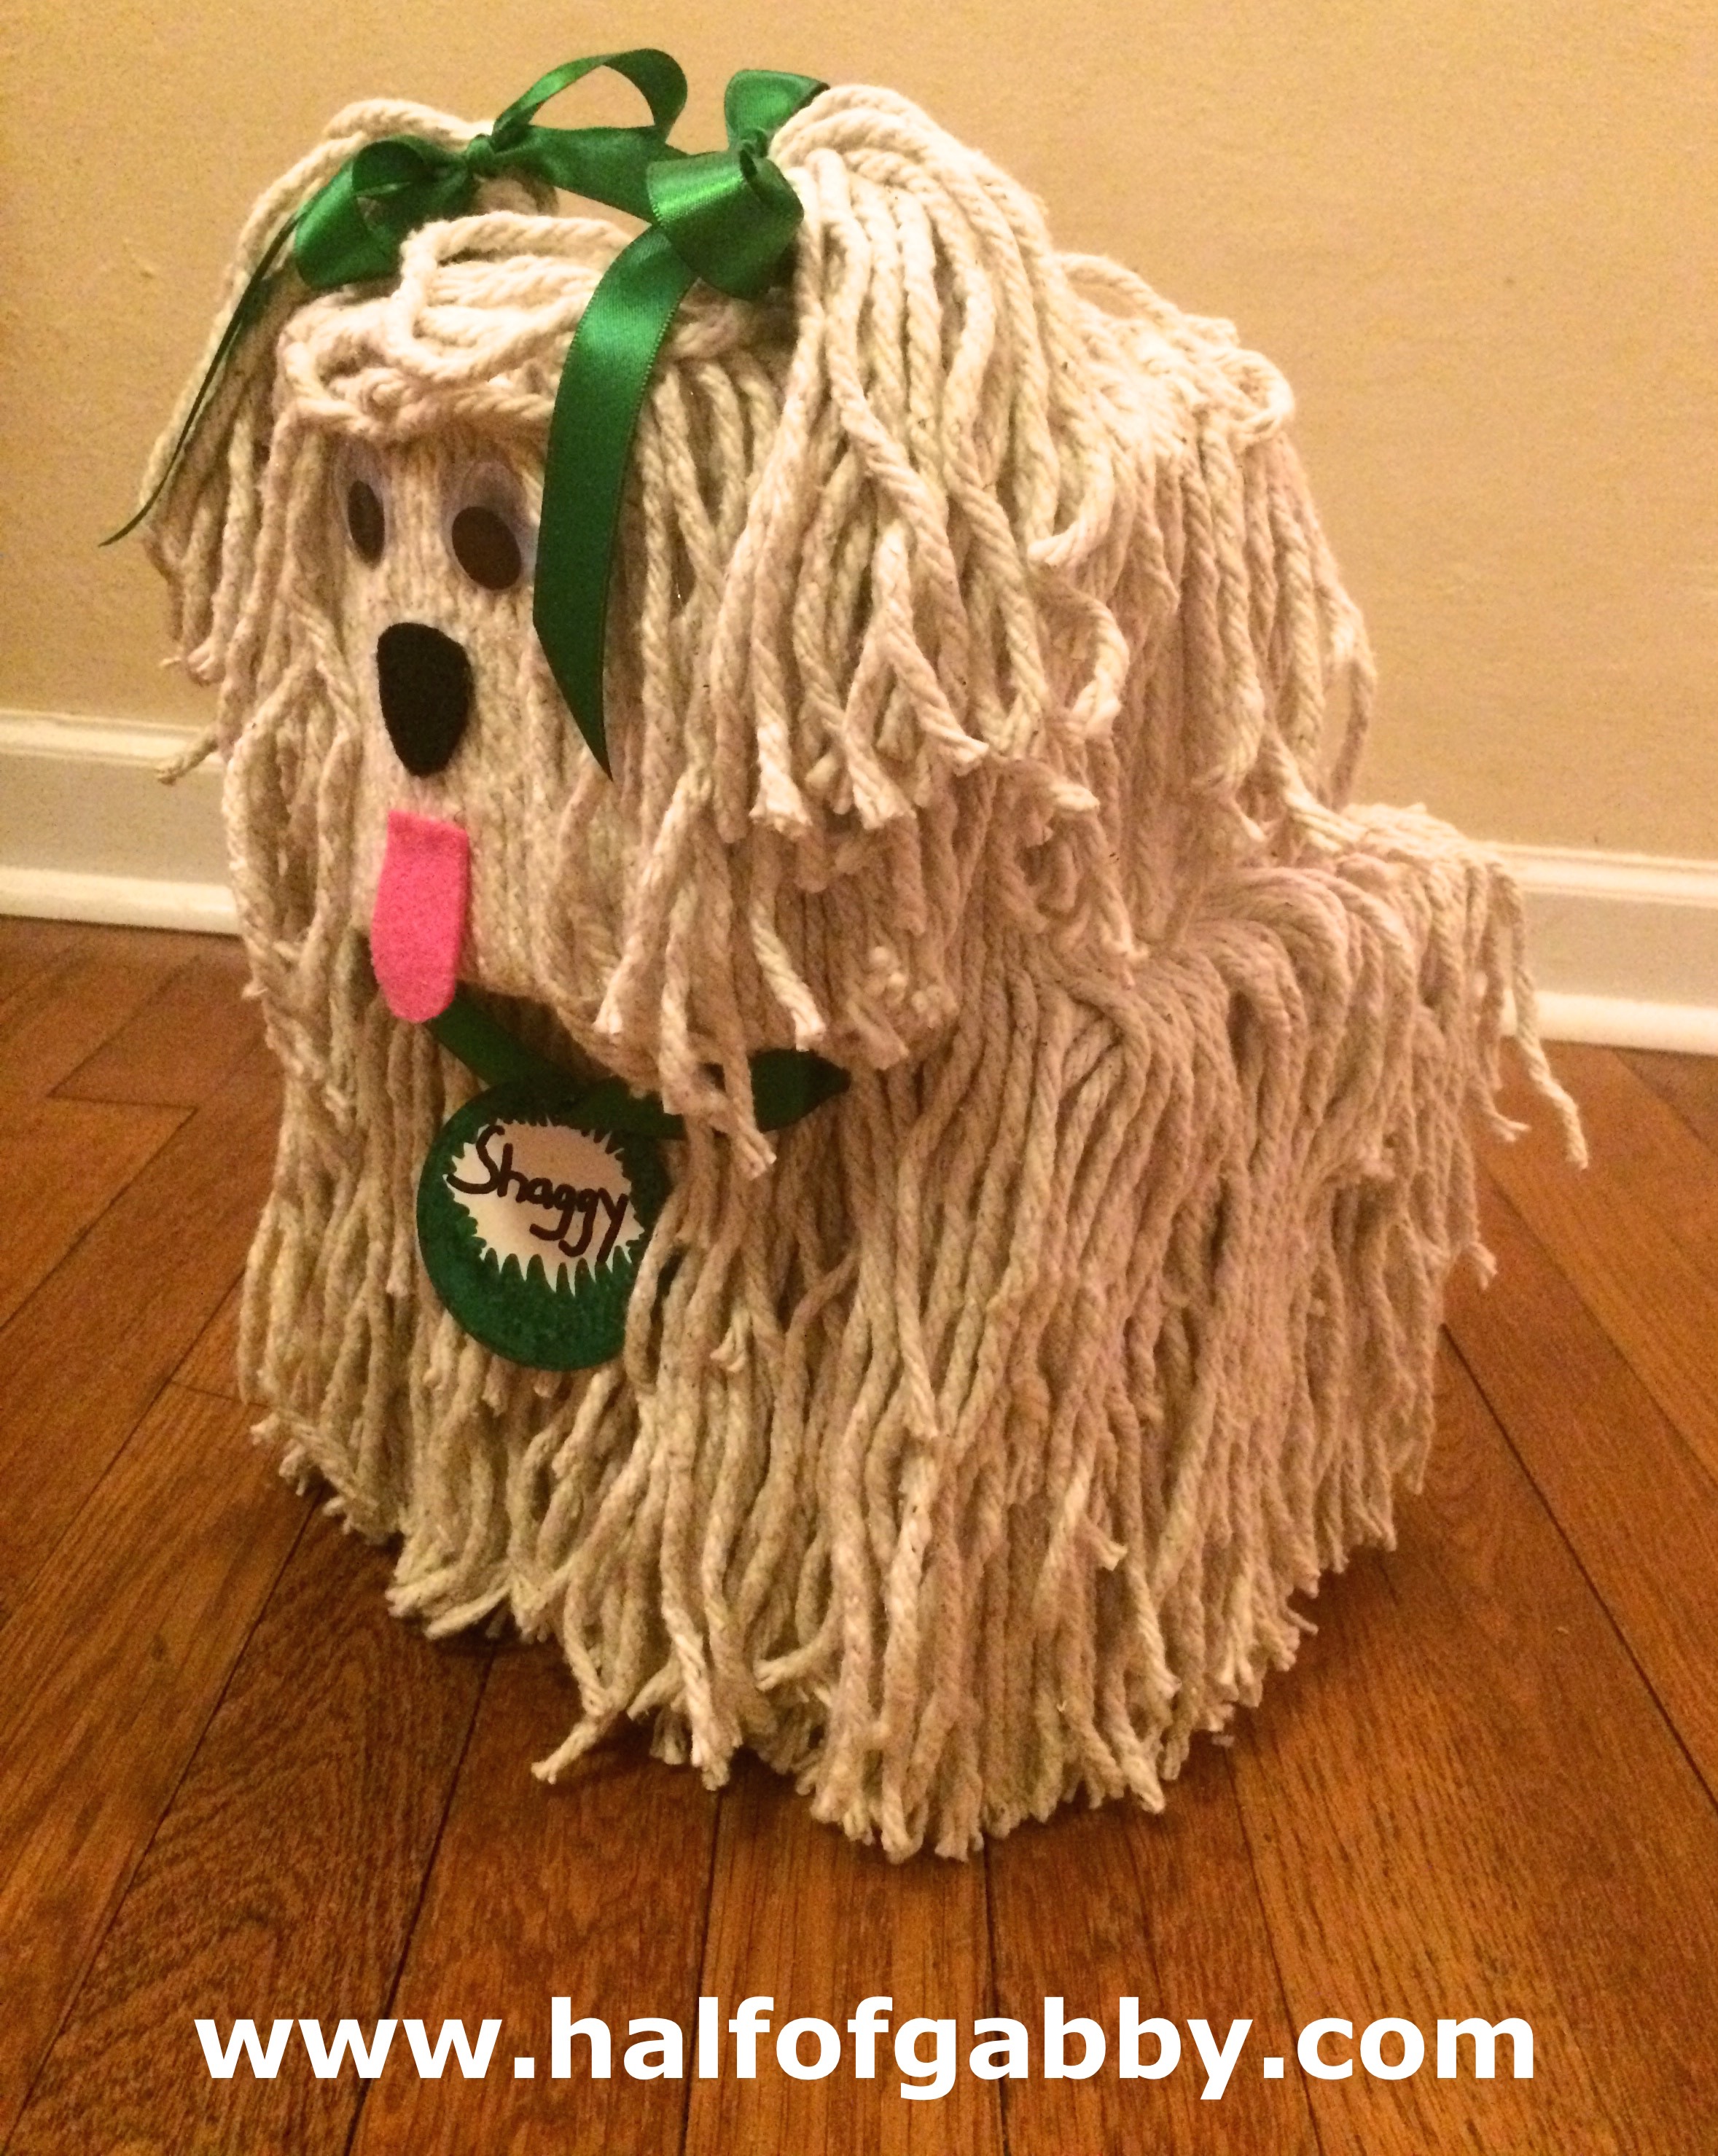
DOGGIE VALENTINE BOX: Printable Instructions Included!

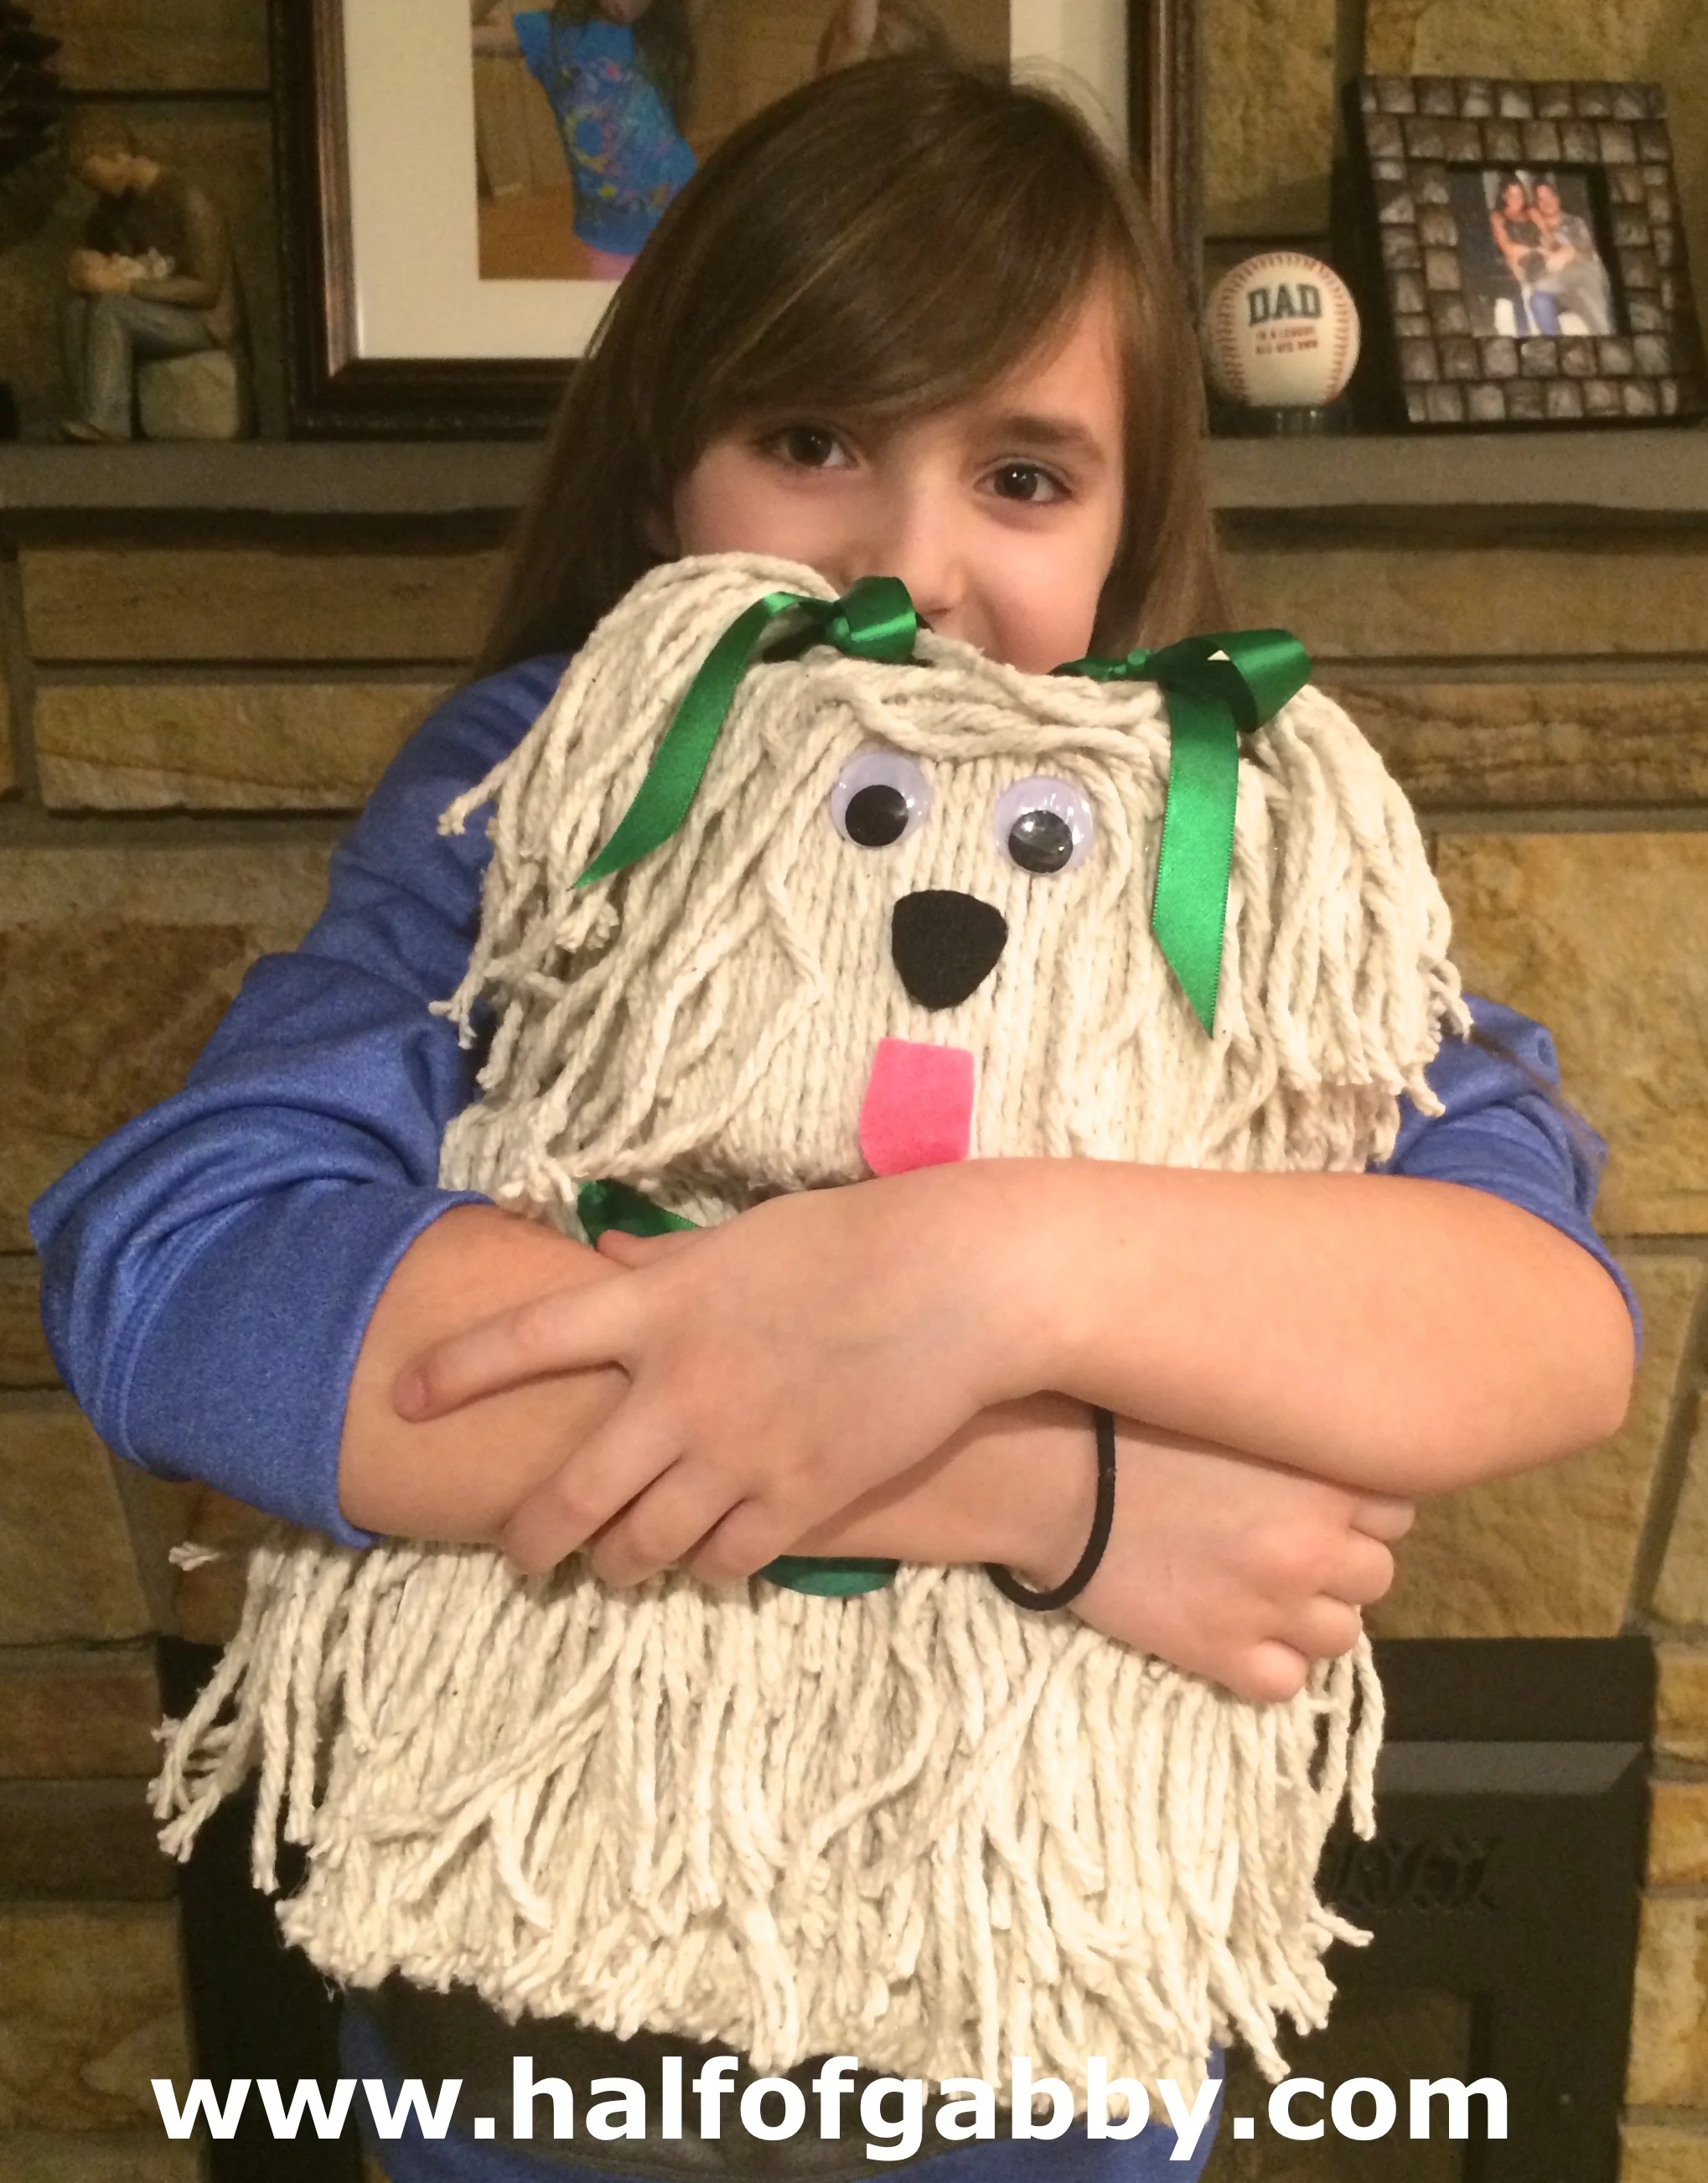
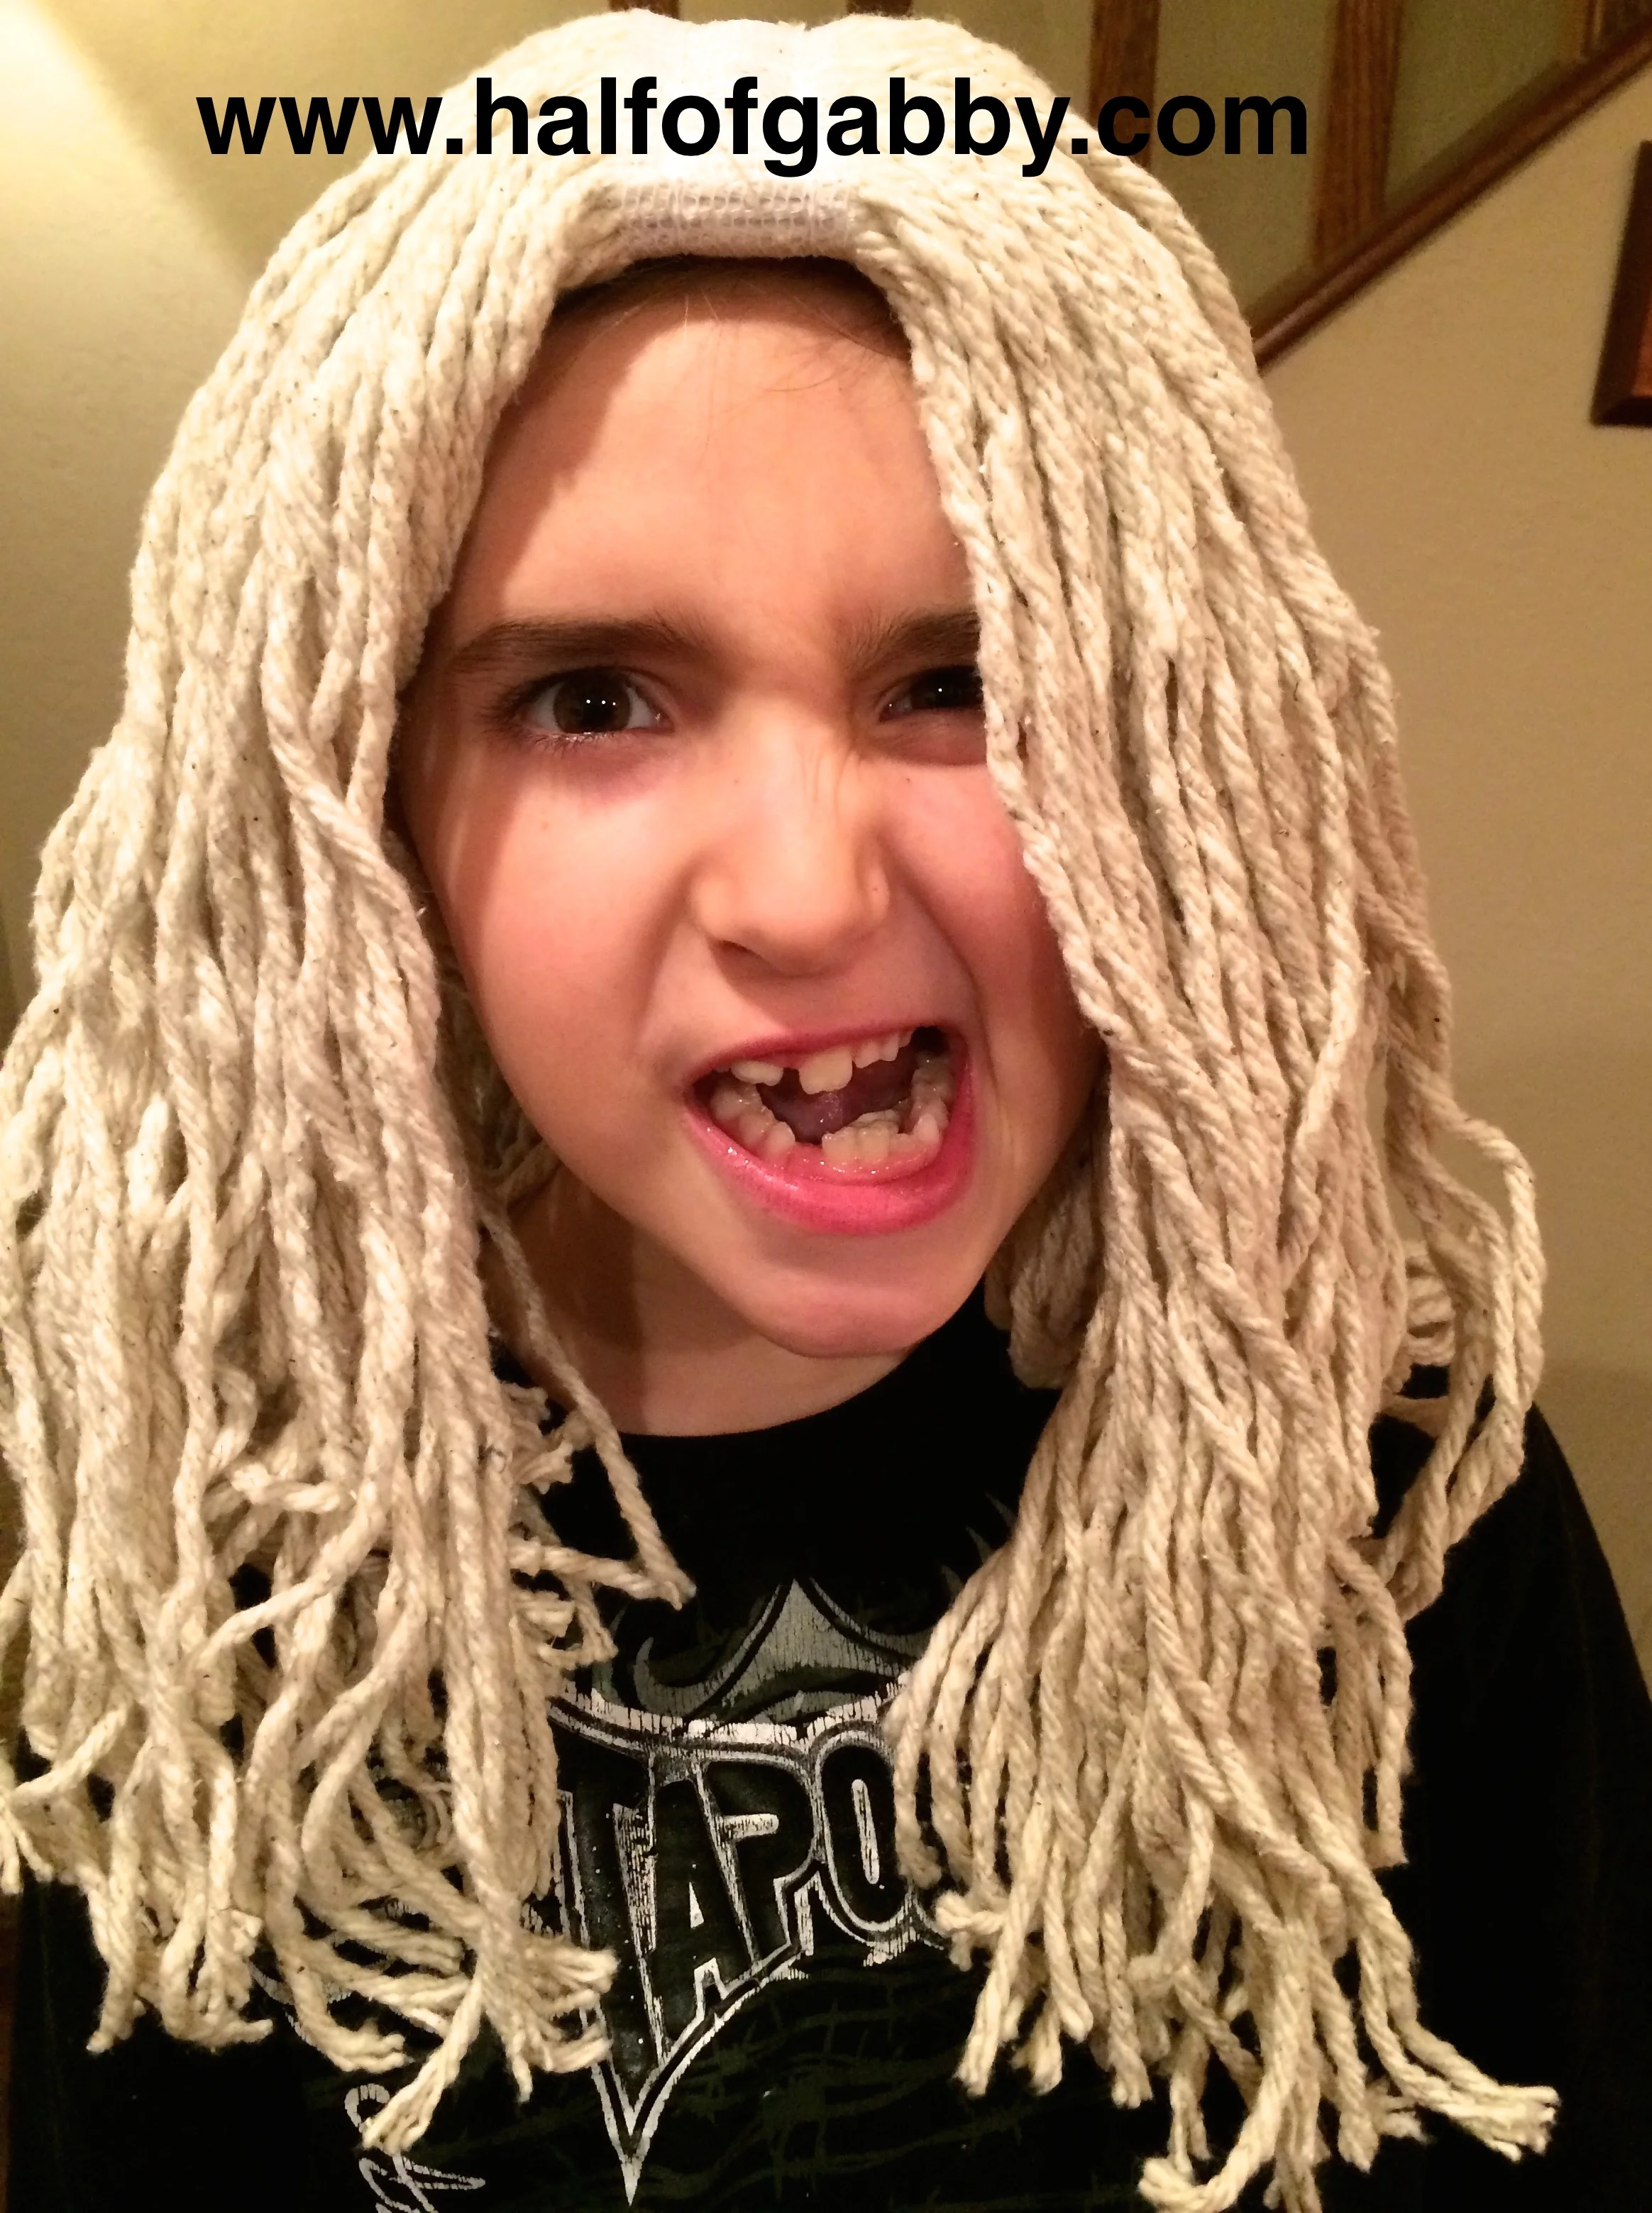
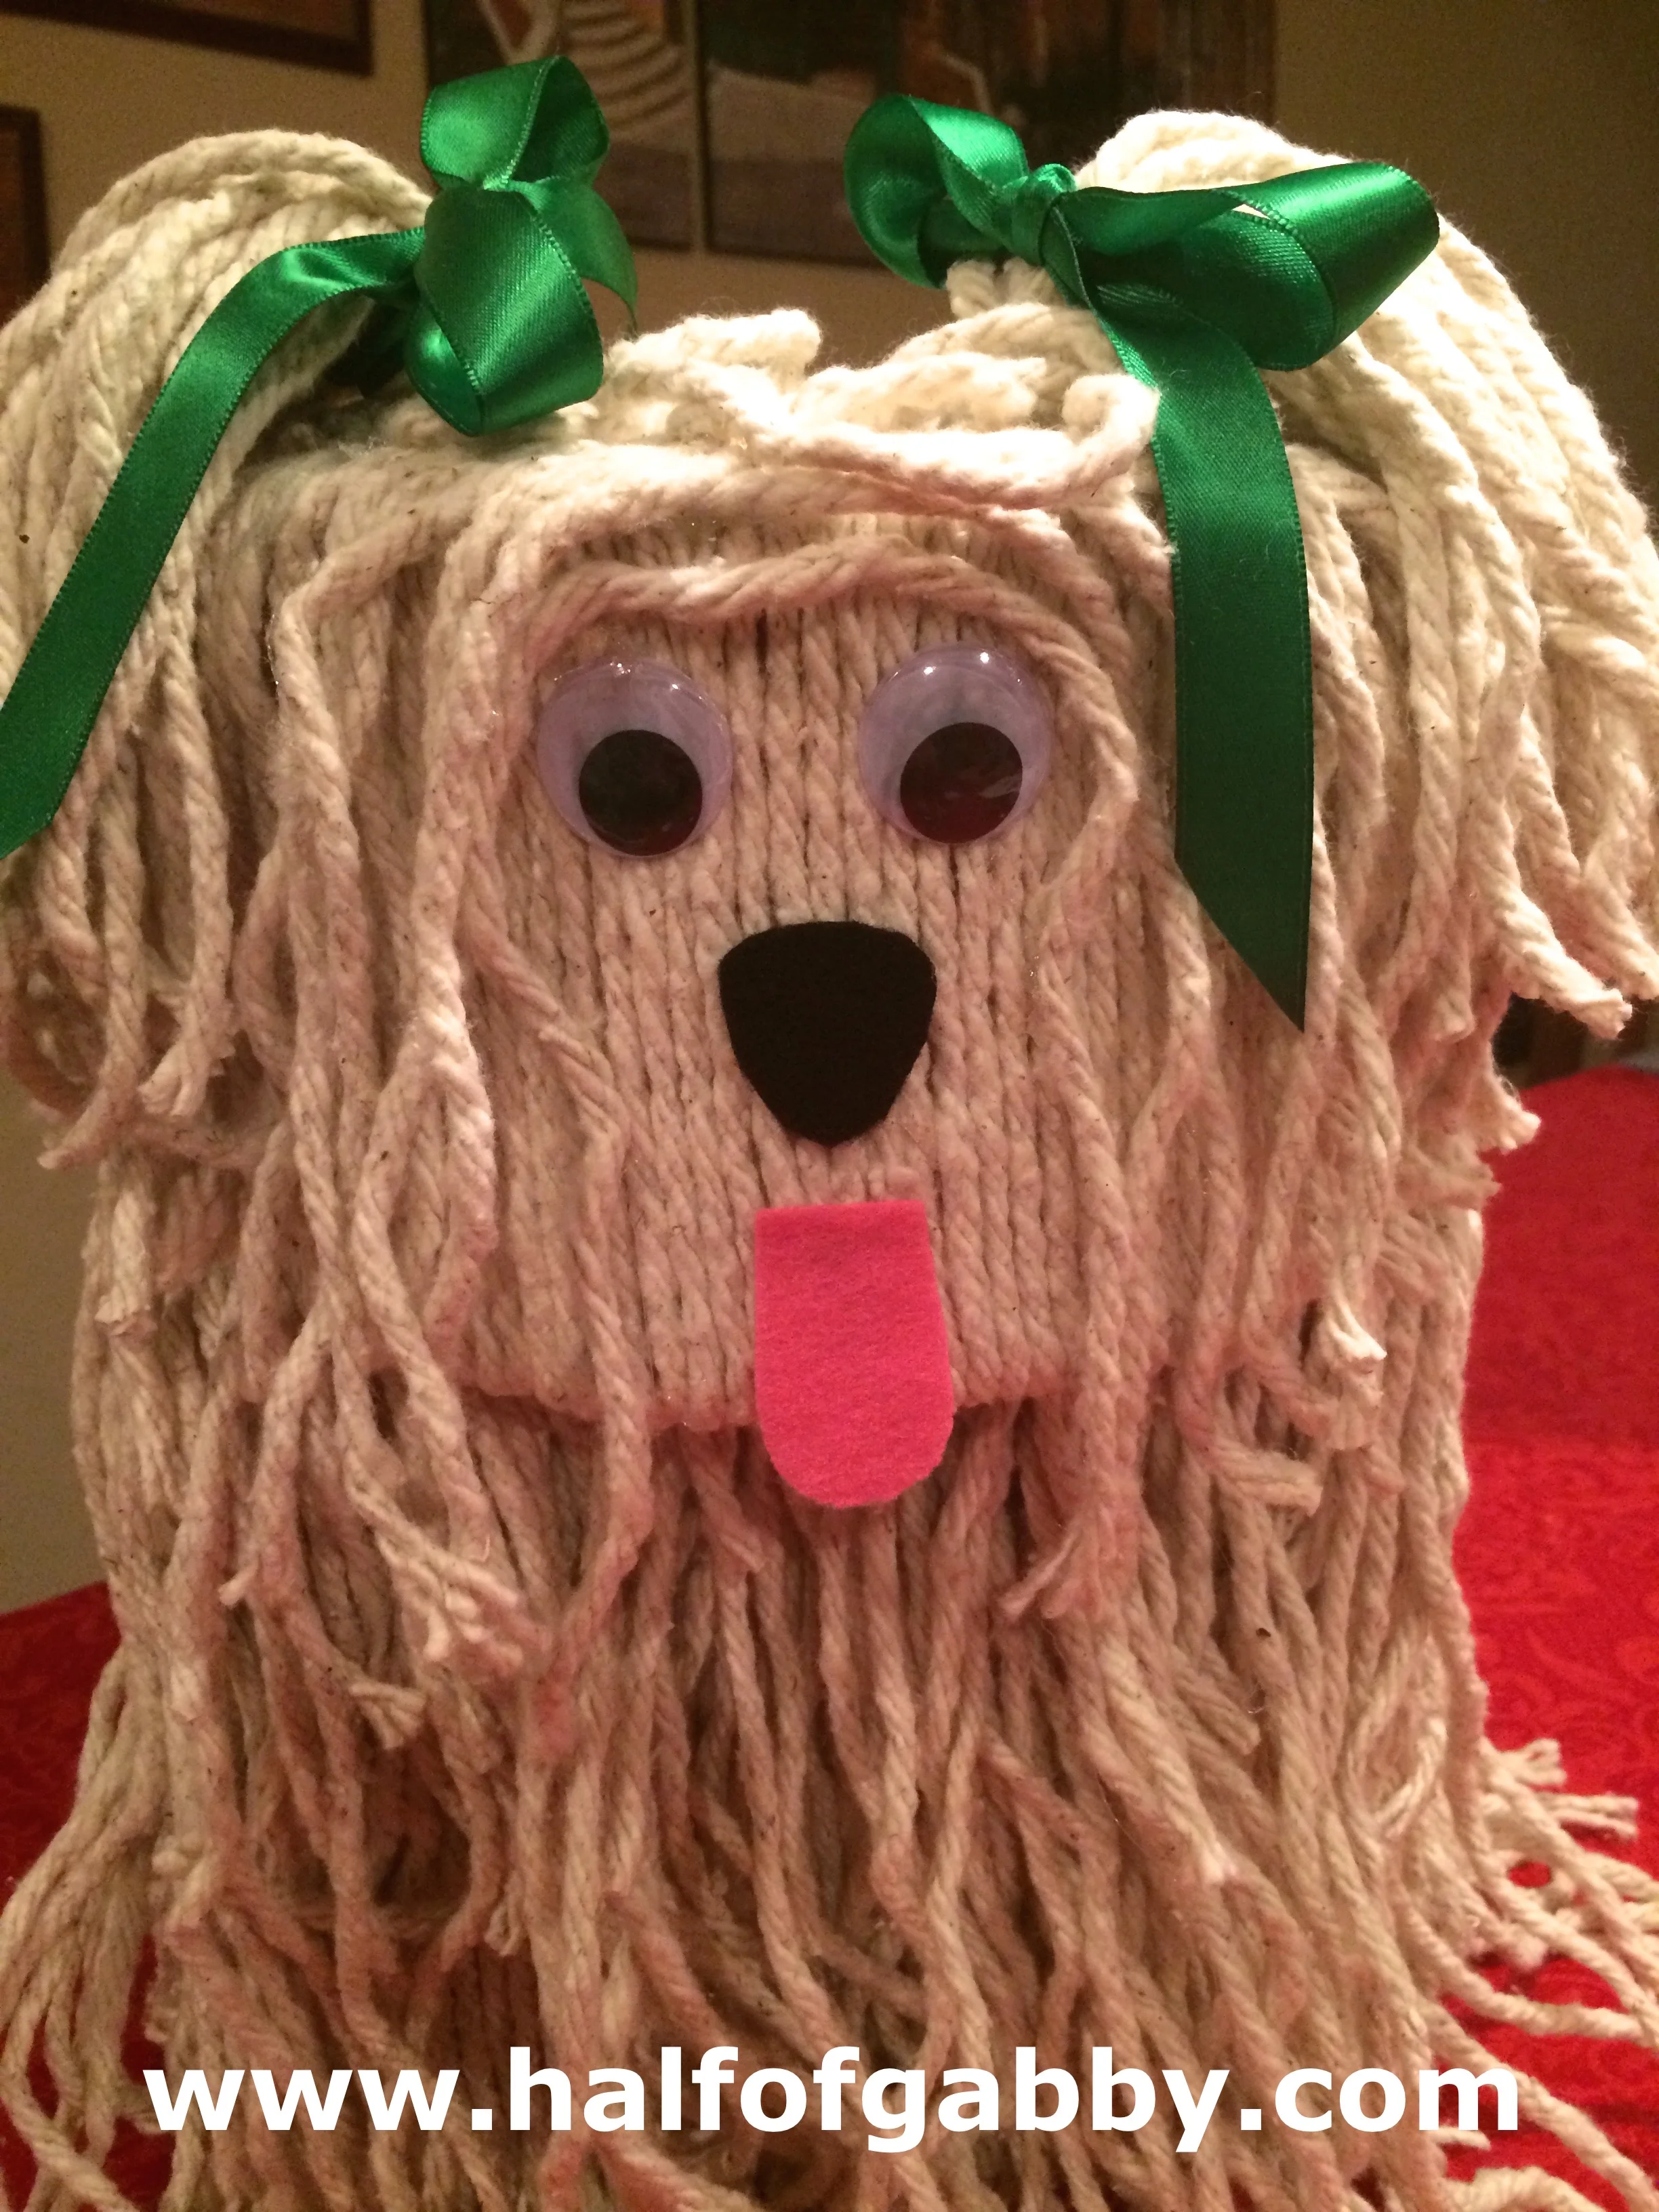
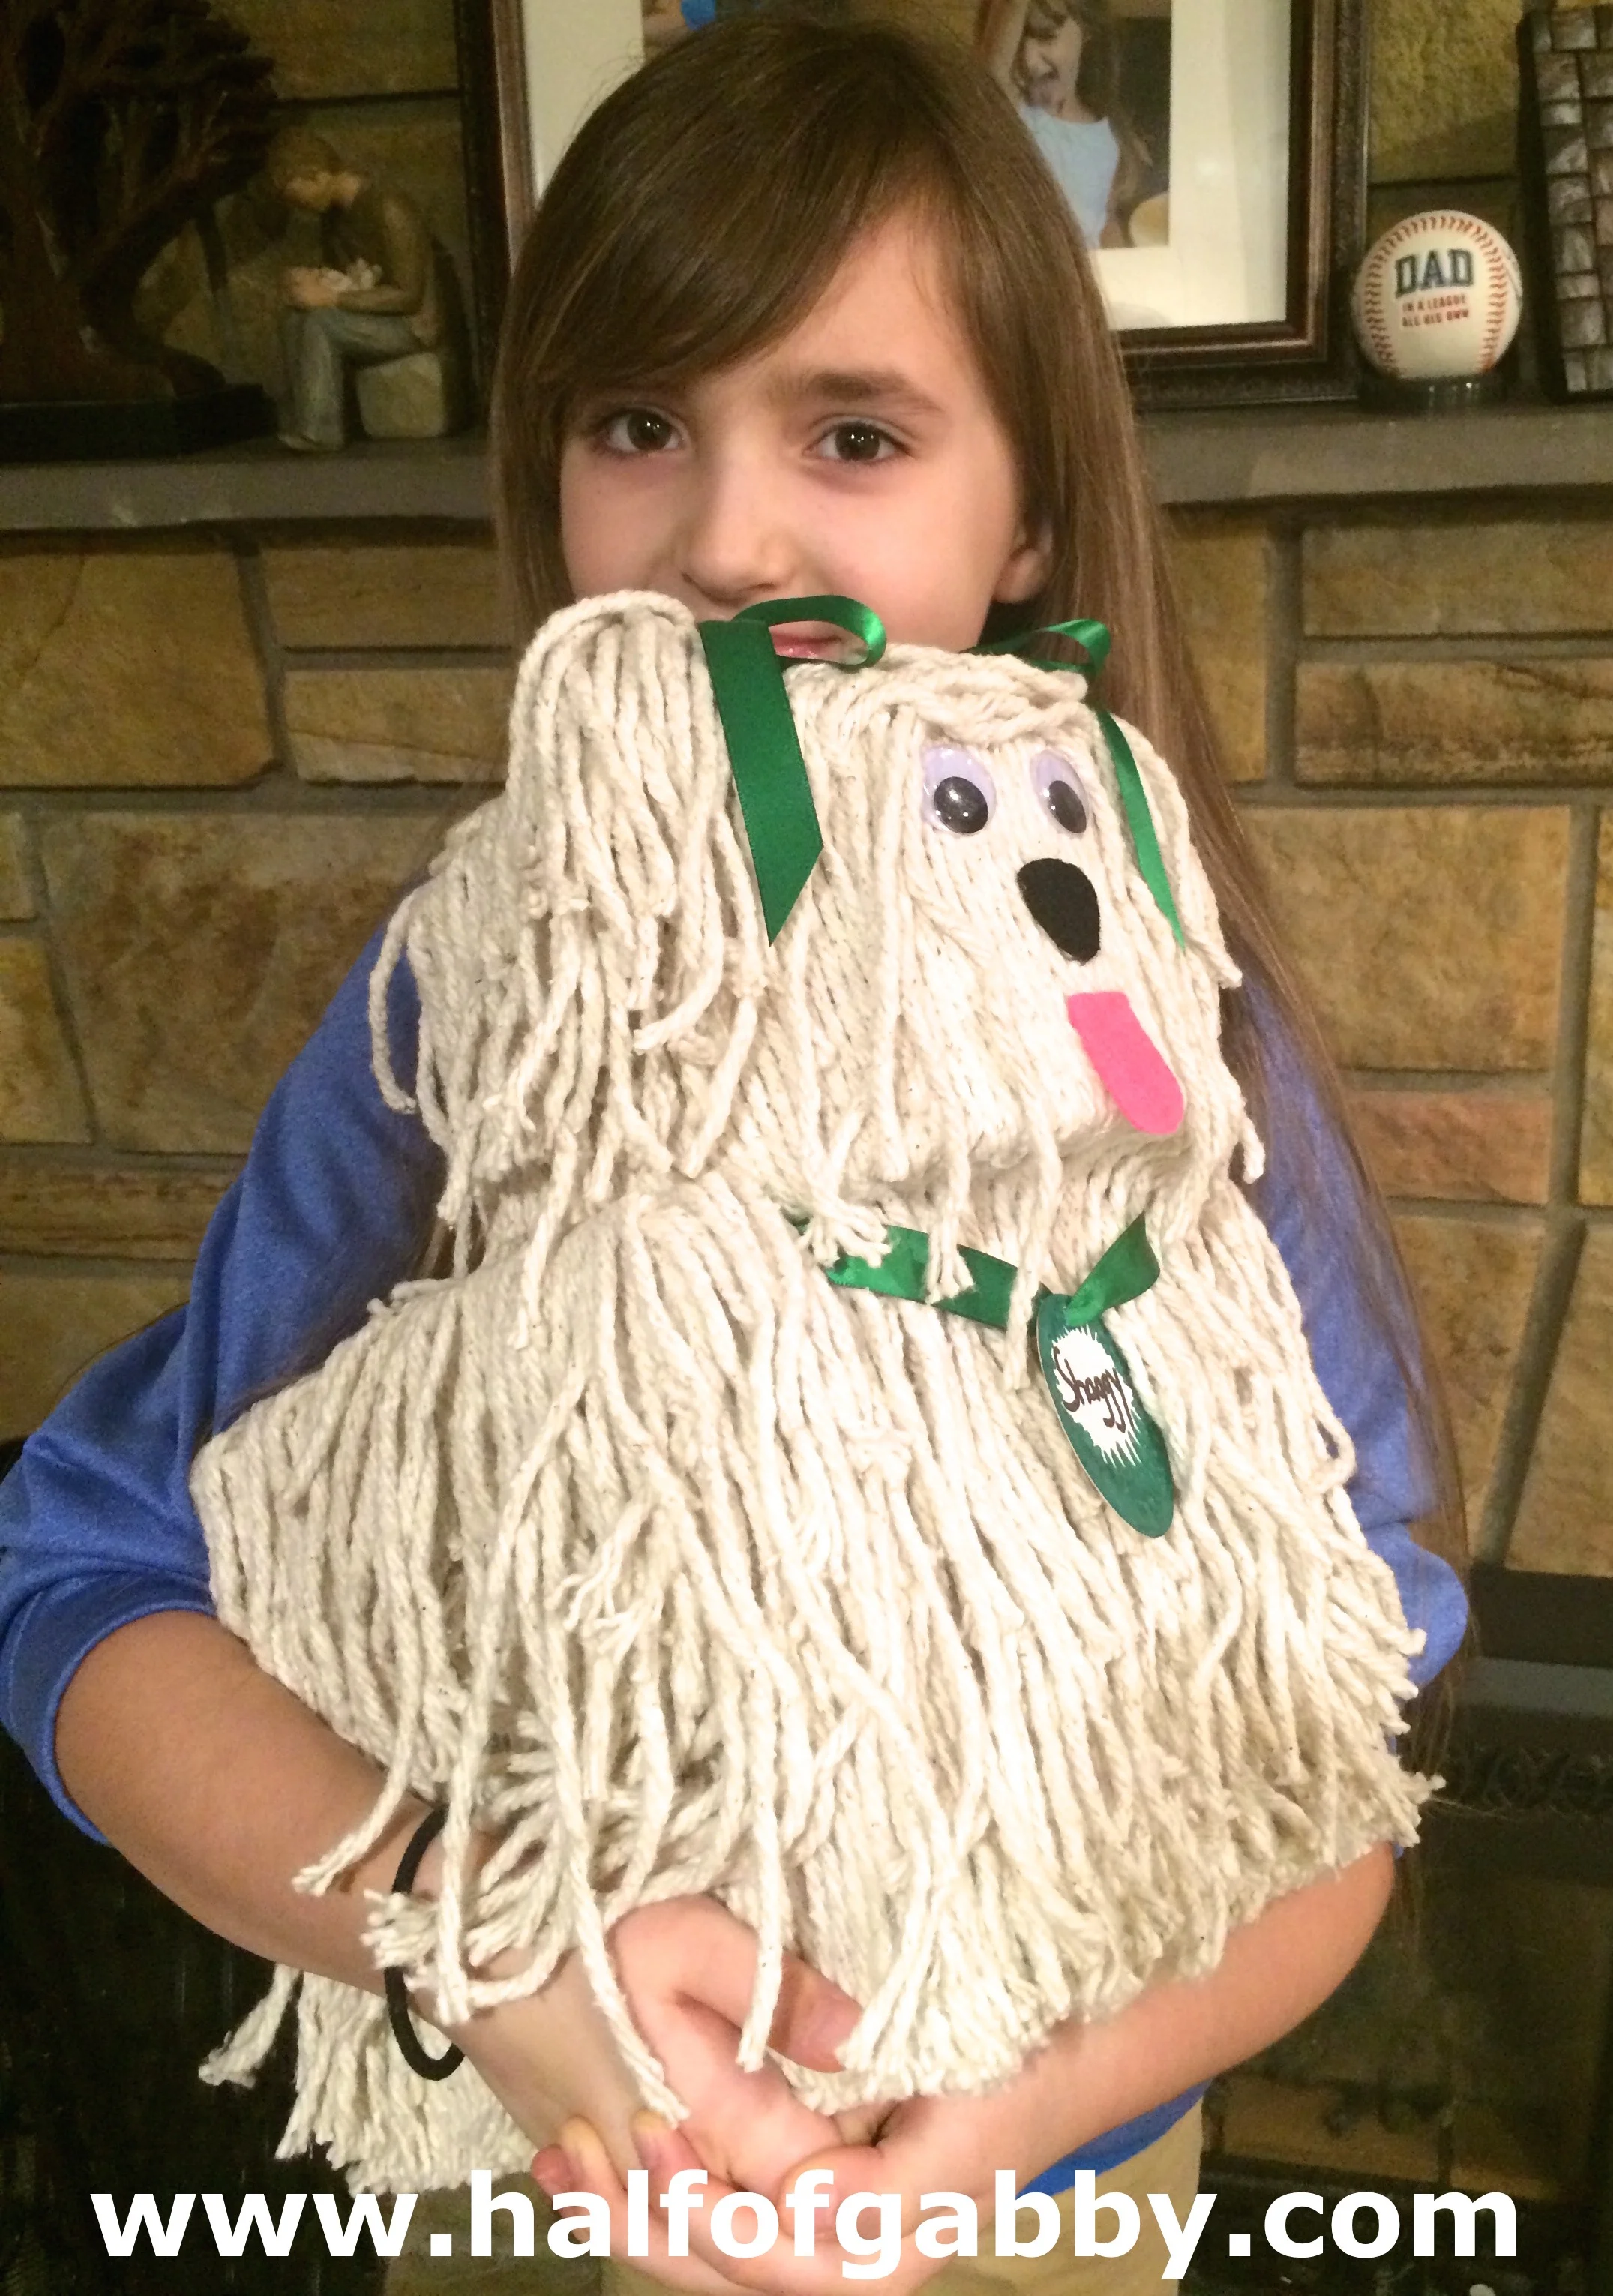
Seriously, can you even handle how cute this little pup is?!
I'm not sure who loves him more, my 7 year old or me. Honestly, I think it's me... but she loves him a whole bunch too.
Actually, she can't stop hugging him. Aaaaand she wants to sleep with him. I have to keep reminding her that he's a Valentine's box and not a stuffed animal. But I can't blame her. He is just way too lovable. Go ahead kid, love him up!
When Jossy and I were surfing the web to try to find a Valentine's Day box to make, we came across a picture of a shaggy dog box at mymixofsix.blogspot.com but it didn't have any instructions with it. There was only a picture.
NO PROBLEMO!
My girls and I love a crafting challenge! We're always creating and making new things. We were determined to bring a doggie to life and call him our own! But we did get our inspiration from that picture we stumbled upon, so thank you My Mix of Six for getting our creative juices flowing!
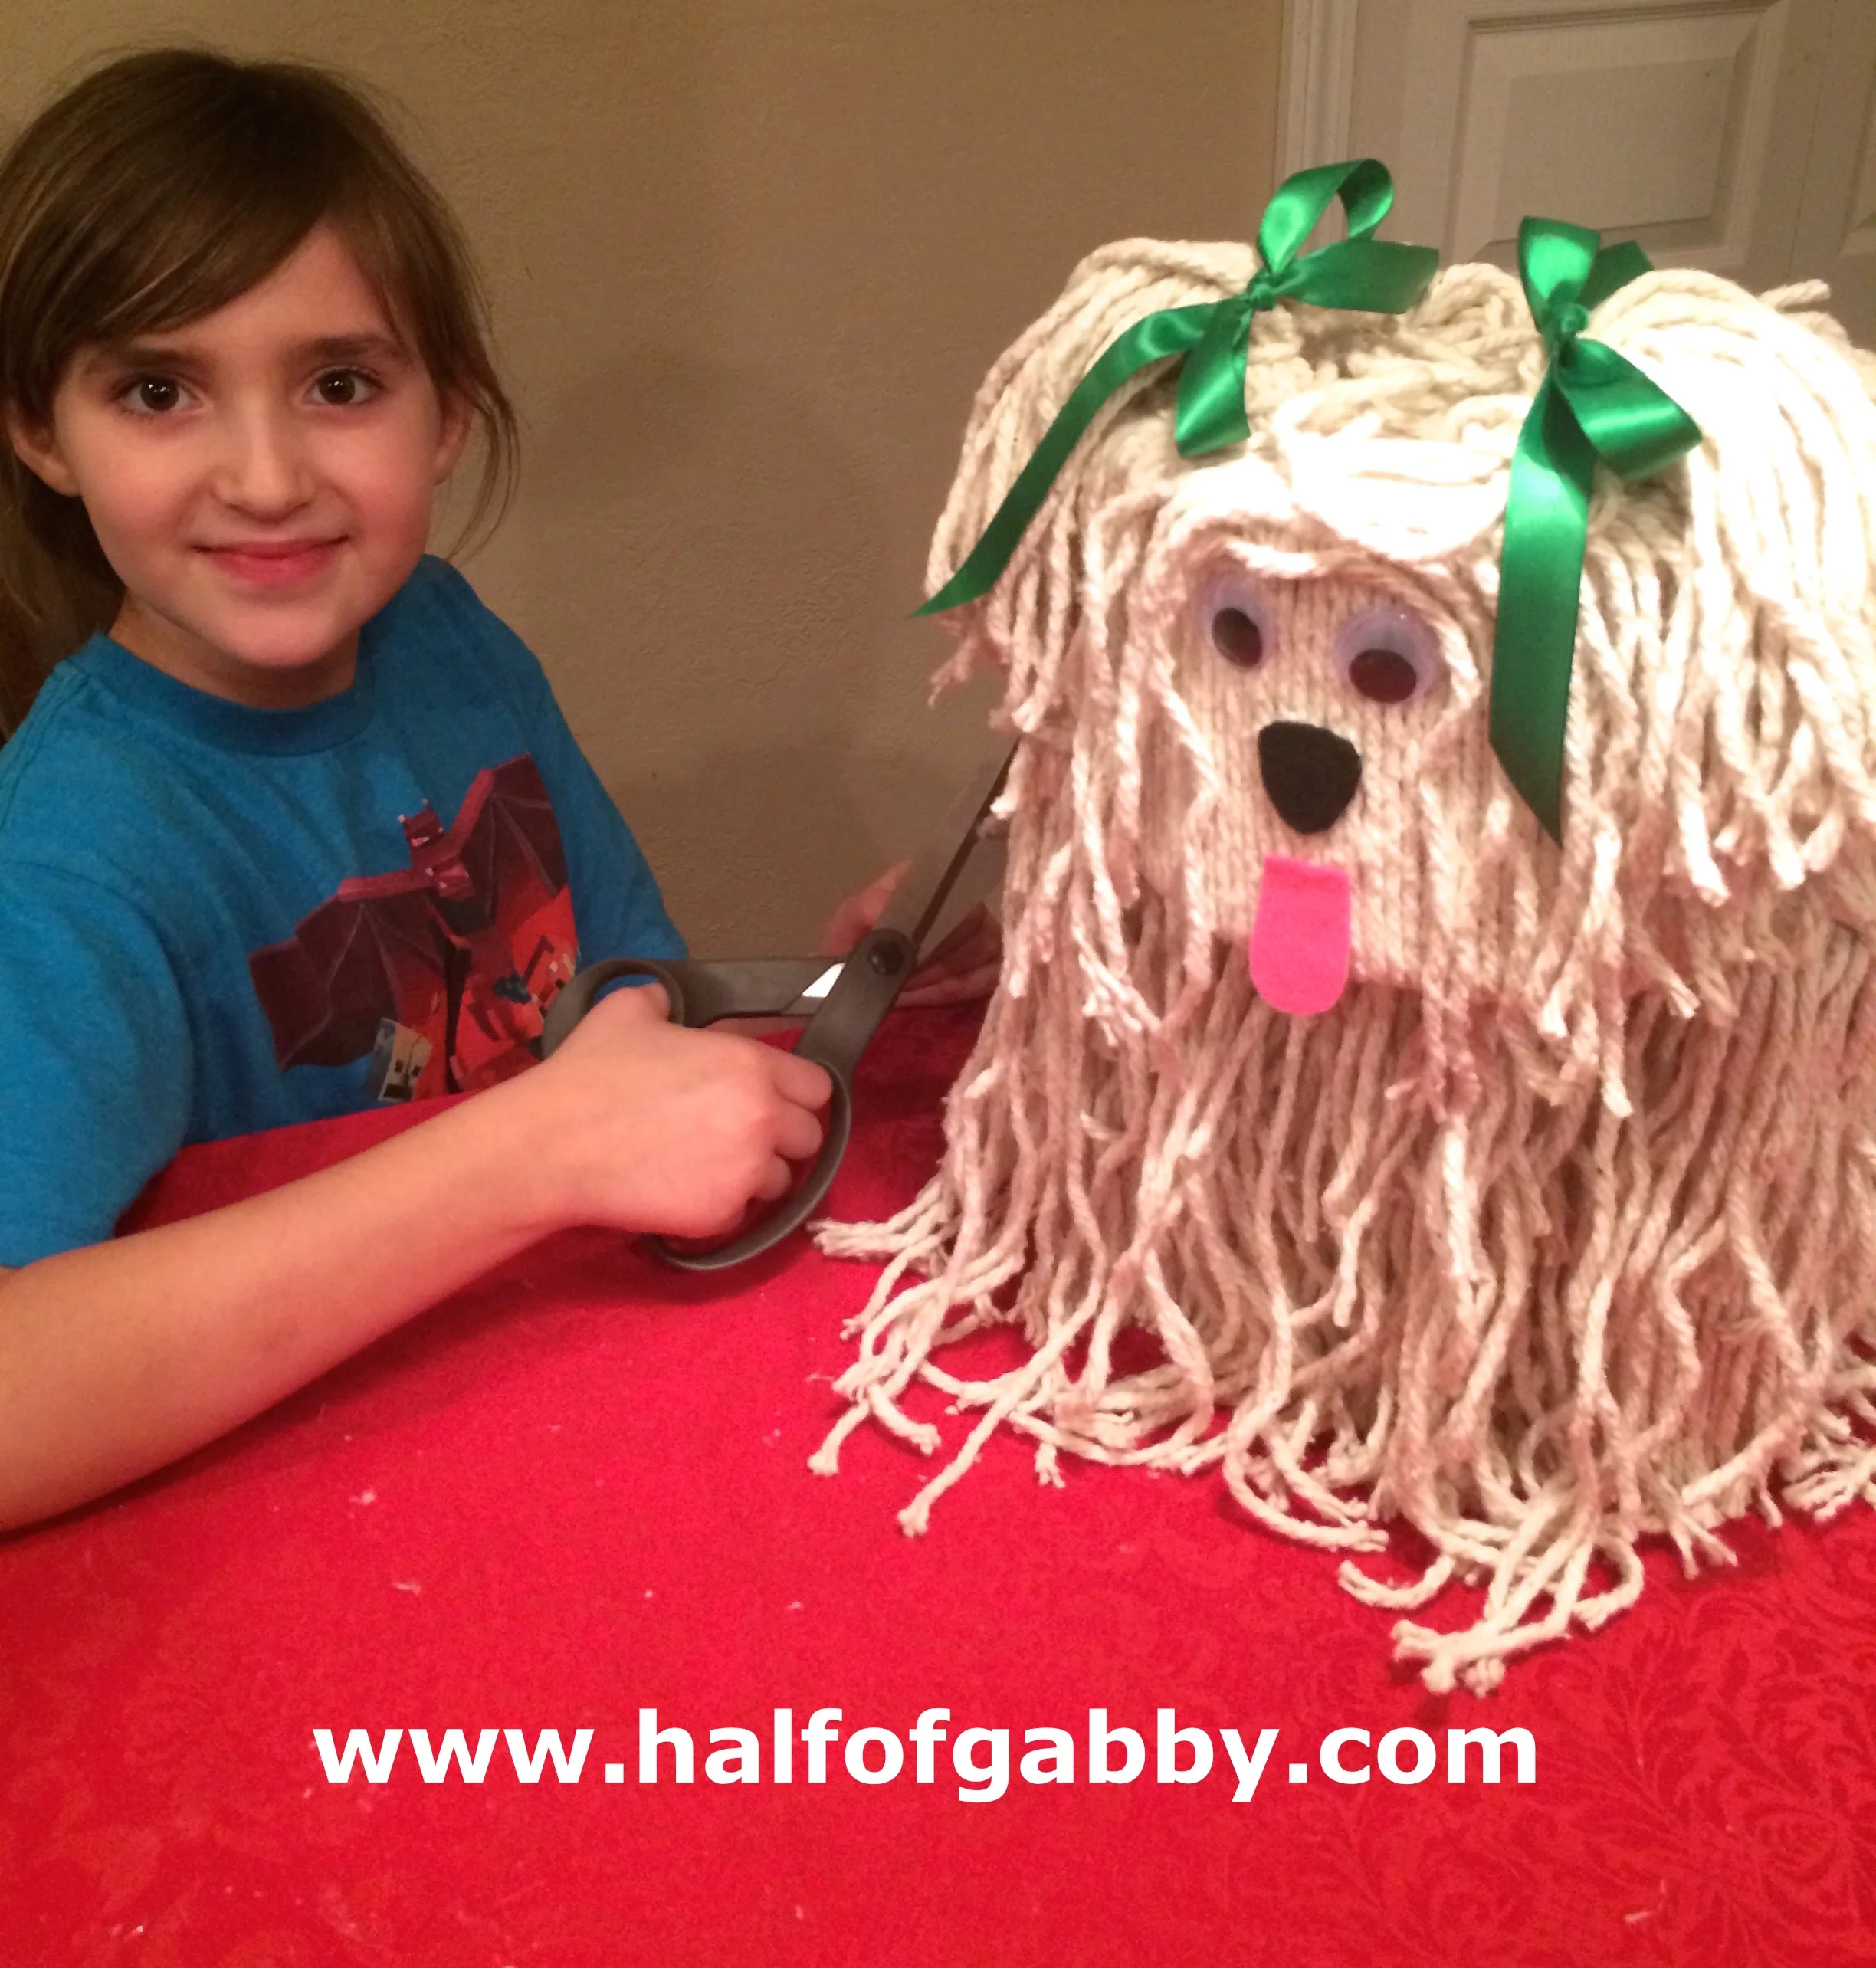
Okay so this Valentine's box is super simple to make, but it involves a lot of glue gunning (Ya, I just made that term up). So if you're making this with a toddler, they probably won't be doing much of the craft. However, if your working with an older Little, like my Jossy here, they can be a bigger part of bringing their doggie to life :)
I did not allow Jossy to be the one who pressed the mop strings into the glue, but I let her man the glue gun under close supervision. So she would run the glue beads and then I would adhere the moppies (ya, that's what I'm calling them from now on). She also got to trim all the moppies at the end and glue the face on :)
Okay, are you ready to make this ridiculously cute doggie box? LET'S DO THIS!
DOGGIE VALENTINE BOX
{This article contains affiliate links. See bottom of page for details.}

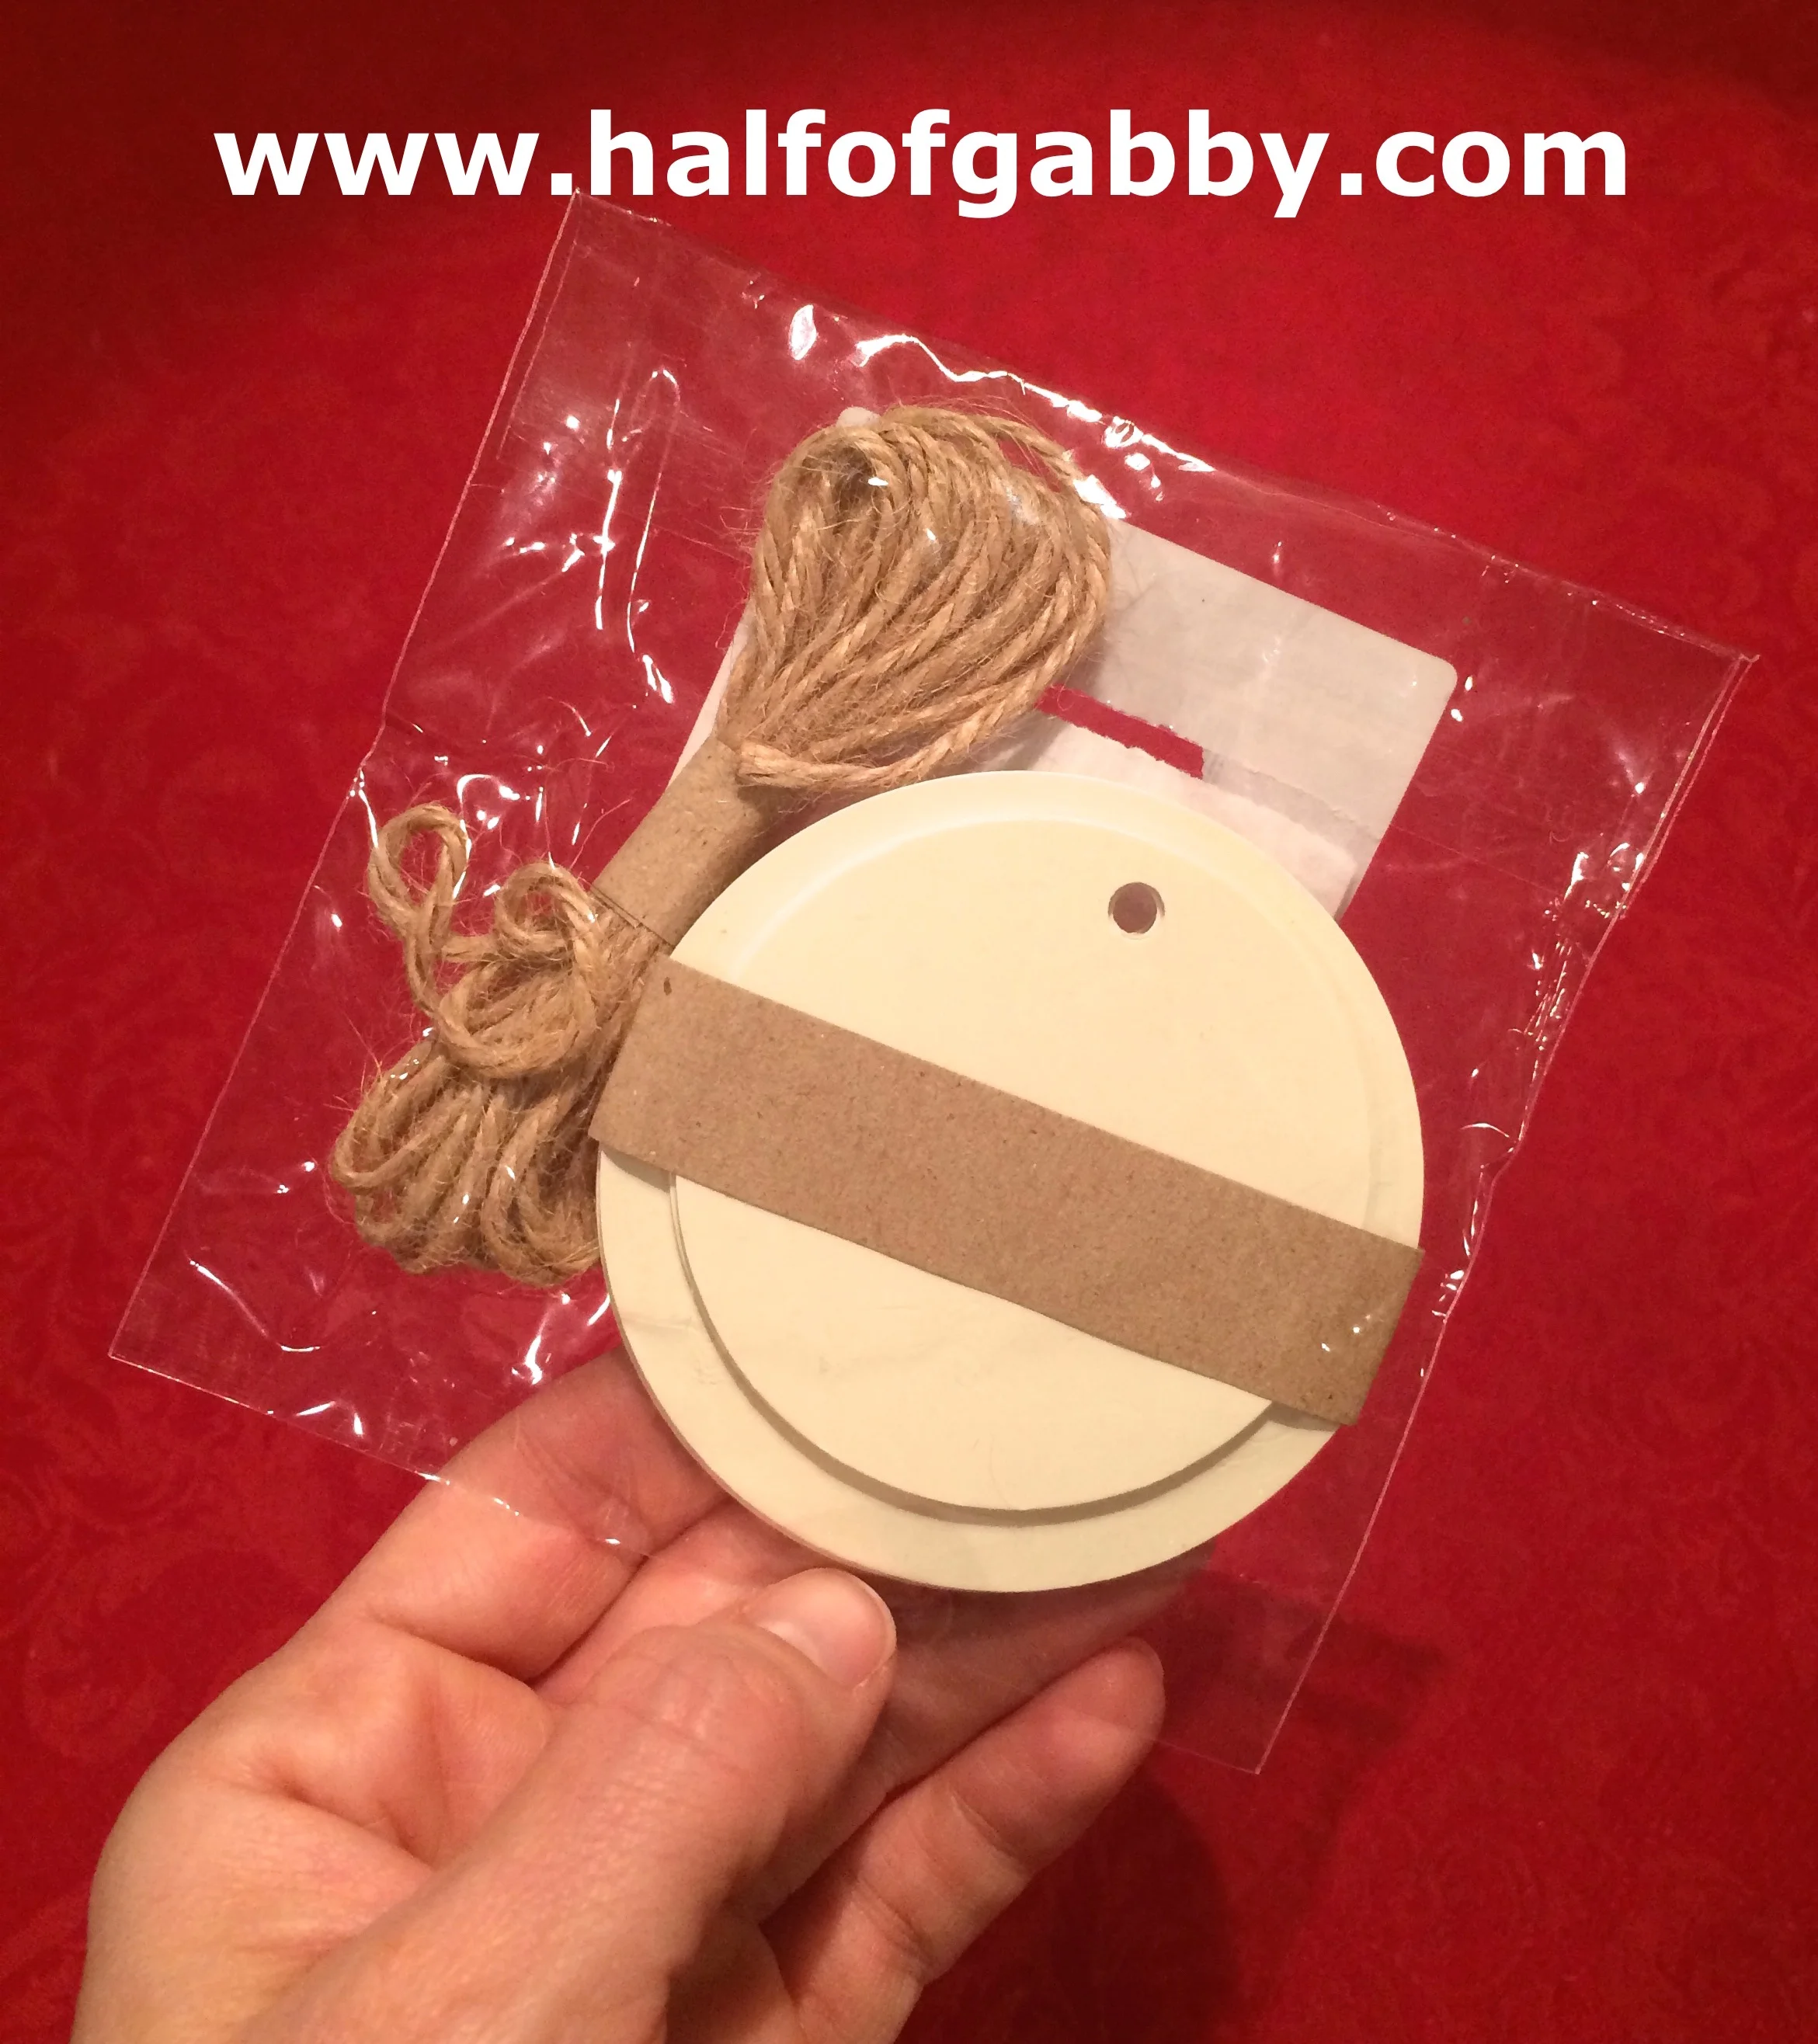
WHATCHU NEED:
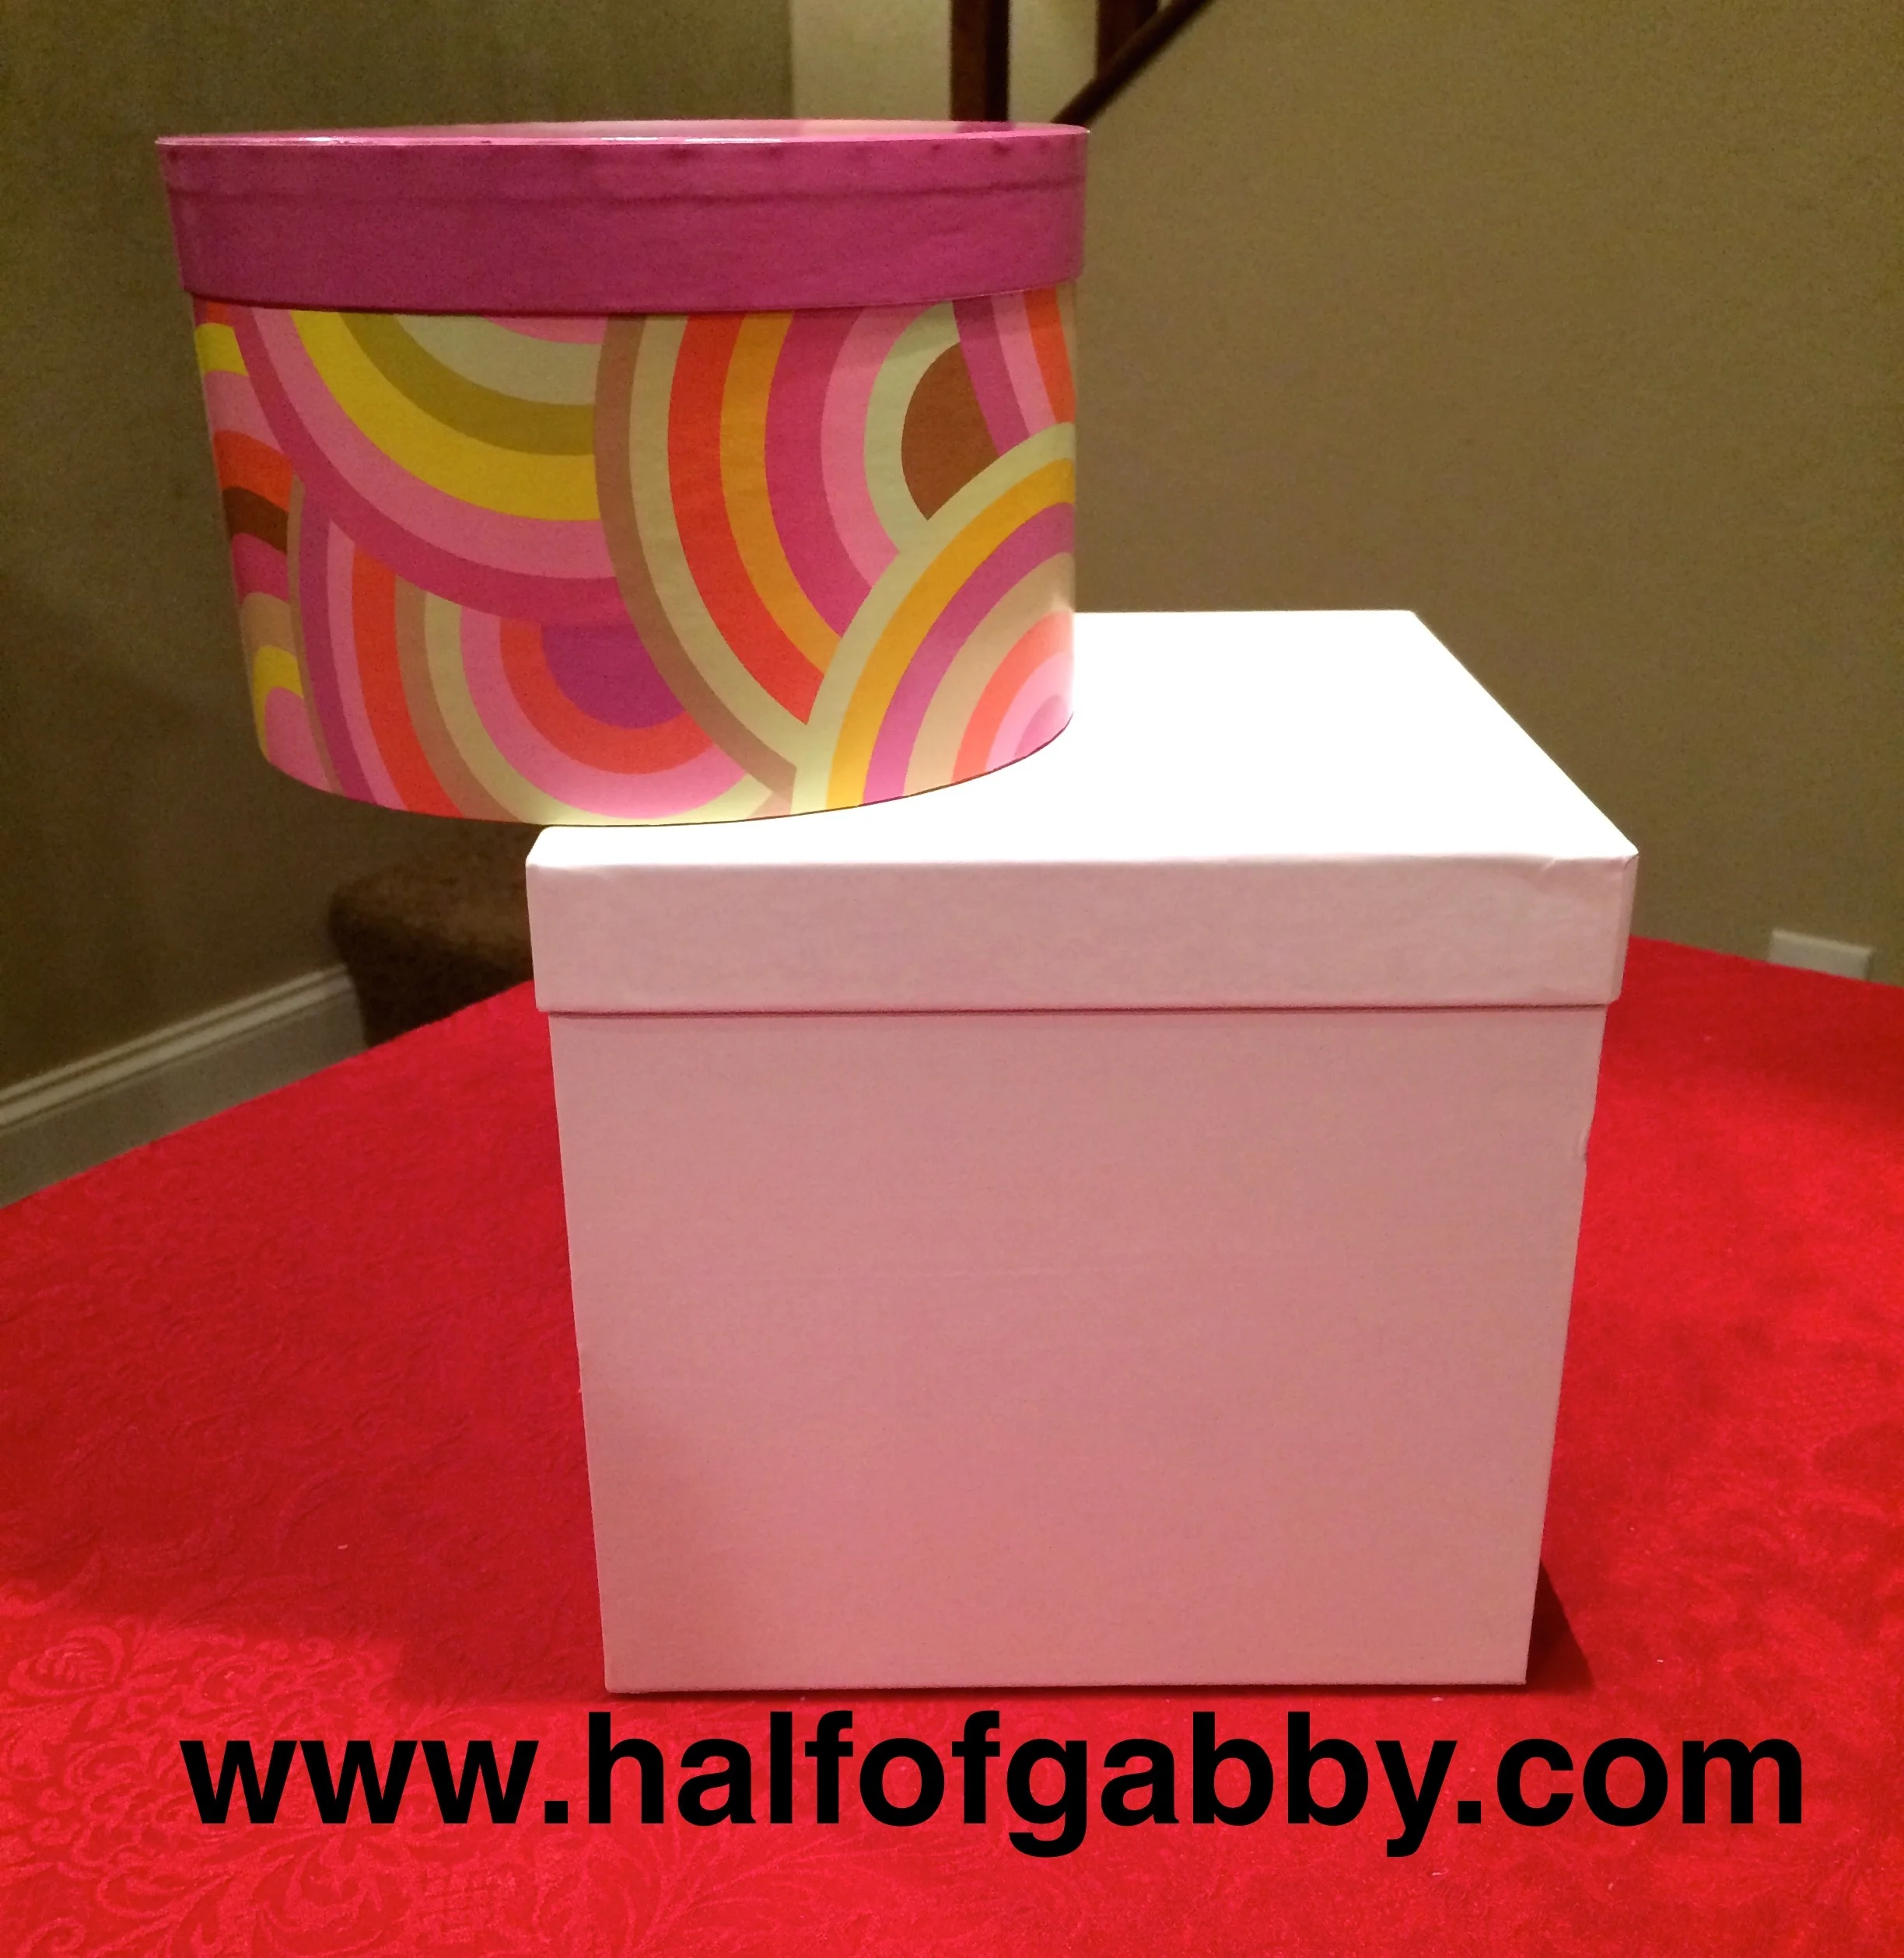
Square or Rectangular Box for the body (I used an 8x8x8 box)
Round Box for the head (Mine was 7" in diameter and 4 1/2" tall)
Glue Gun (I used low-temp)
Glue Sticks (lots!)
Fabric Scissors (or really good regular scissors)
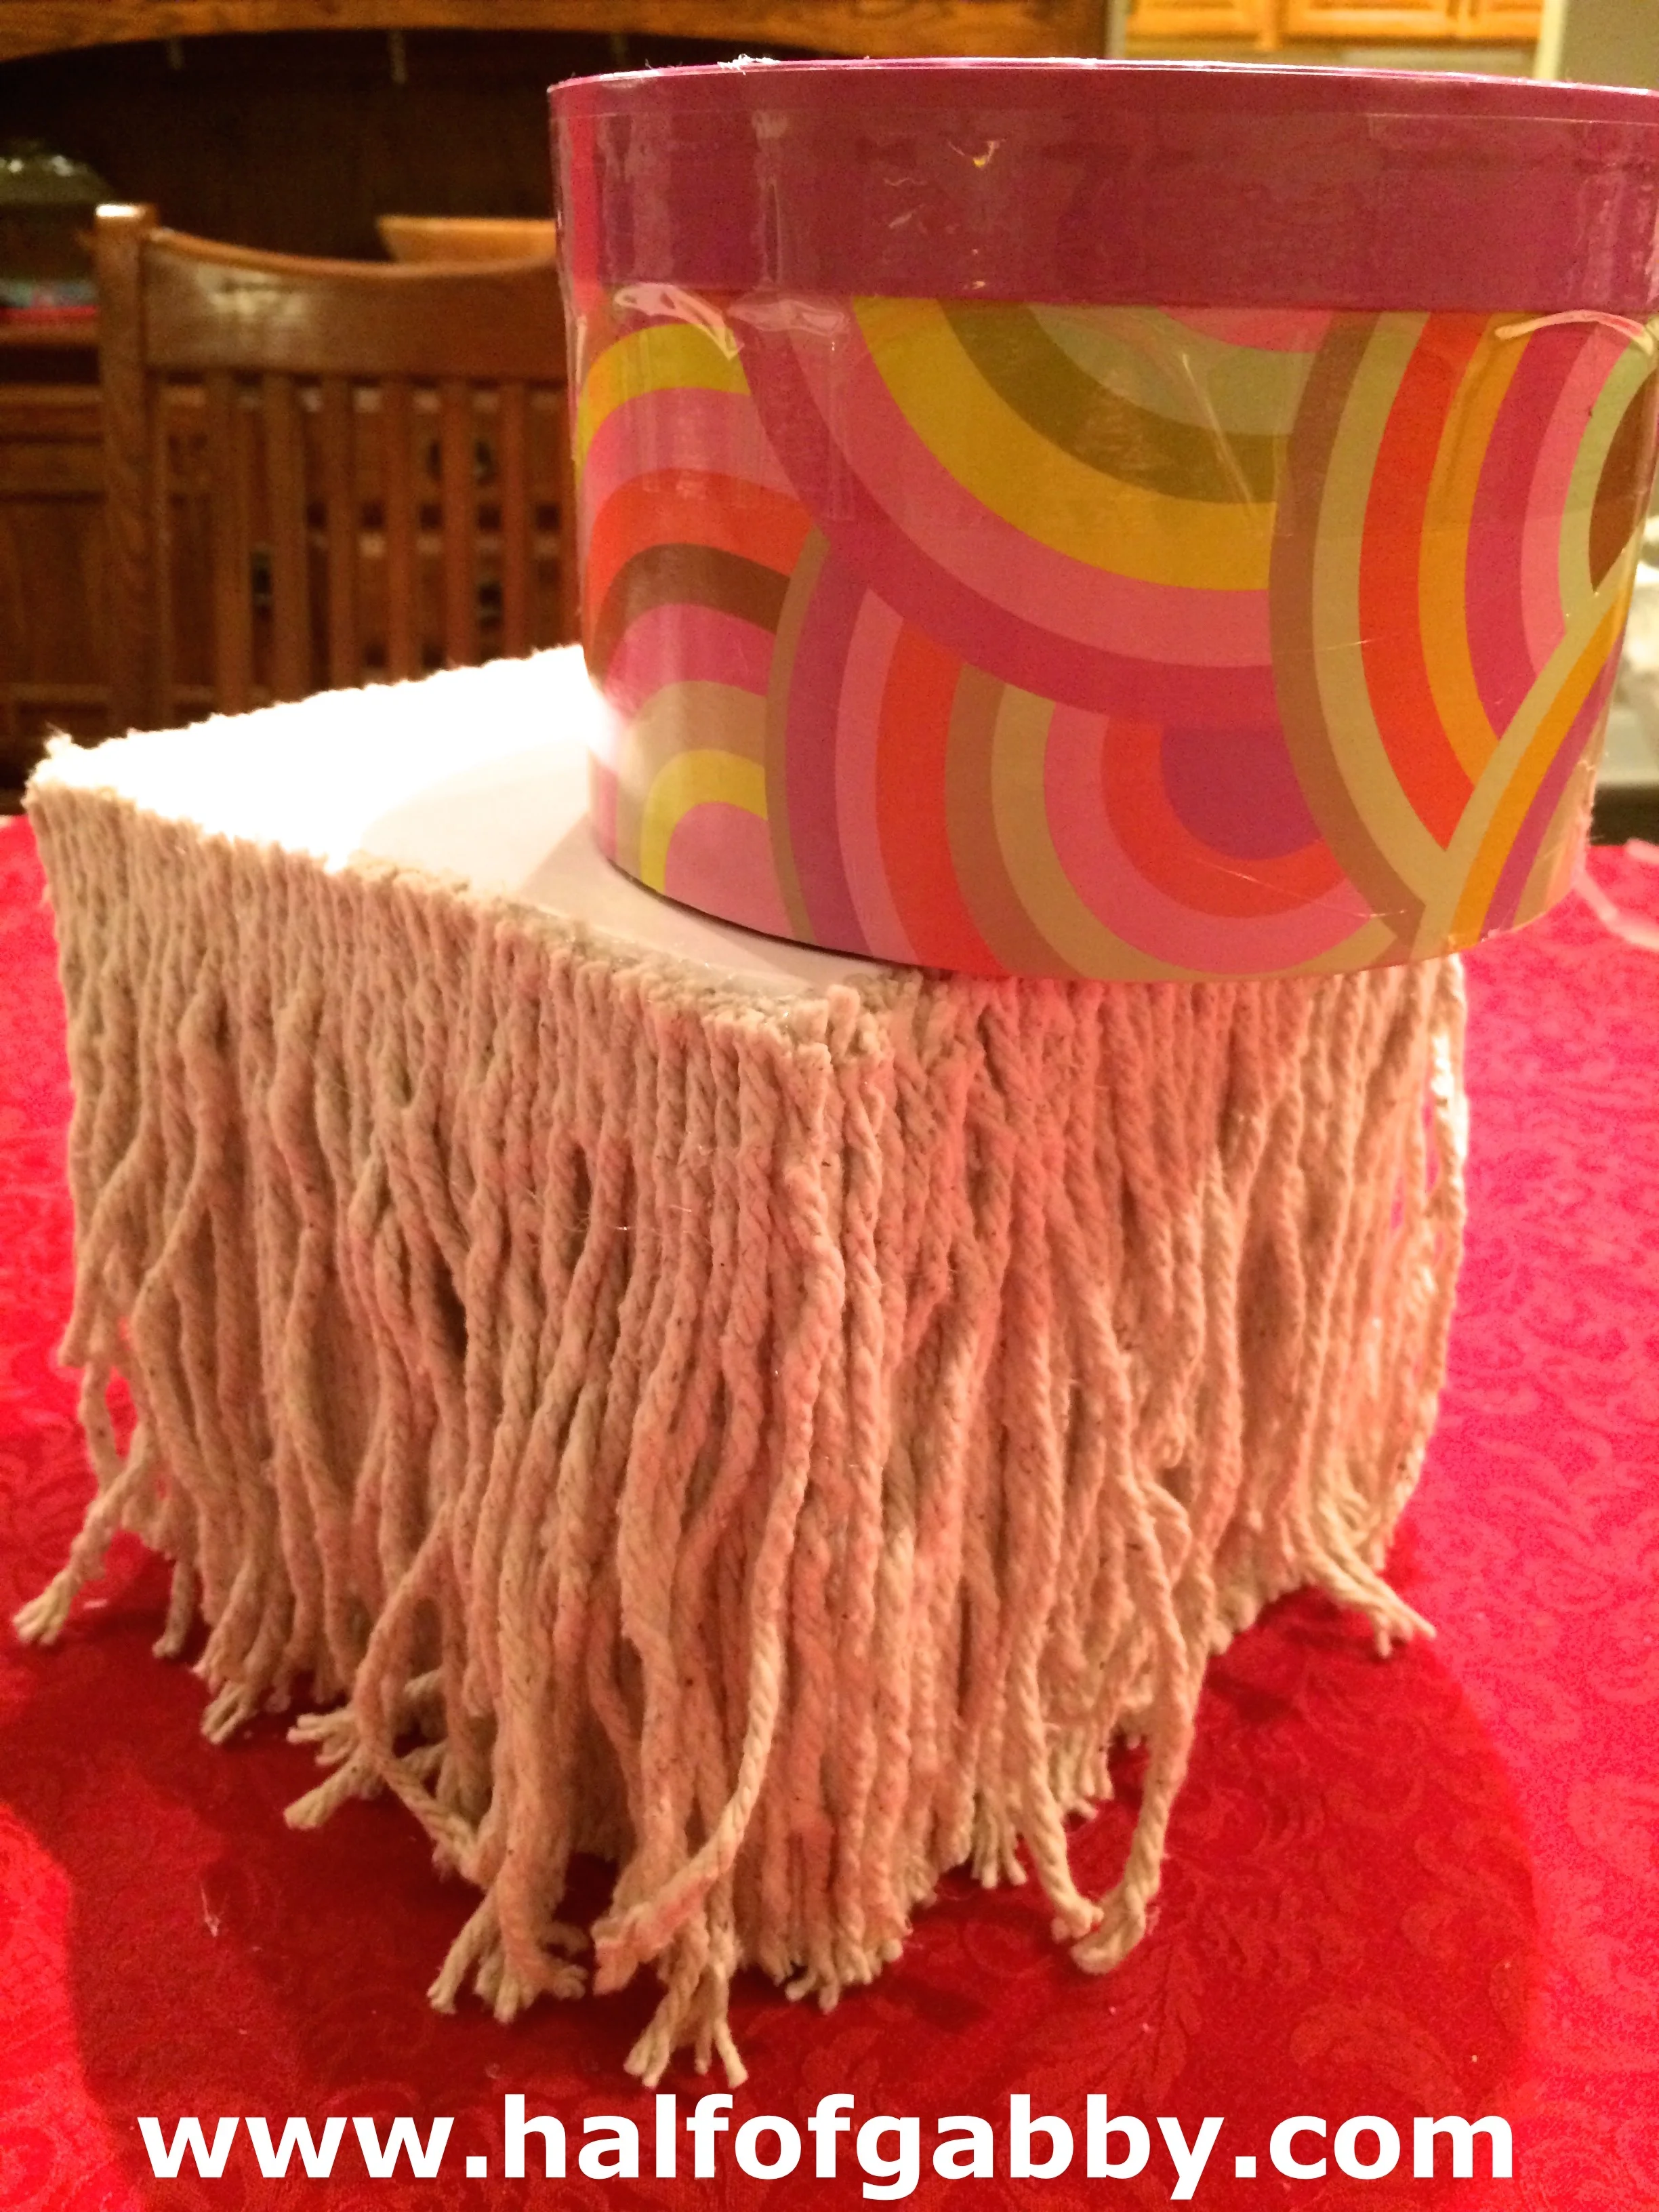
Mop (I bought 2 mop refills)
Ribbon
Dog Tag (I used a card stock circle)
Black Felt (for nose)
Pink Felt (for tongue)
Packaging Tape (or any strong tape)
WHATCHU DO:
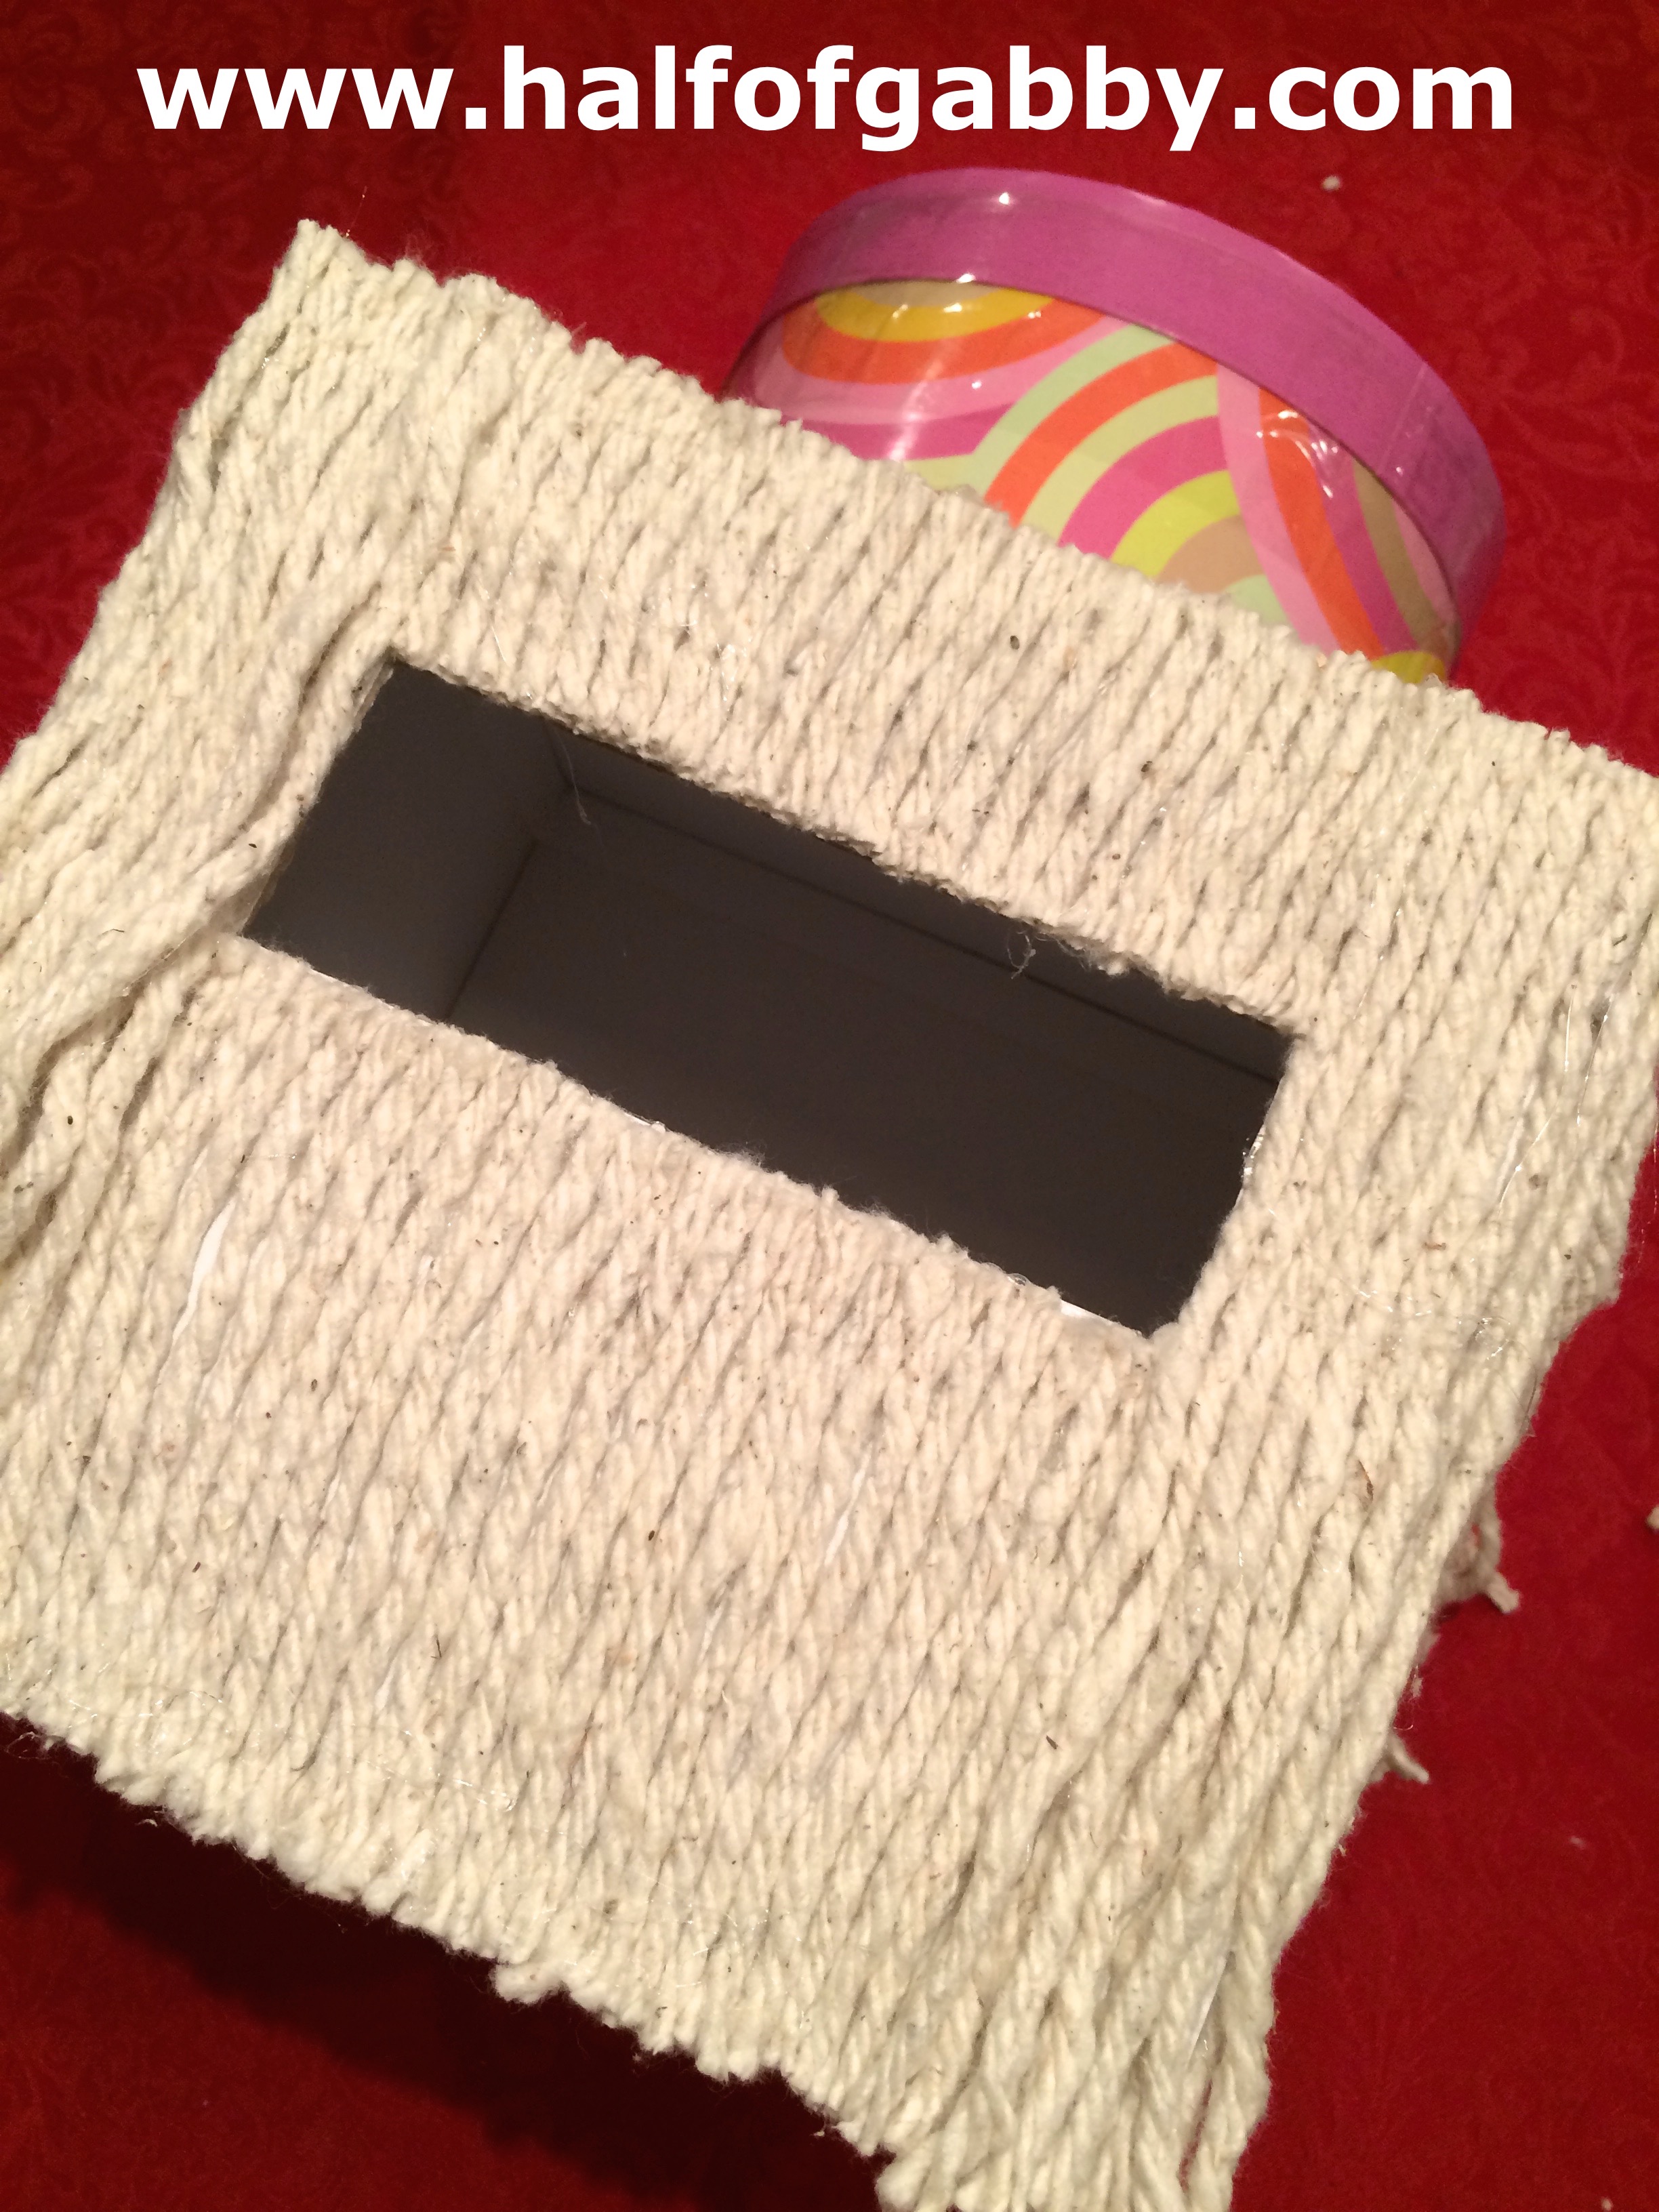
1. Cut out a Valentine mail slot in your box (the body). Adults only!

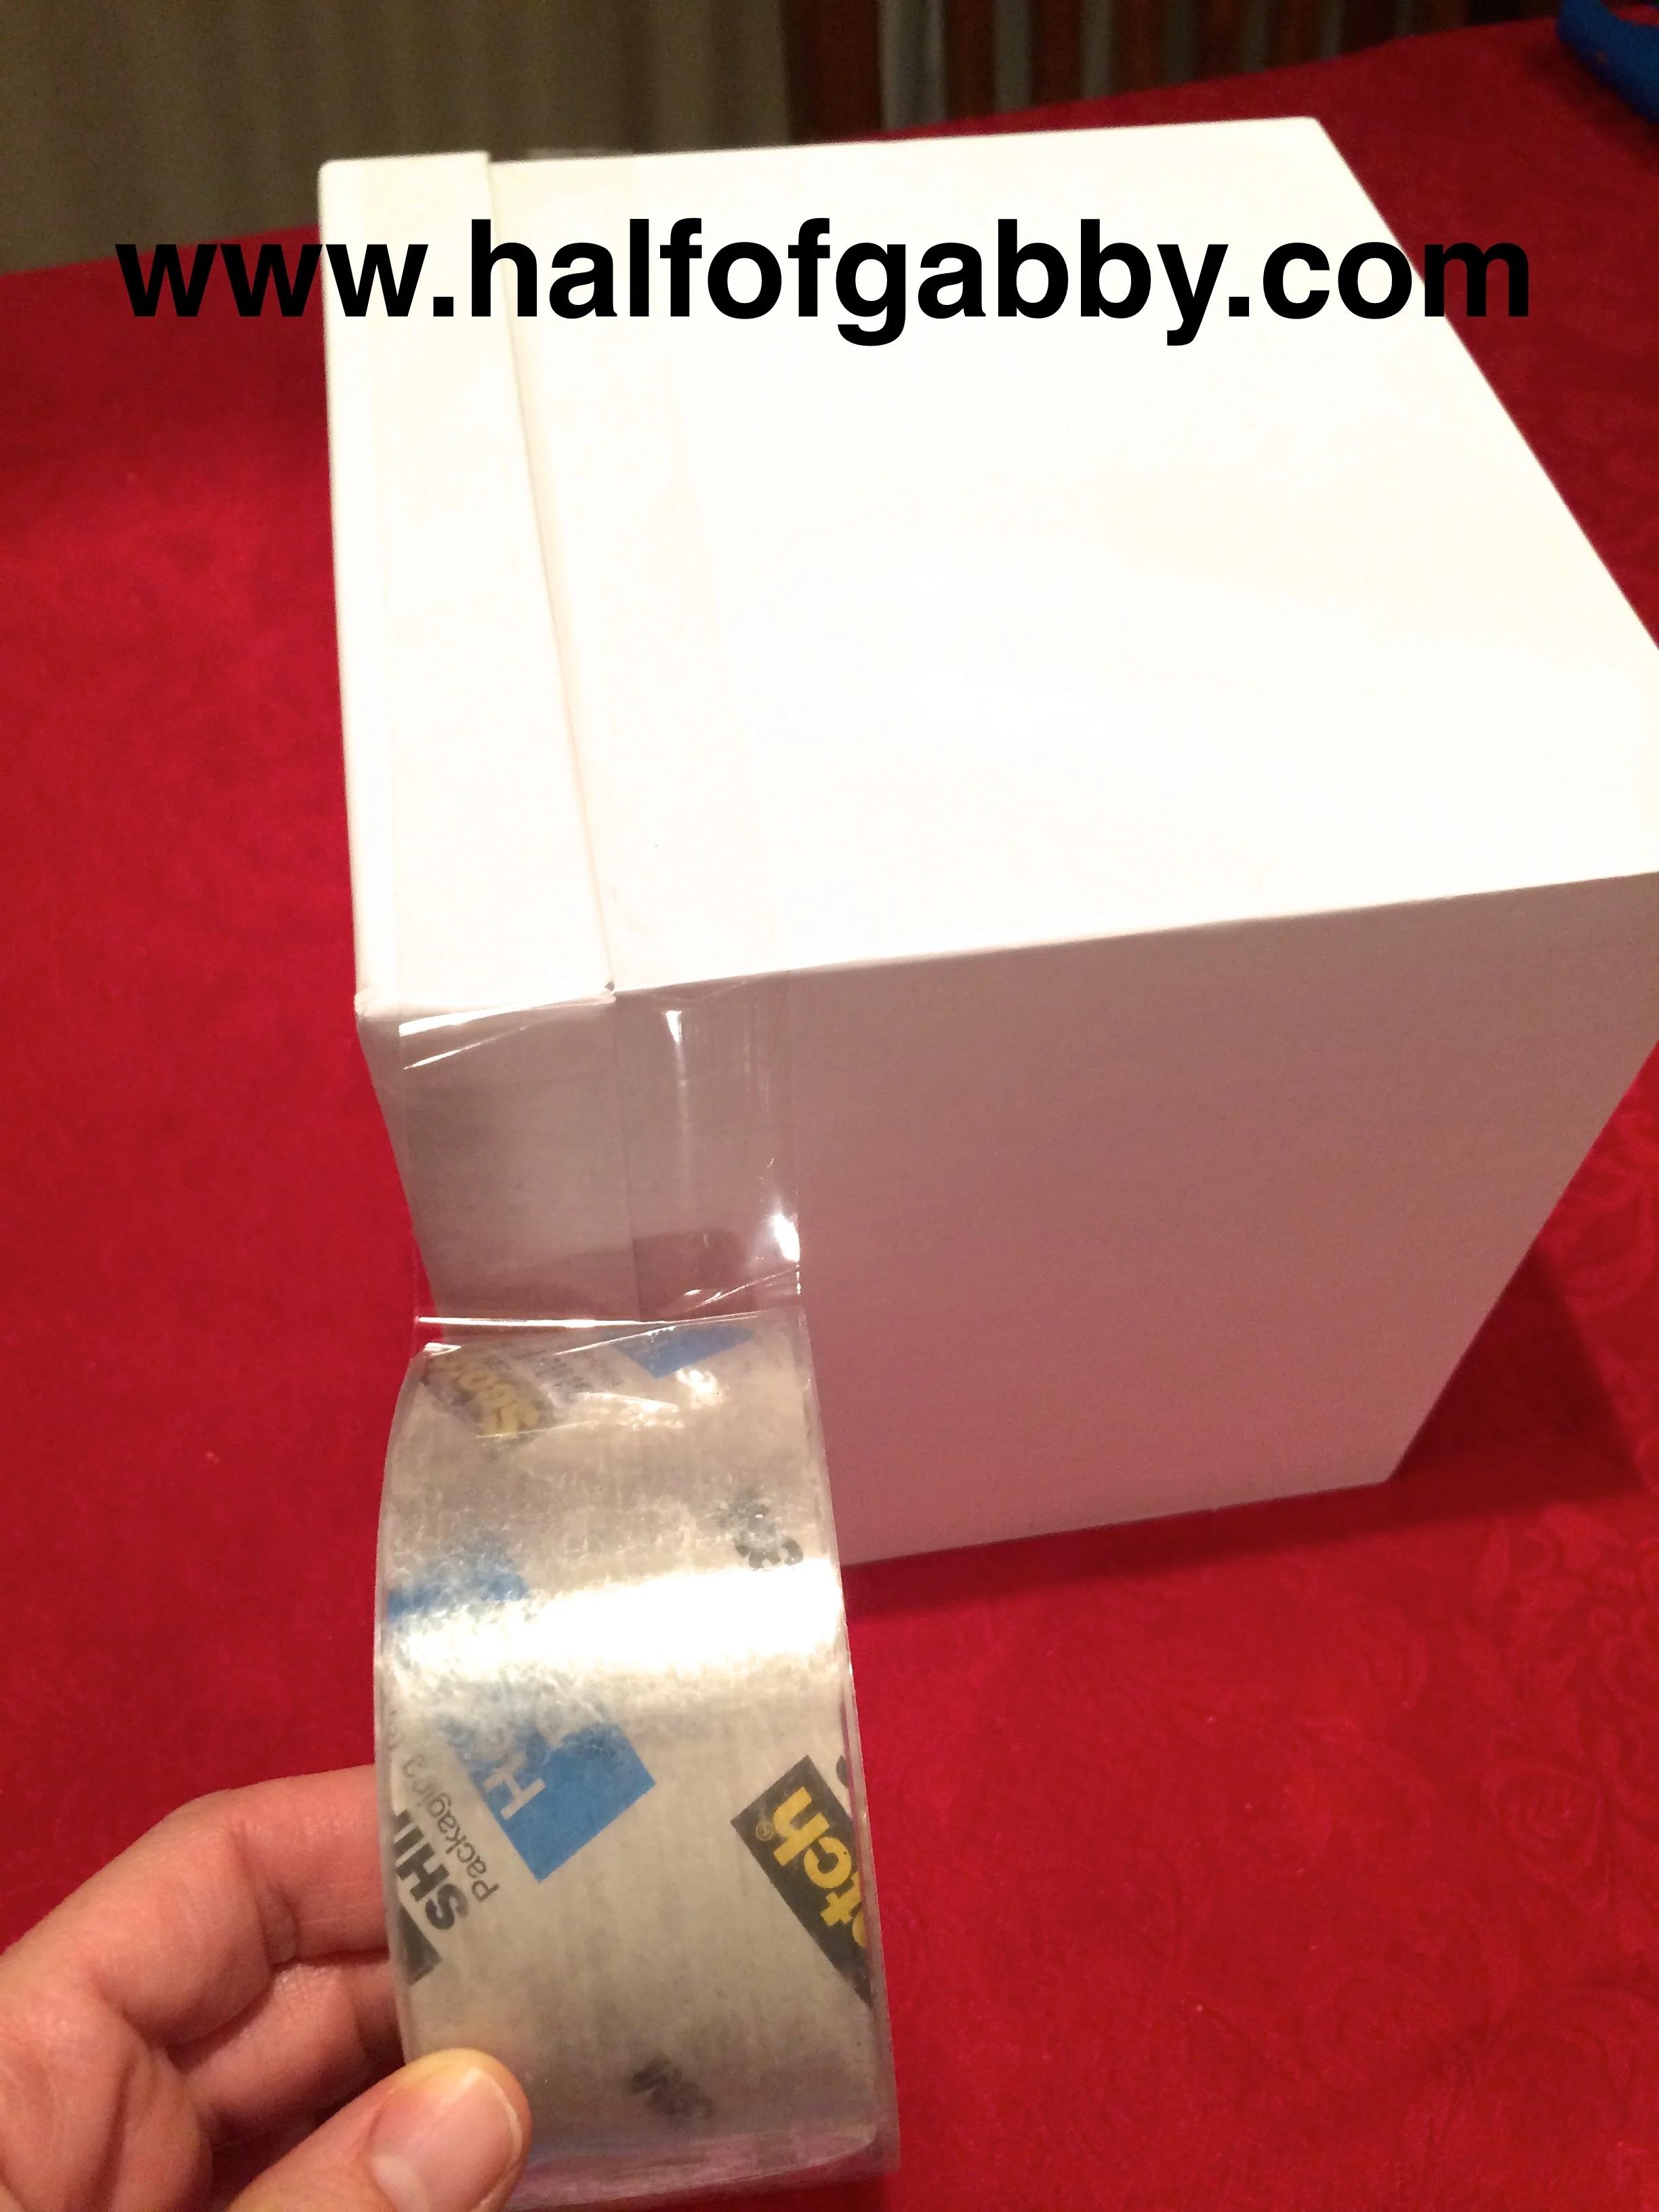
2. Tape the lids on both your boxes so they are secure.
*By the way, I bought my round box for cheap at Ollies.
I'm sure the dollar stores have similar boxes too. I already had my square box, but those are at all the outlet and dollar stores too. Or you can pay the extra couple bucks and go to craft stores such as Michael's or Joann Fabrics. They should definitely have them there.


3. Hot glue the round box onto the square box to make the shape of your doggie.
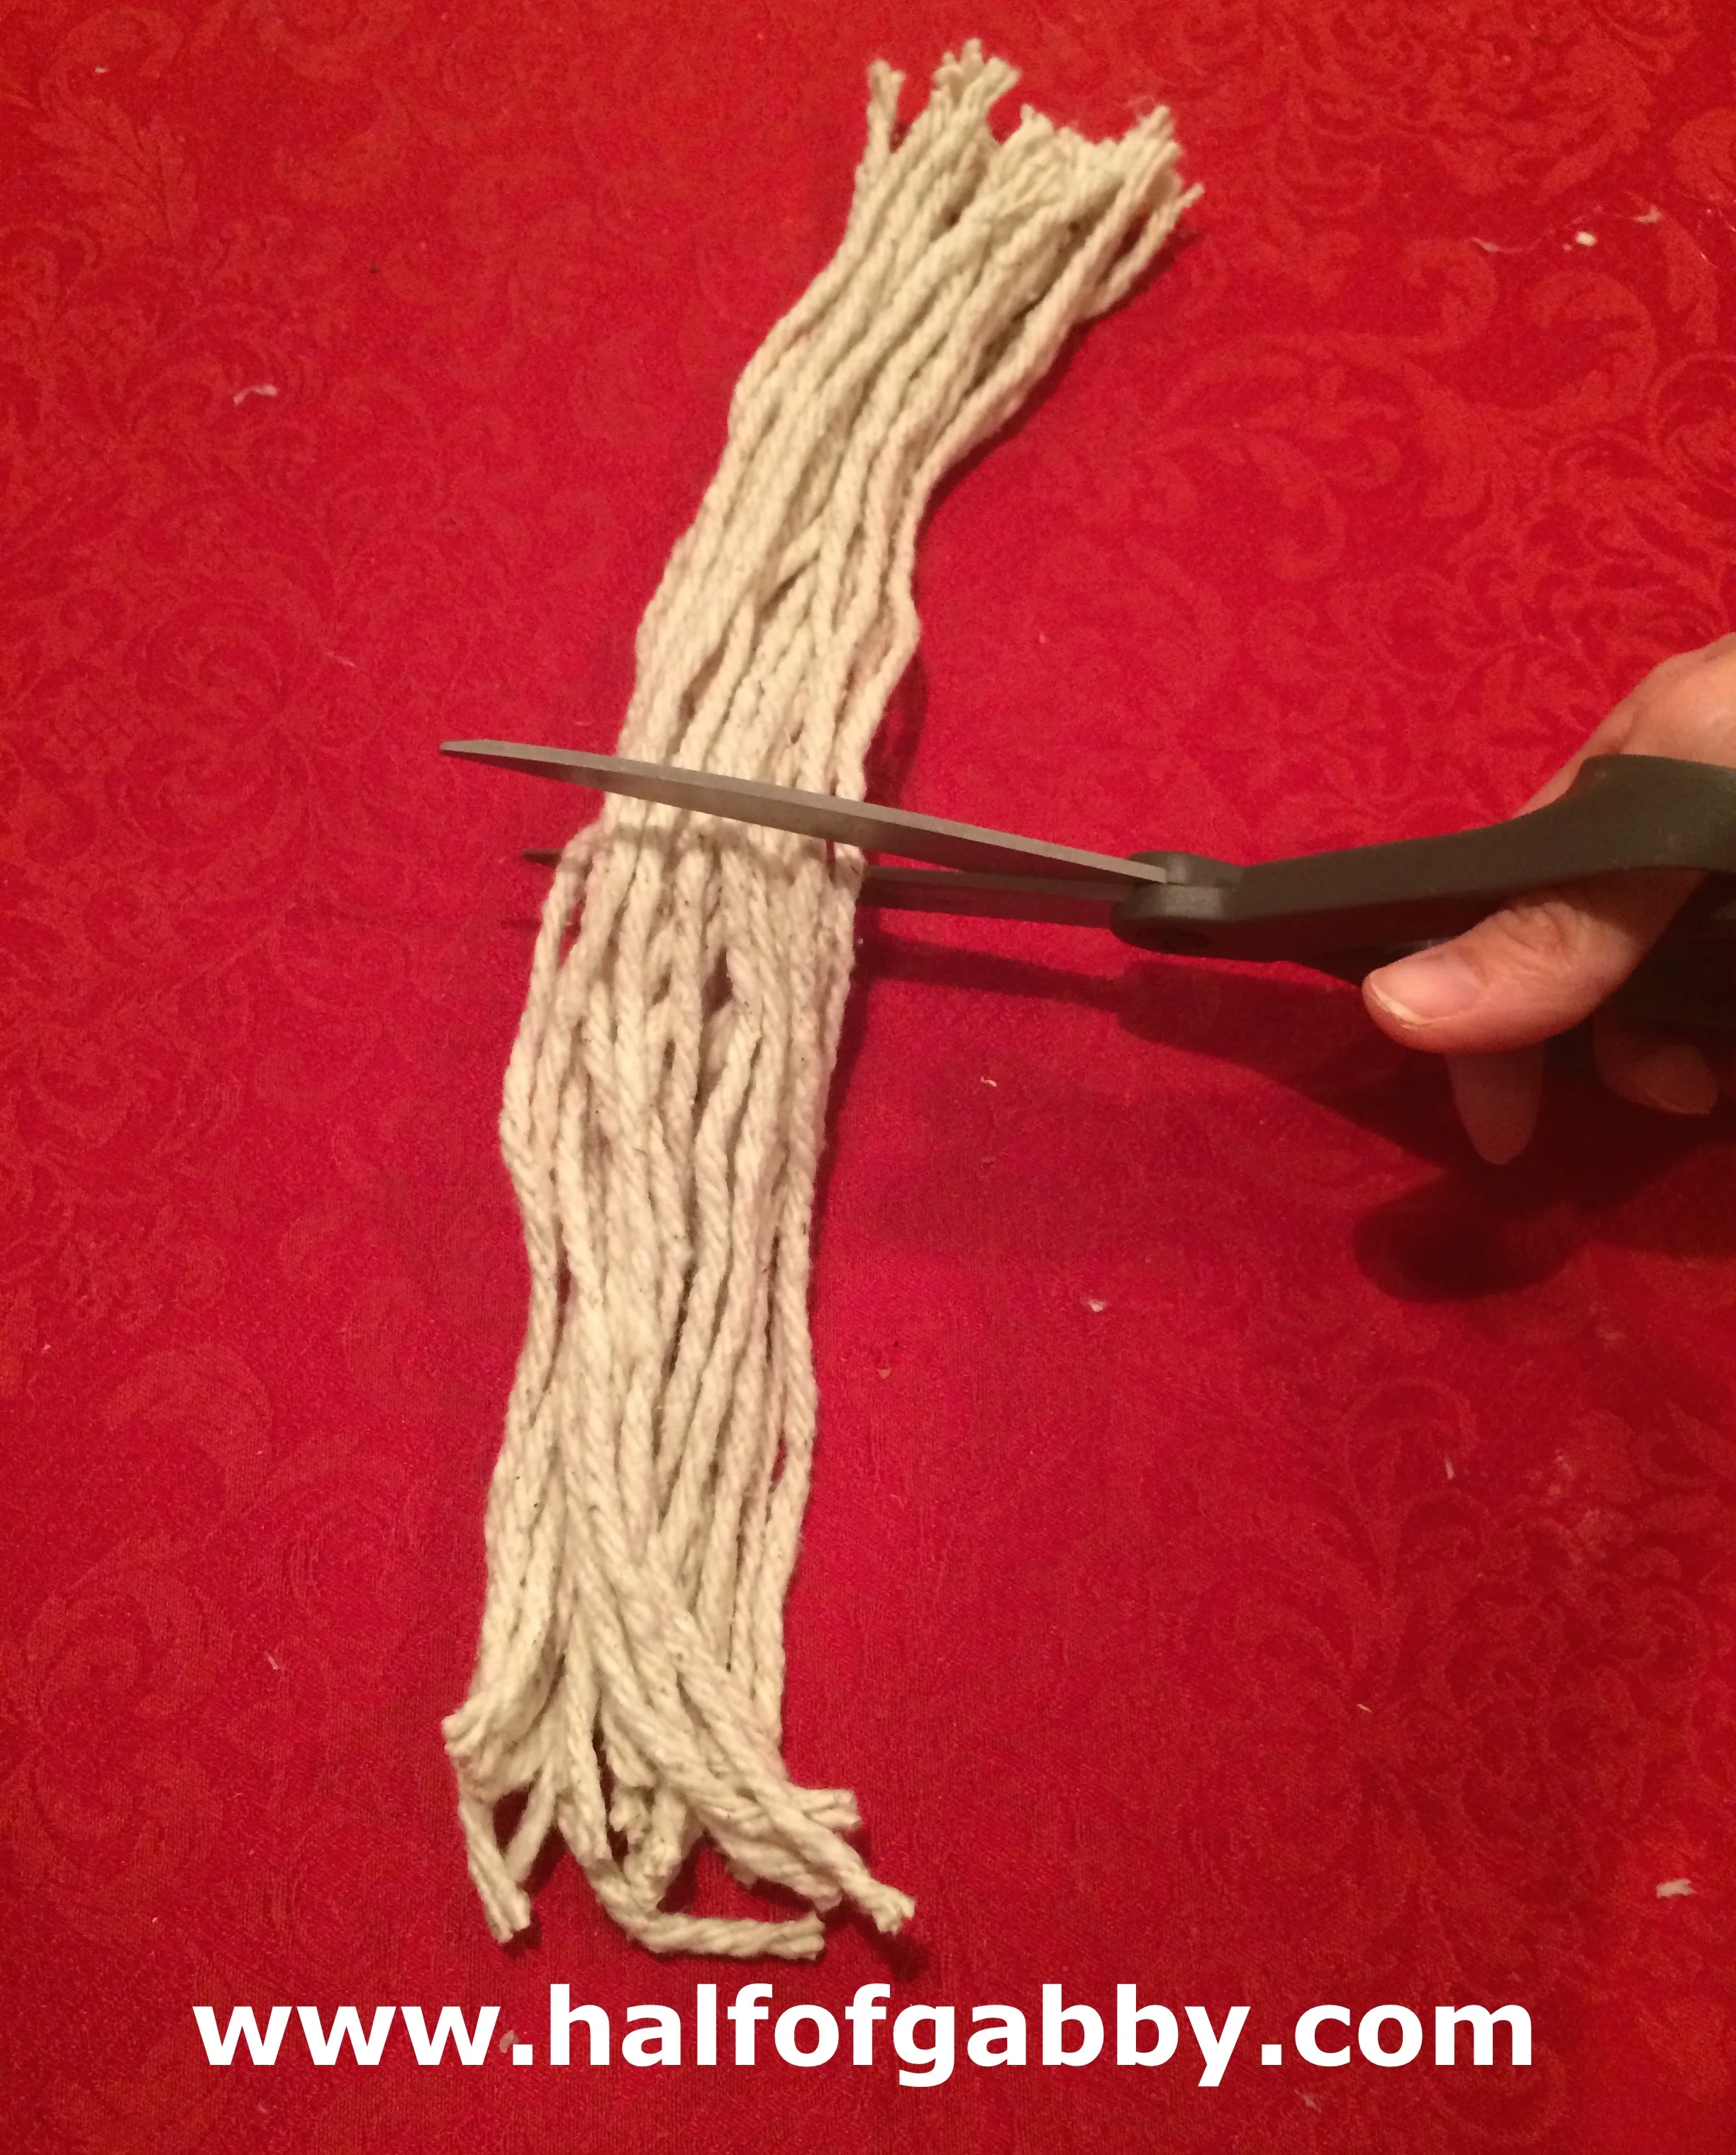
4. Cut your mop strings off of the mop.
*Instead of buying a mop, I just bought mop heads. We needed two of them to complete our doggie box.
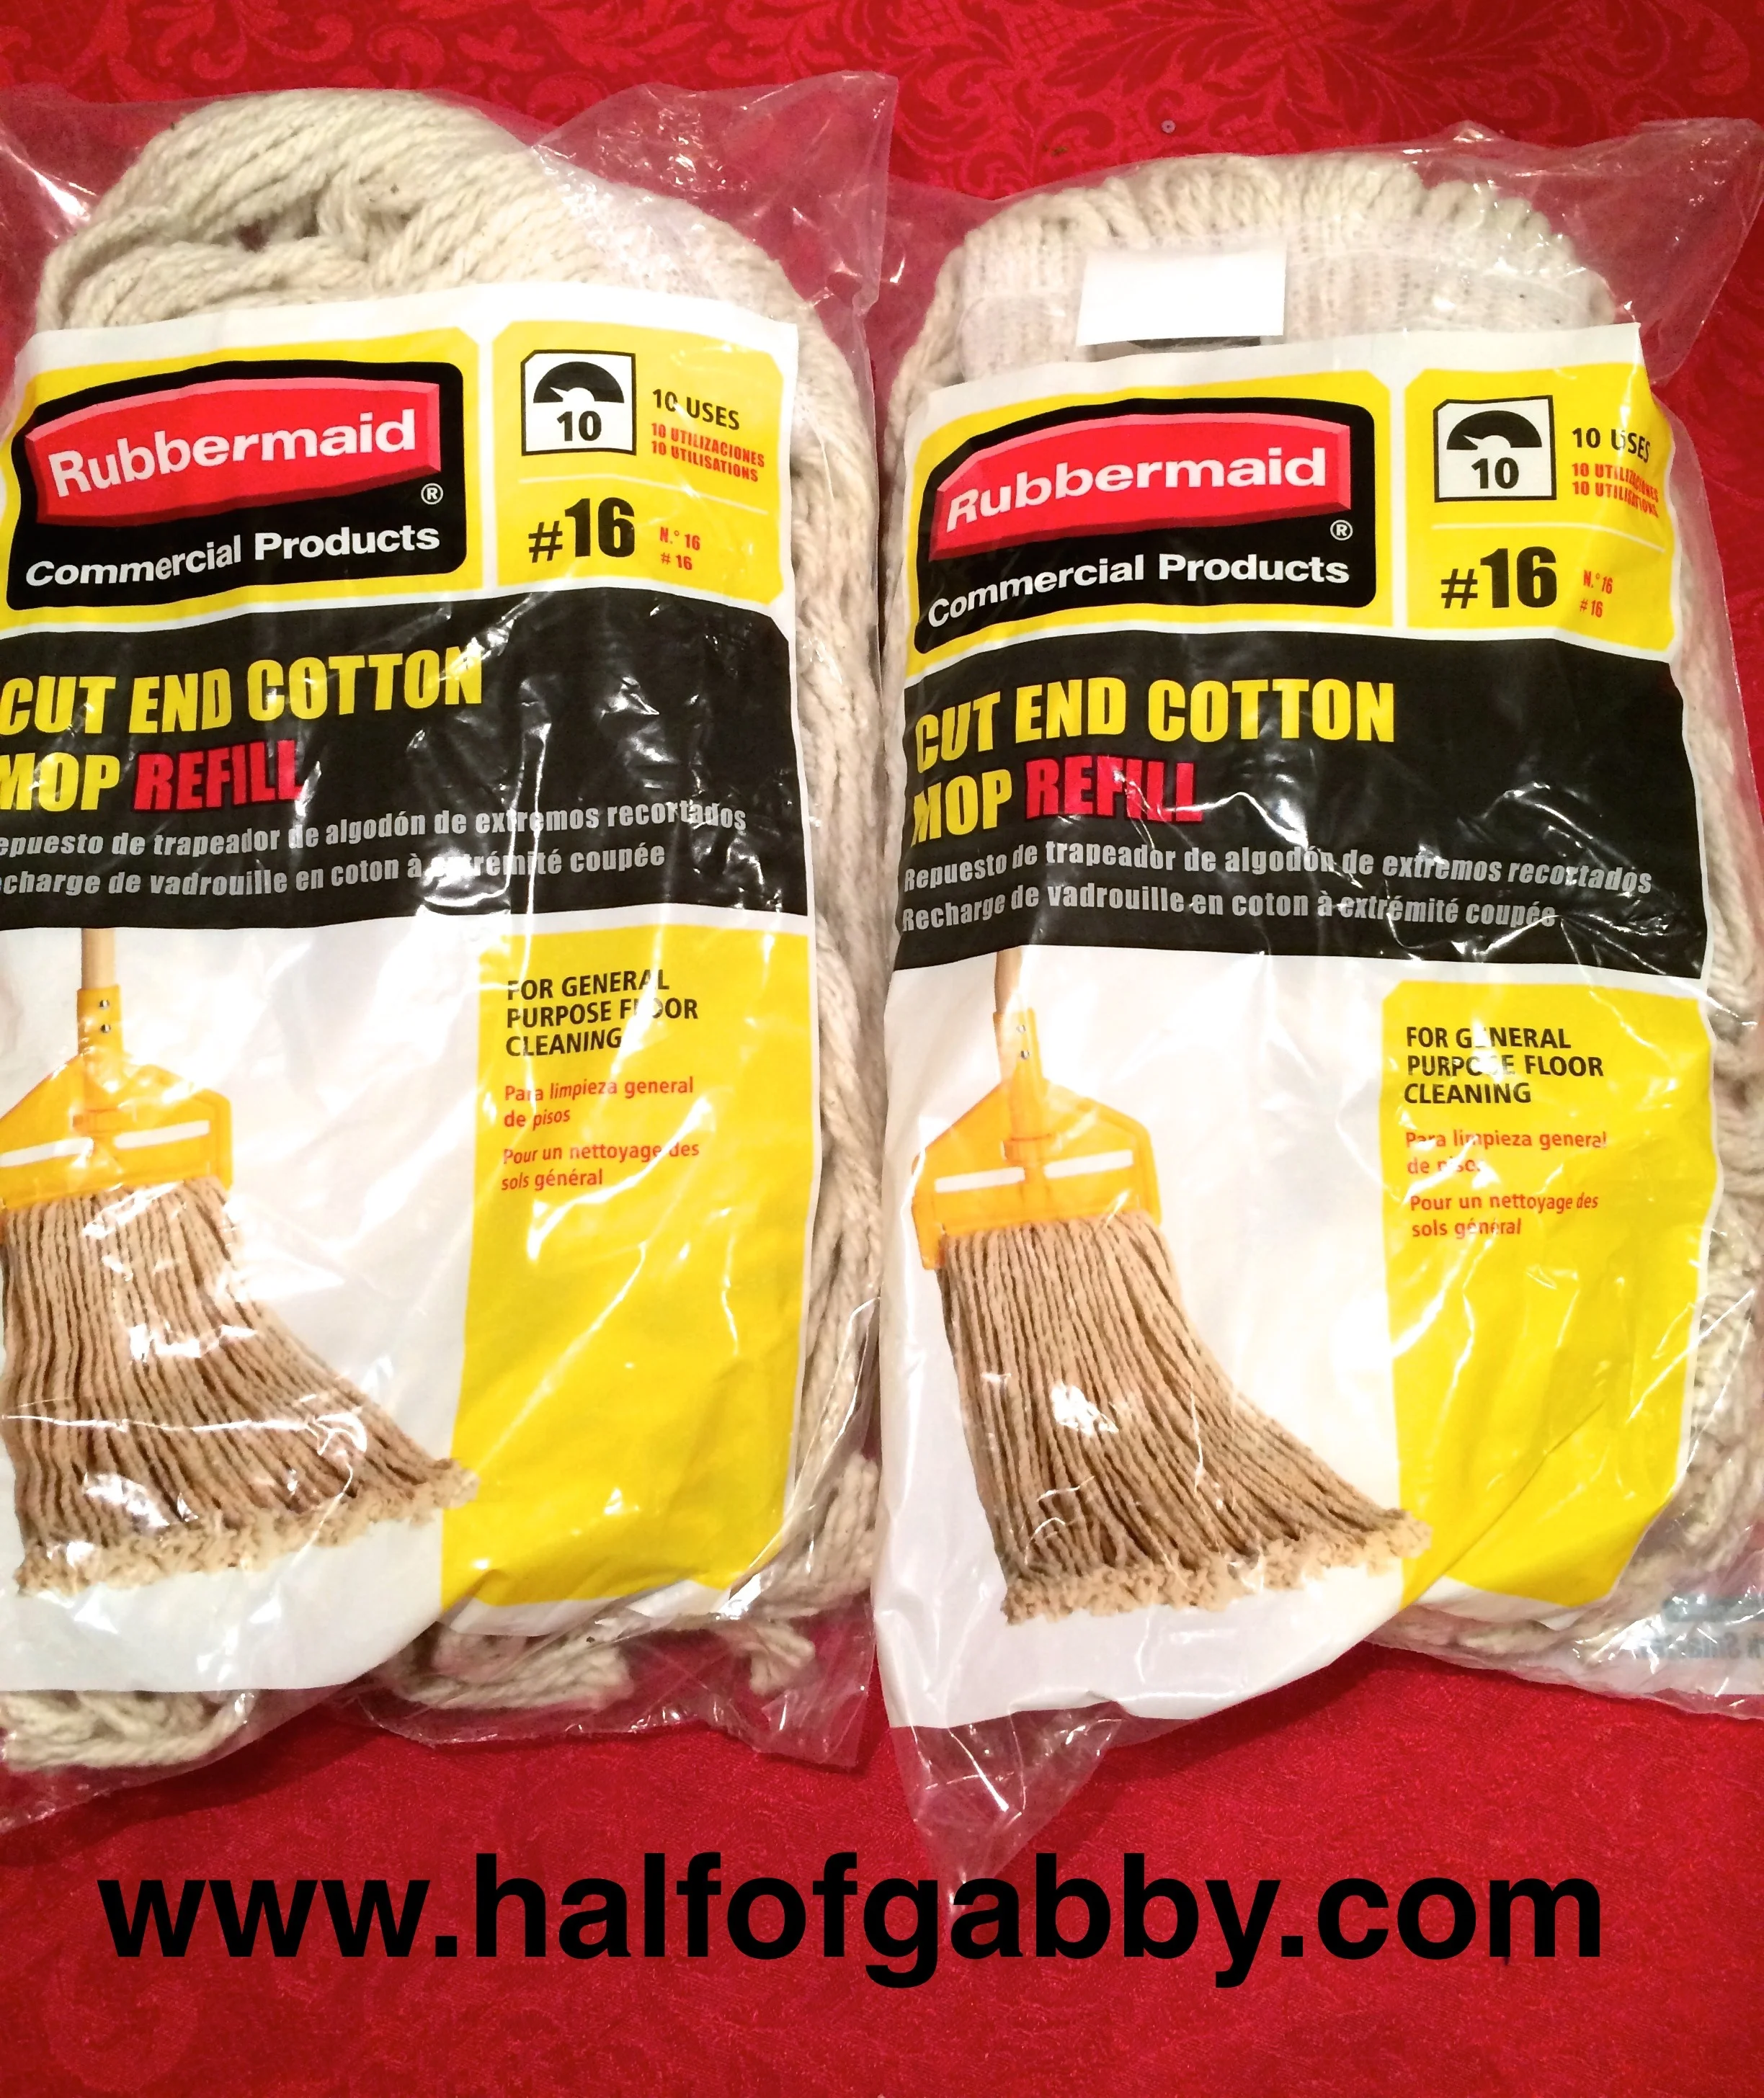
*My hubs found these mop head refills at Home Depot for $3.99 each.
Before you cut the moppies off, be sure to have a little fun first :)
Jossy came up with this funny idea.
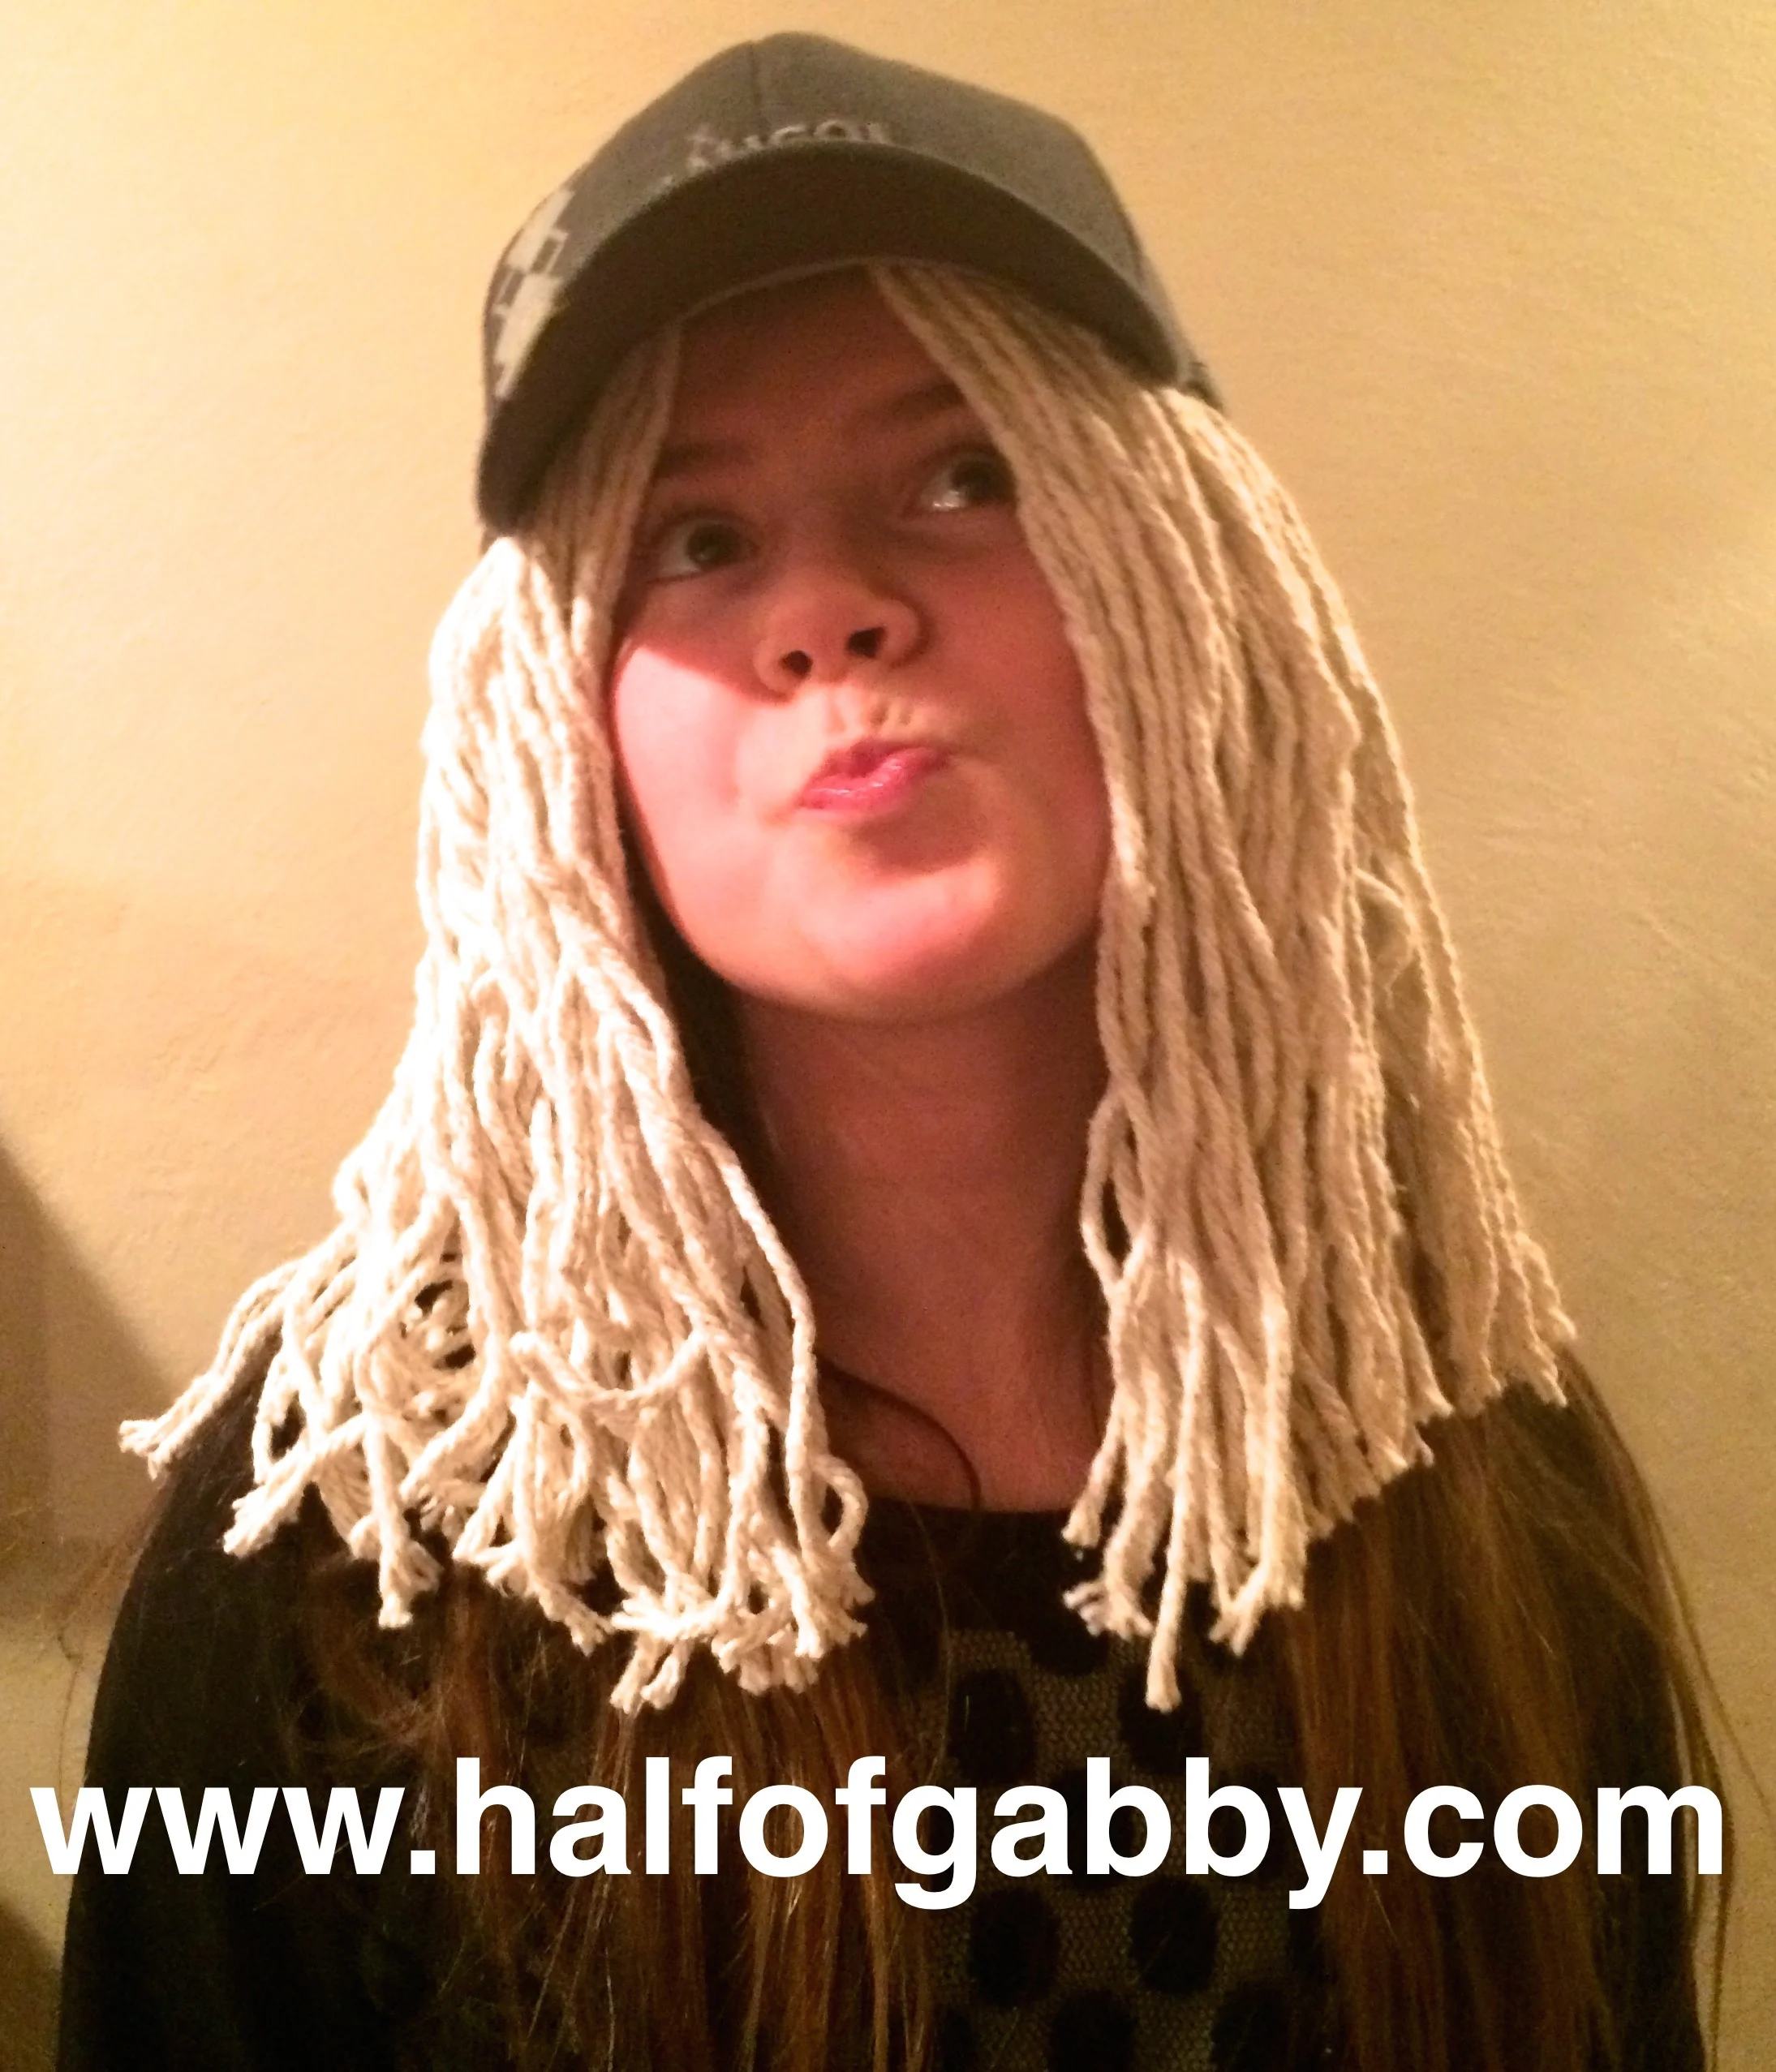
... and then older sissy, Gianna had to try it out for herself. Too funny.
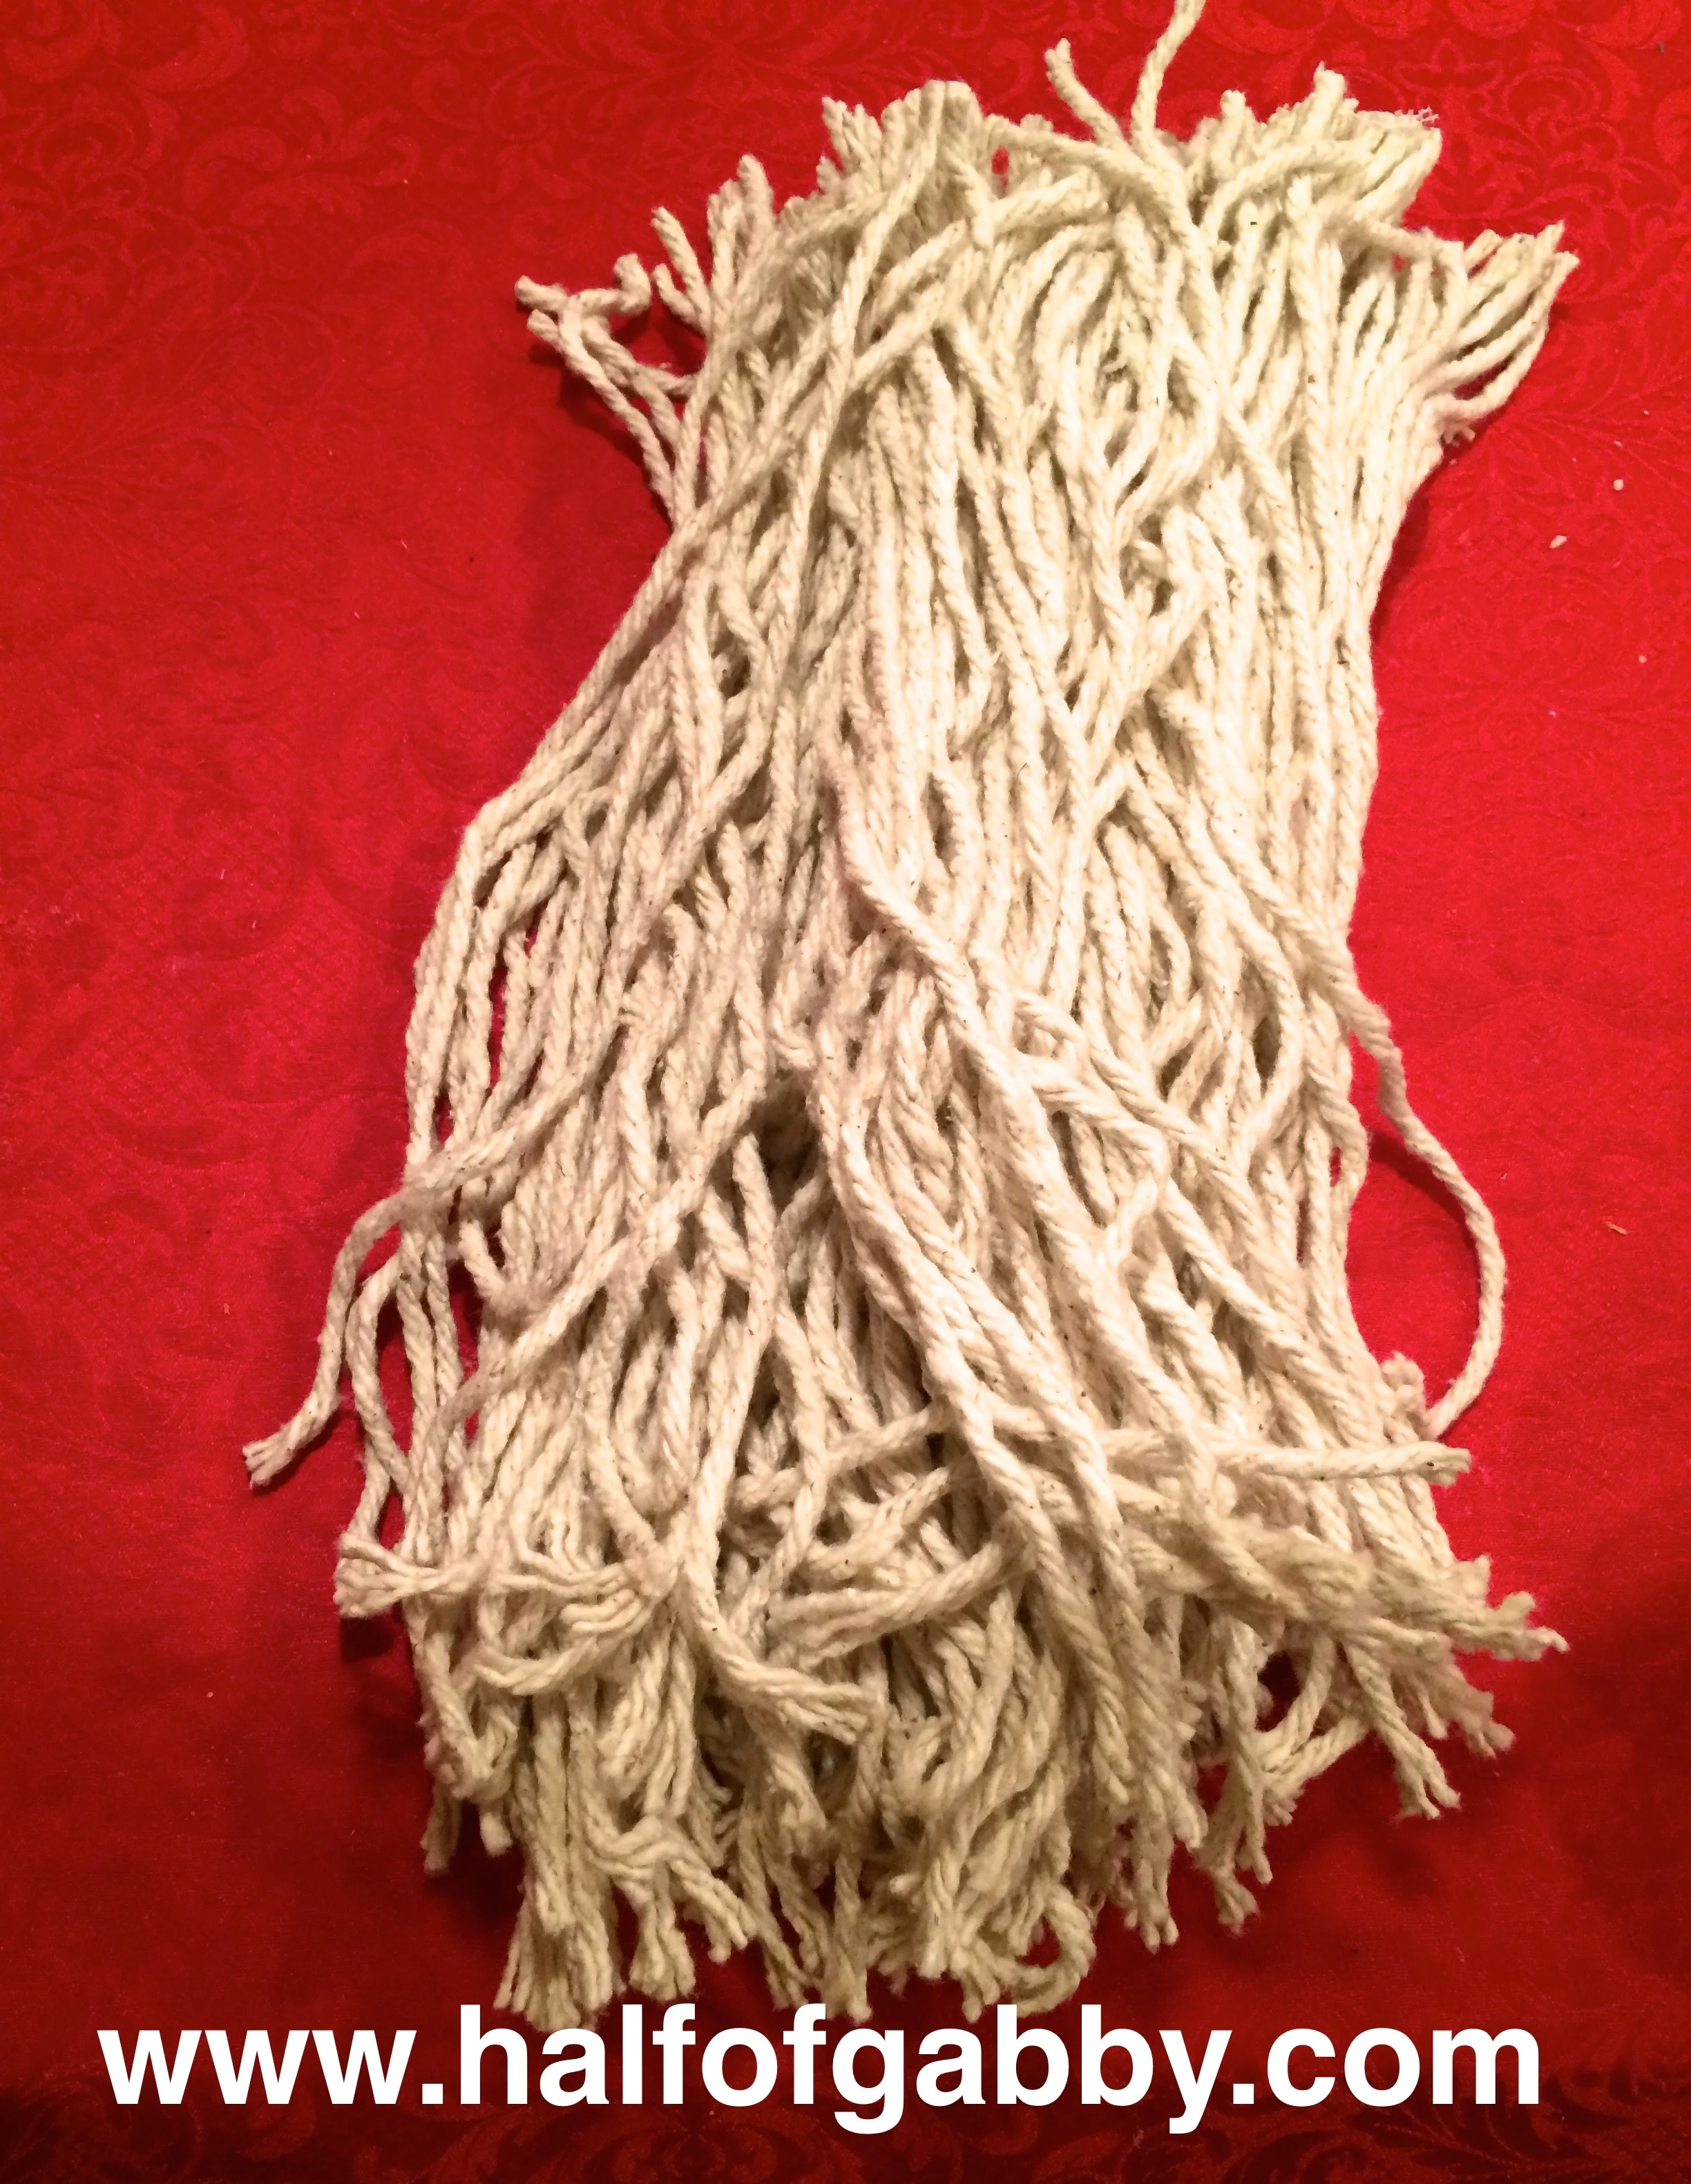
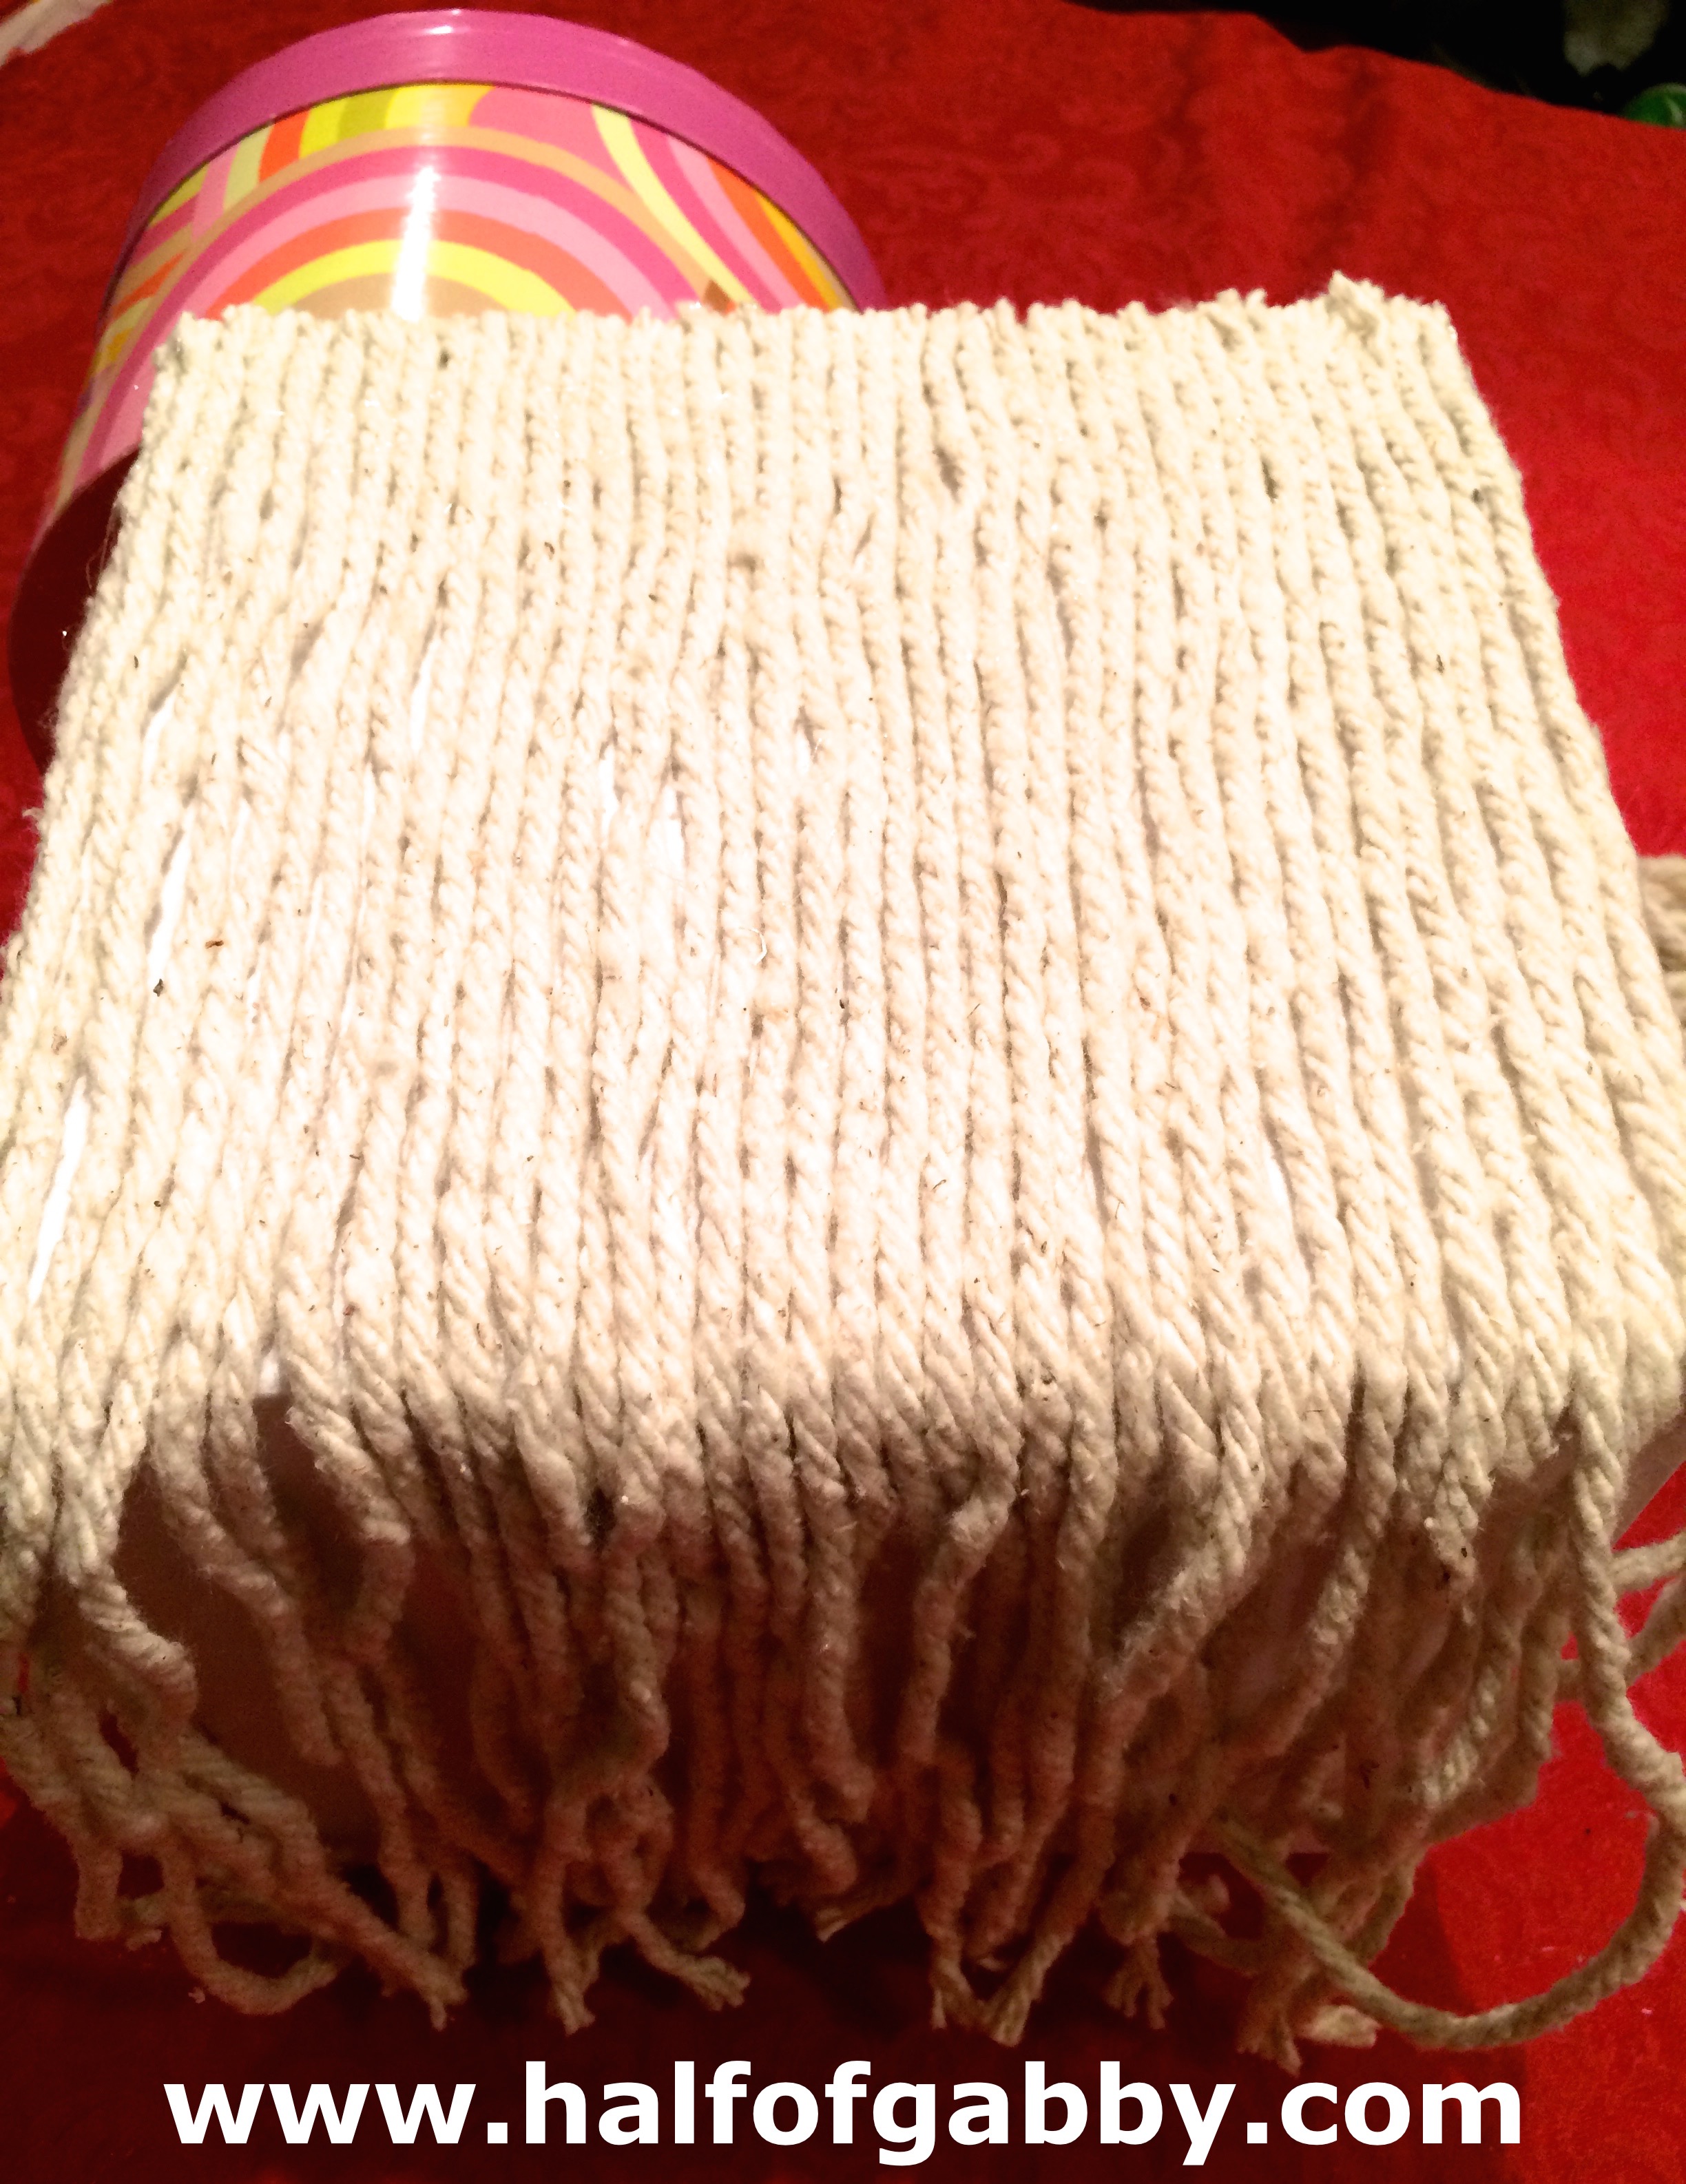
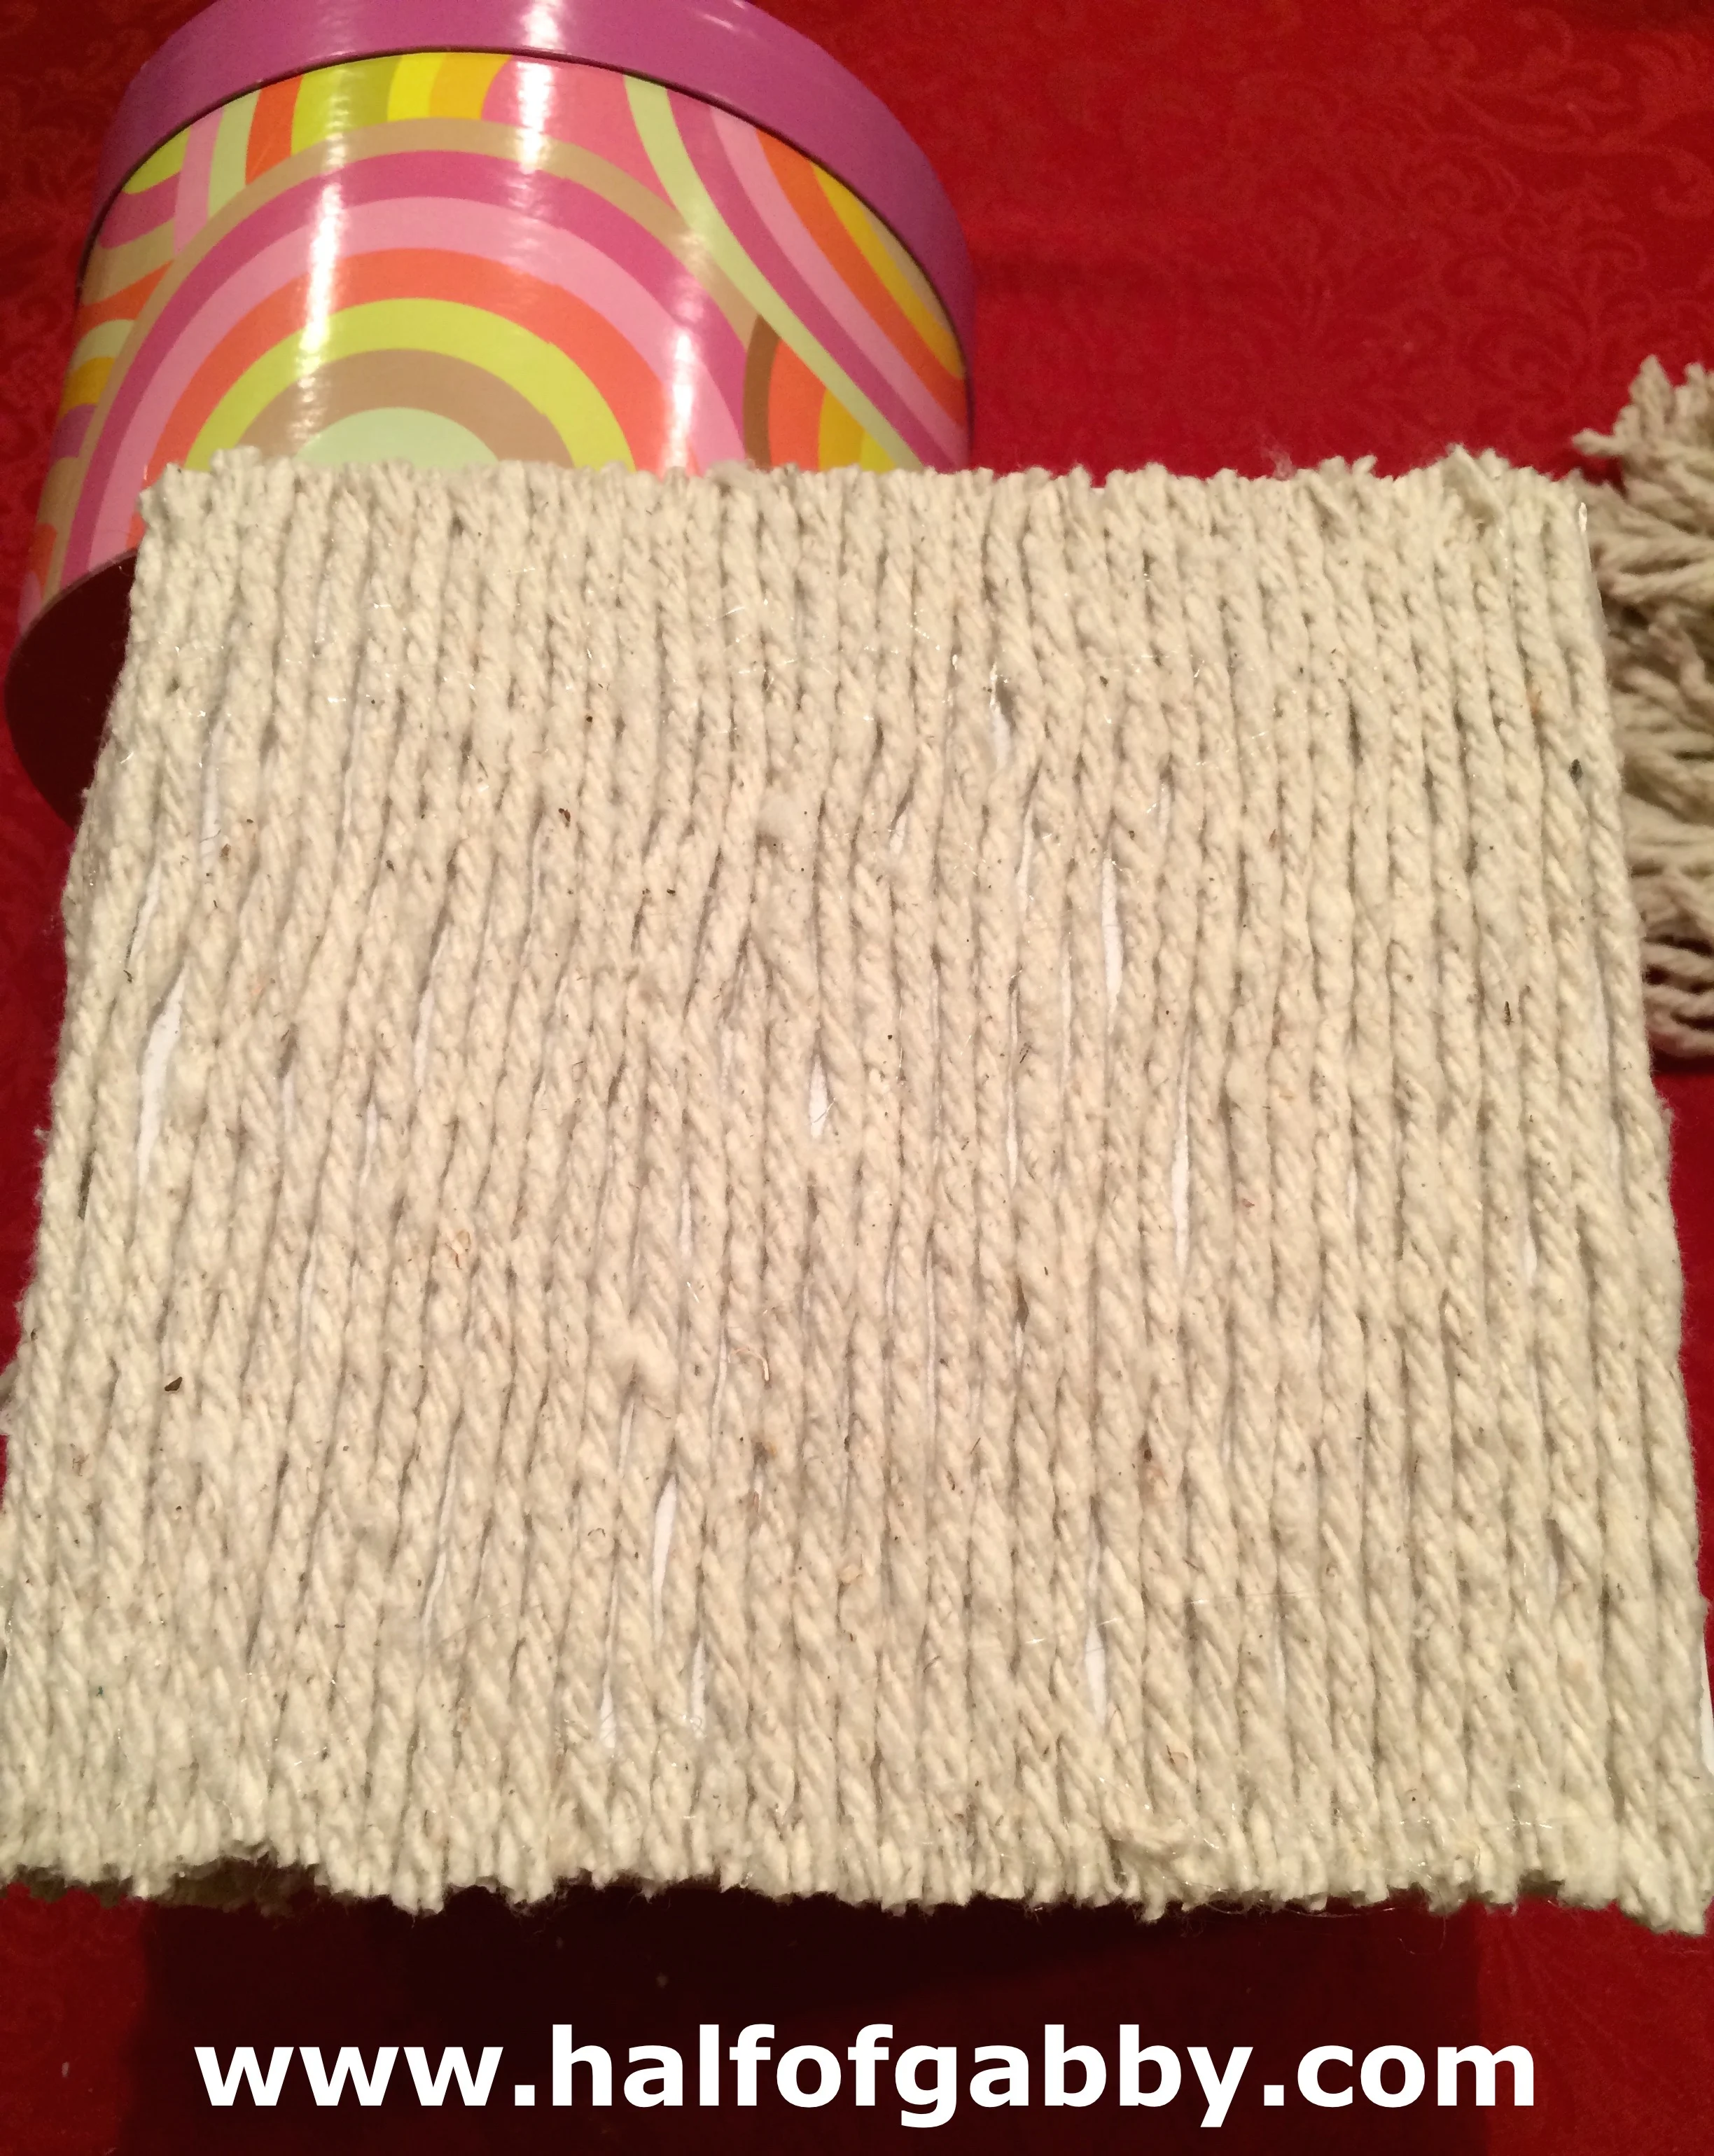
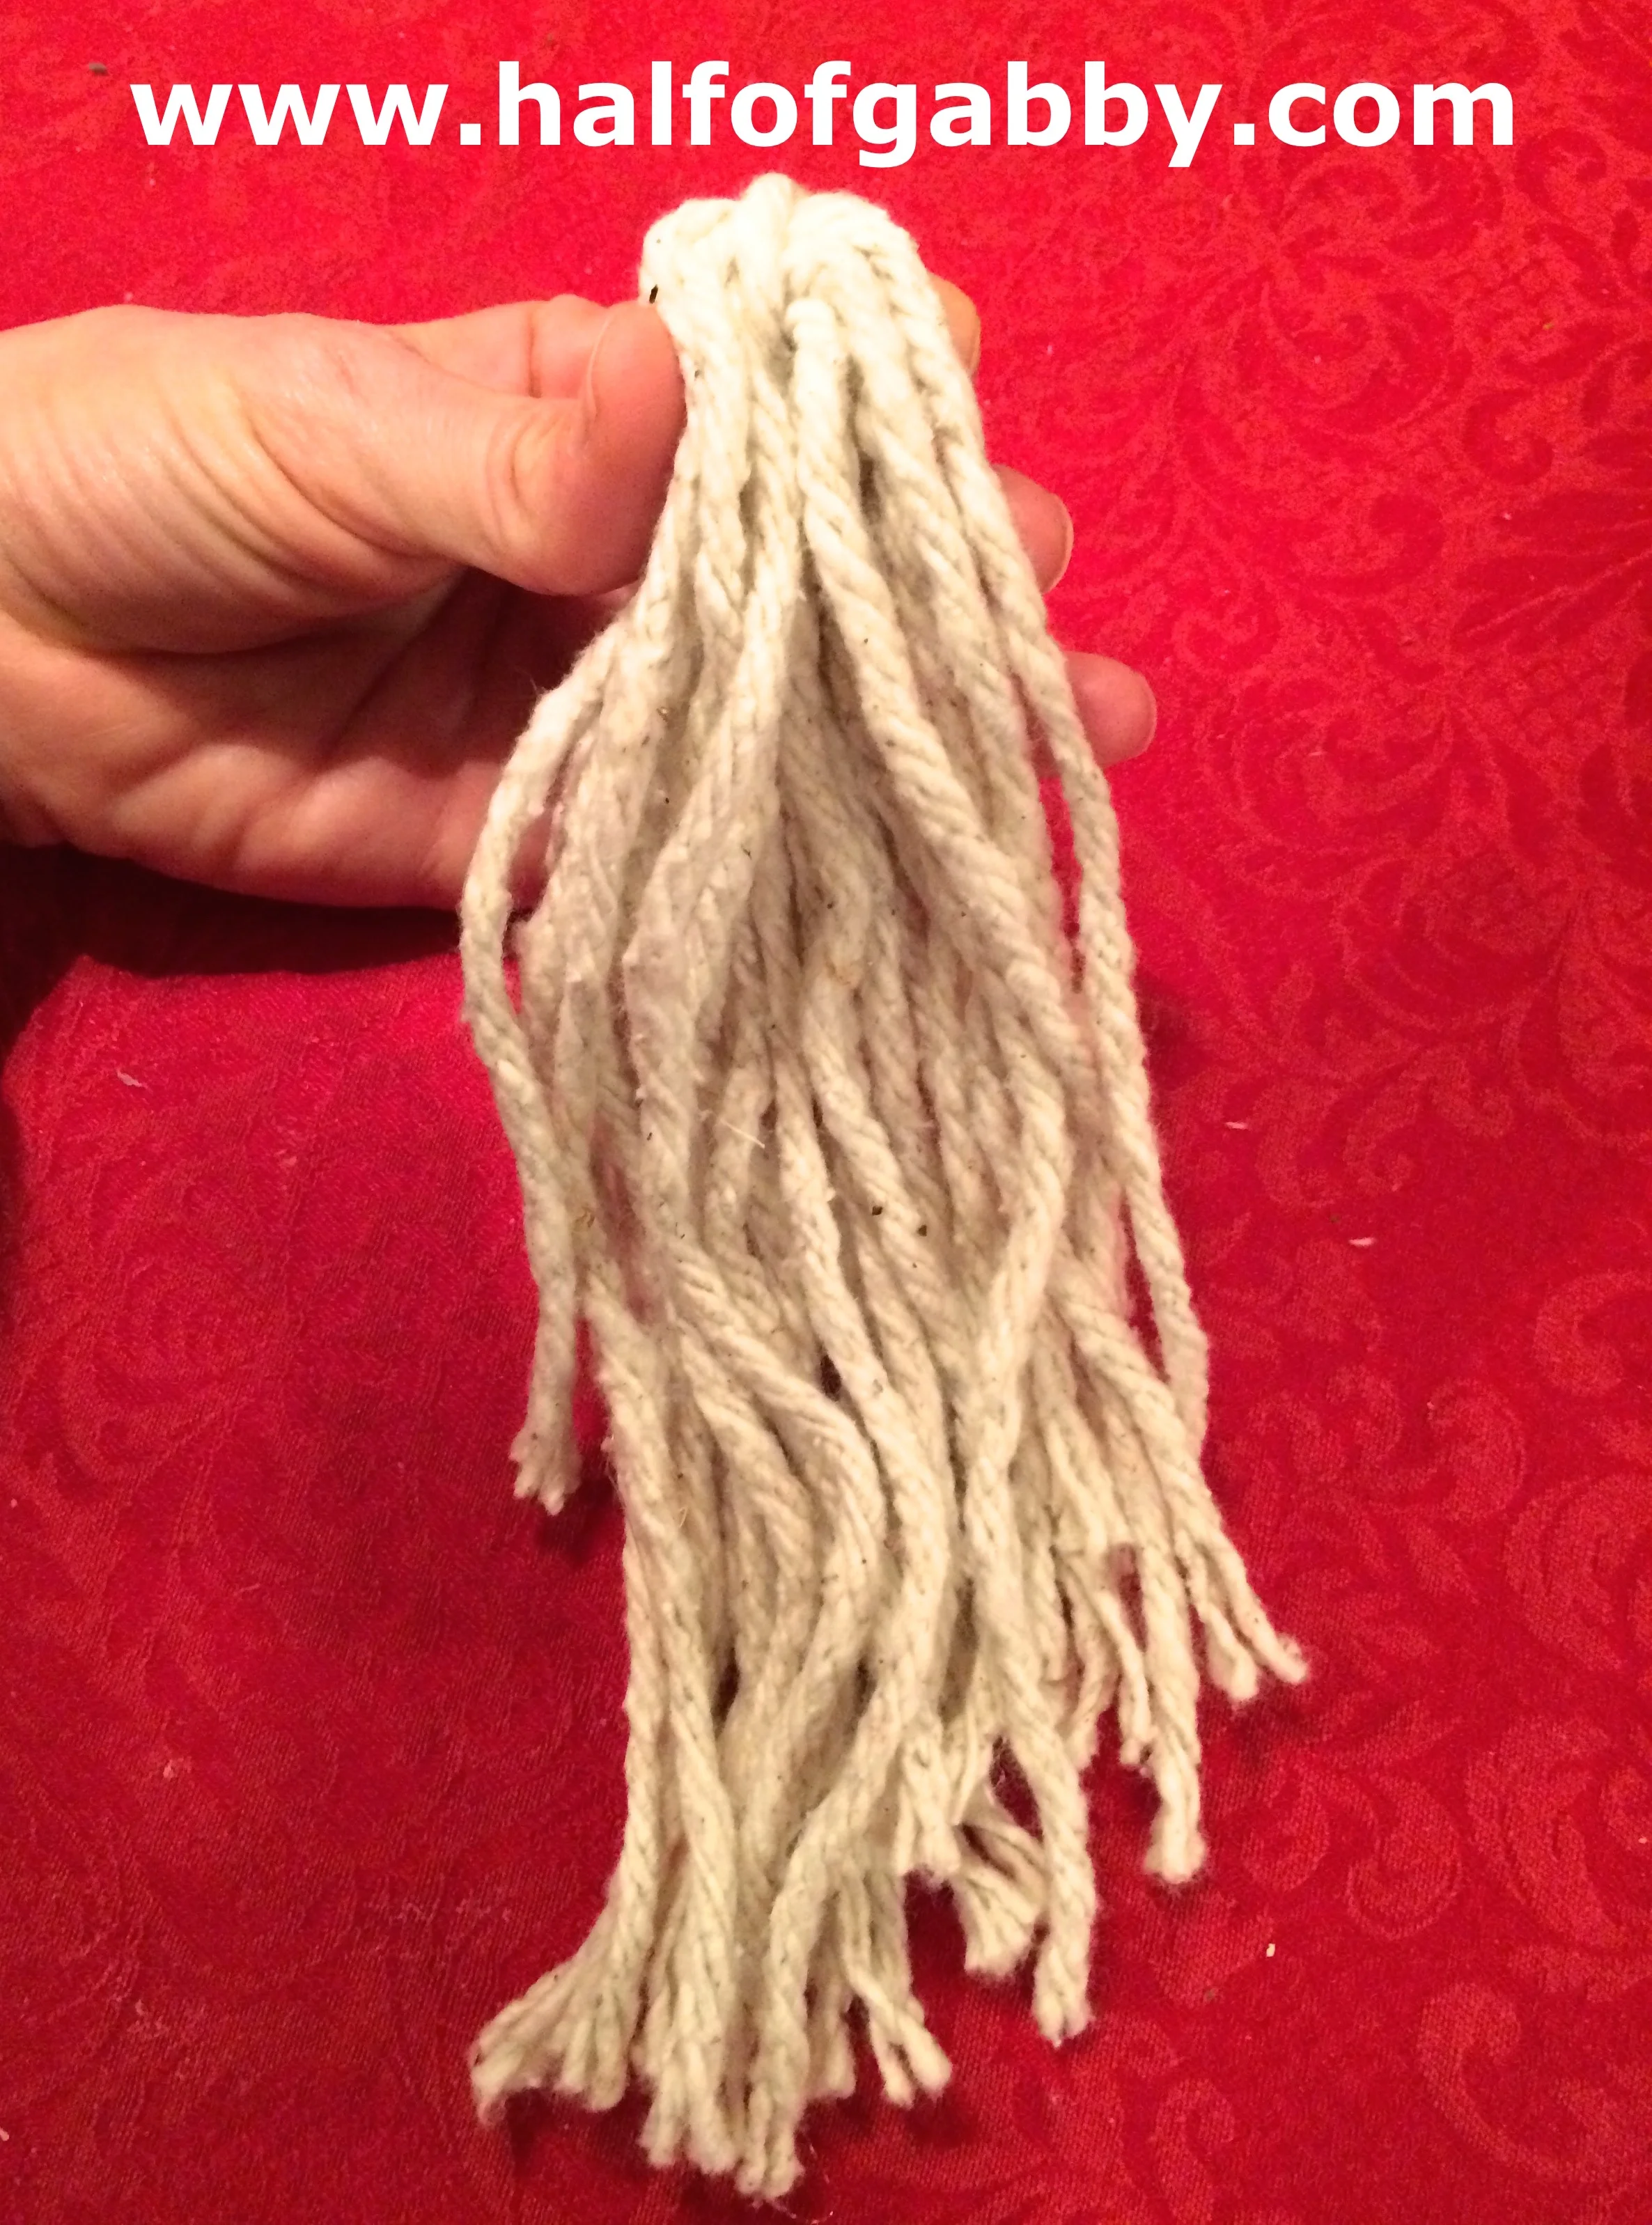
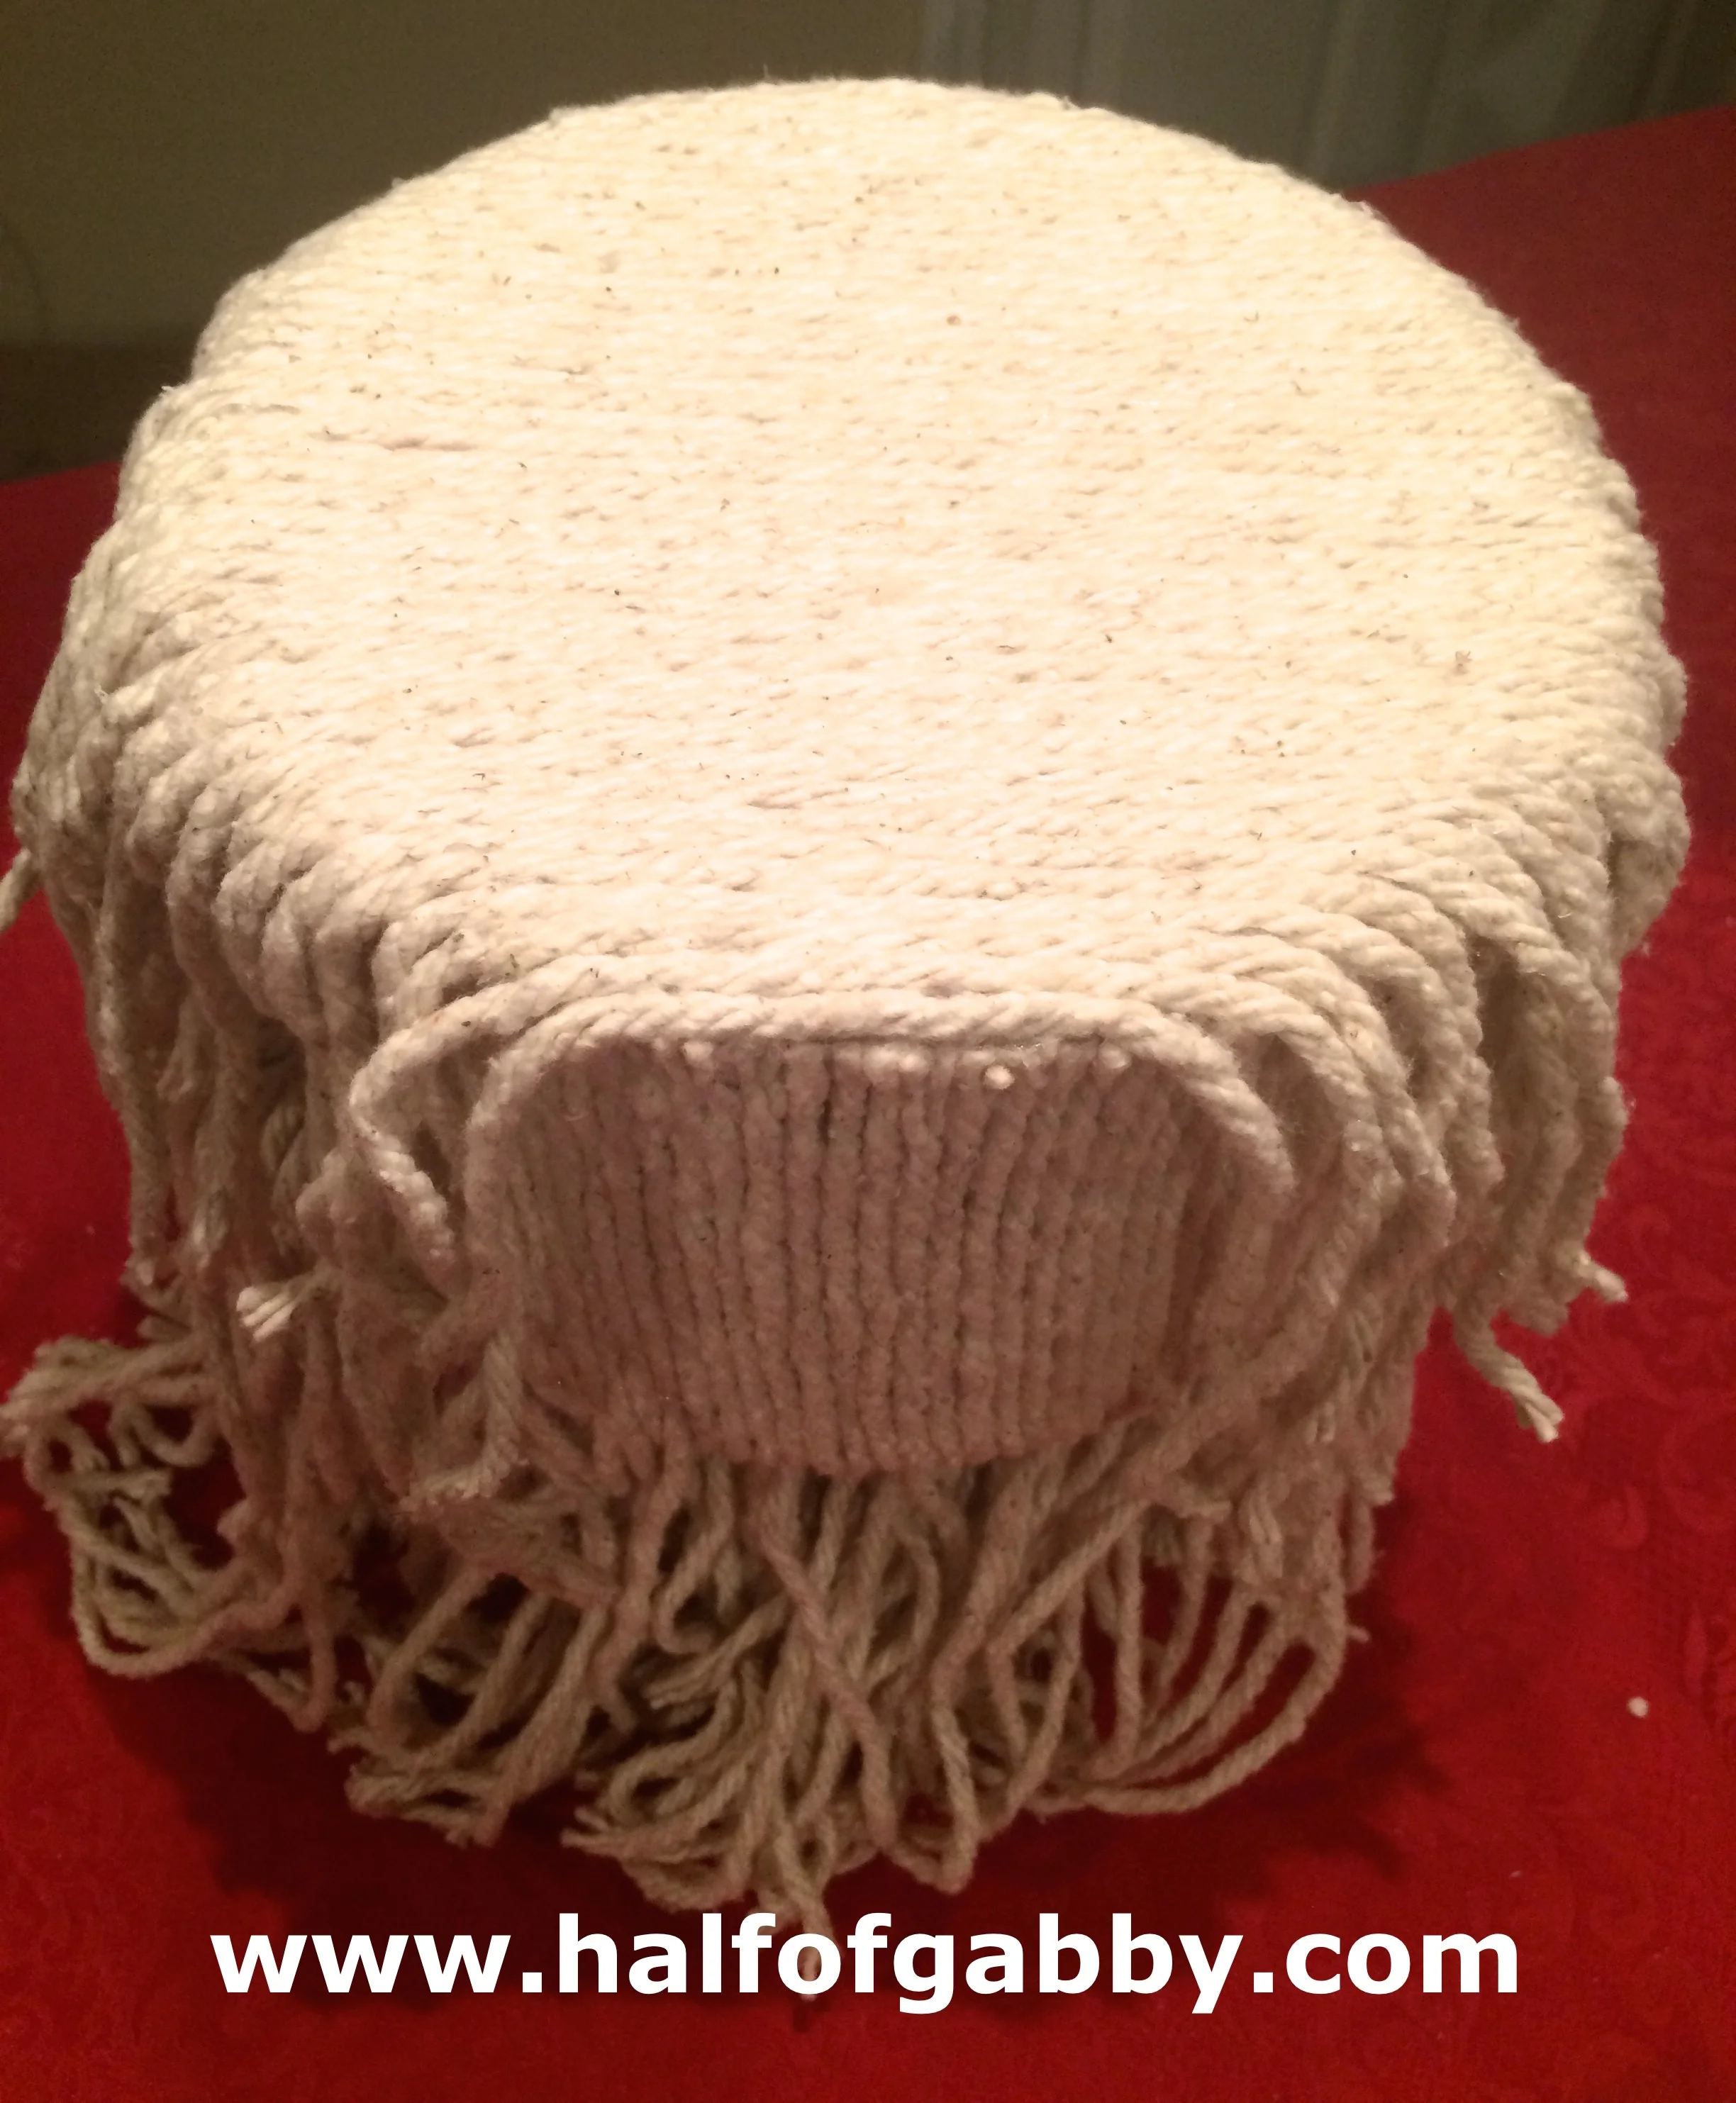
Okay, back to the moppies. Here's what our mop heads looked like.
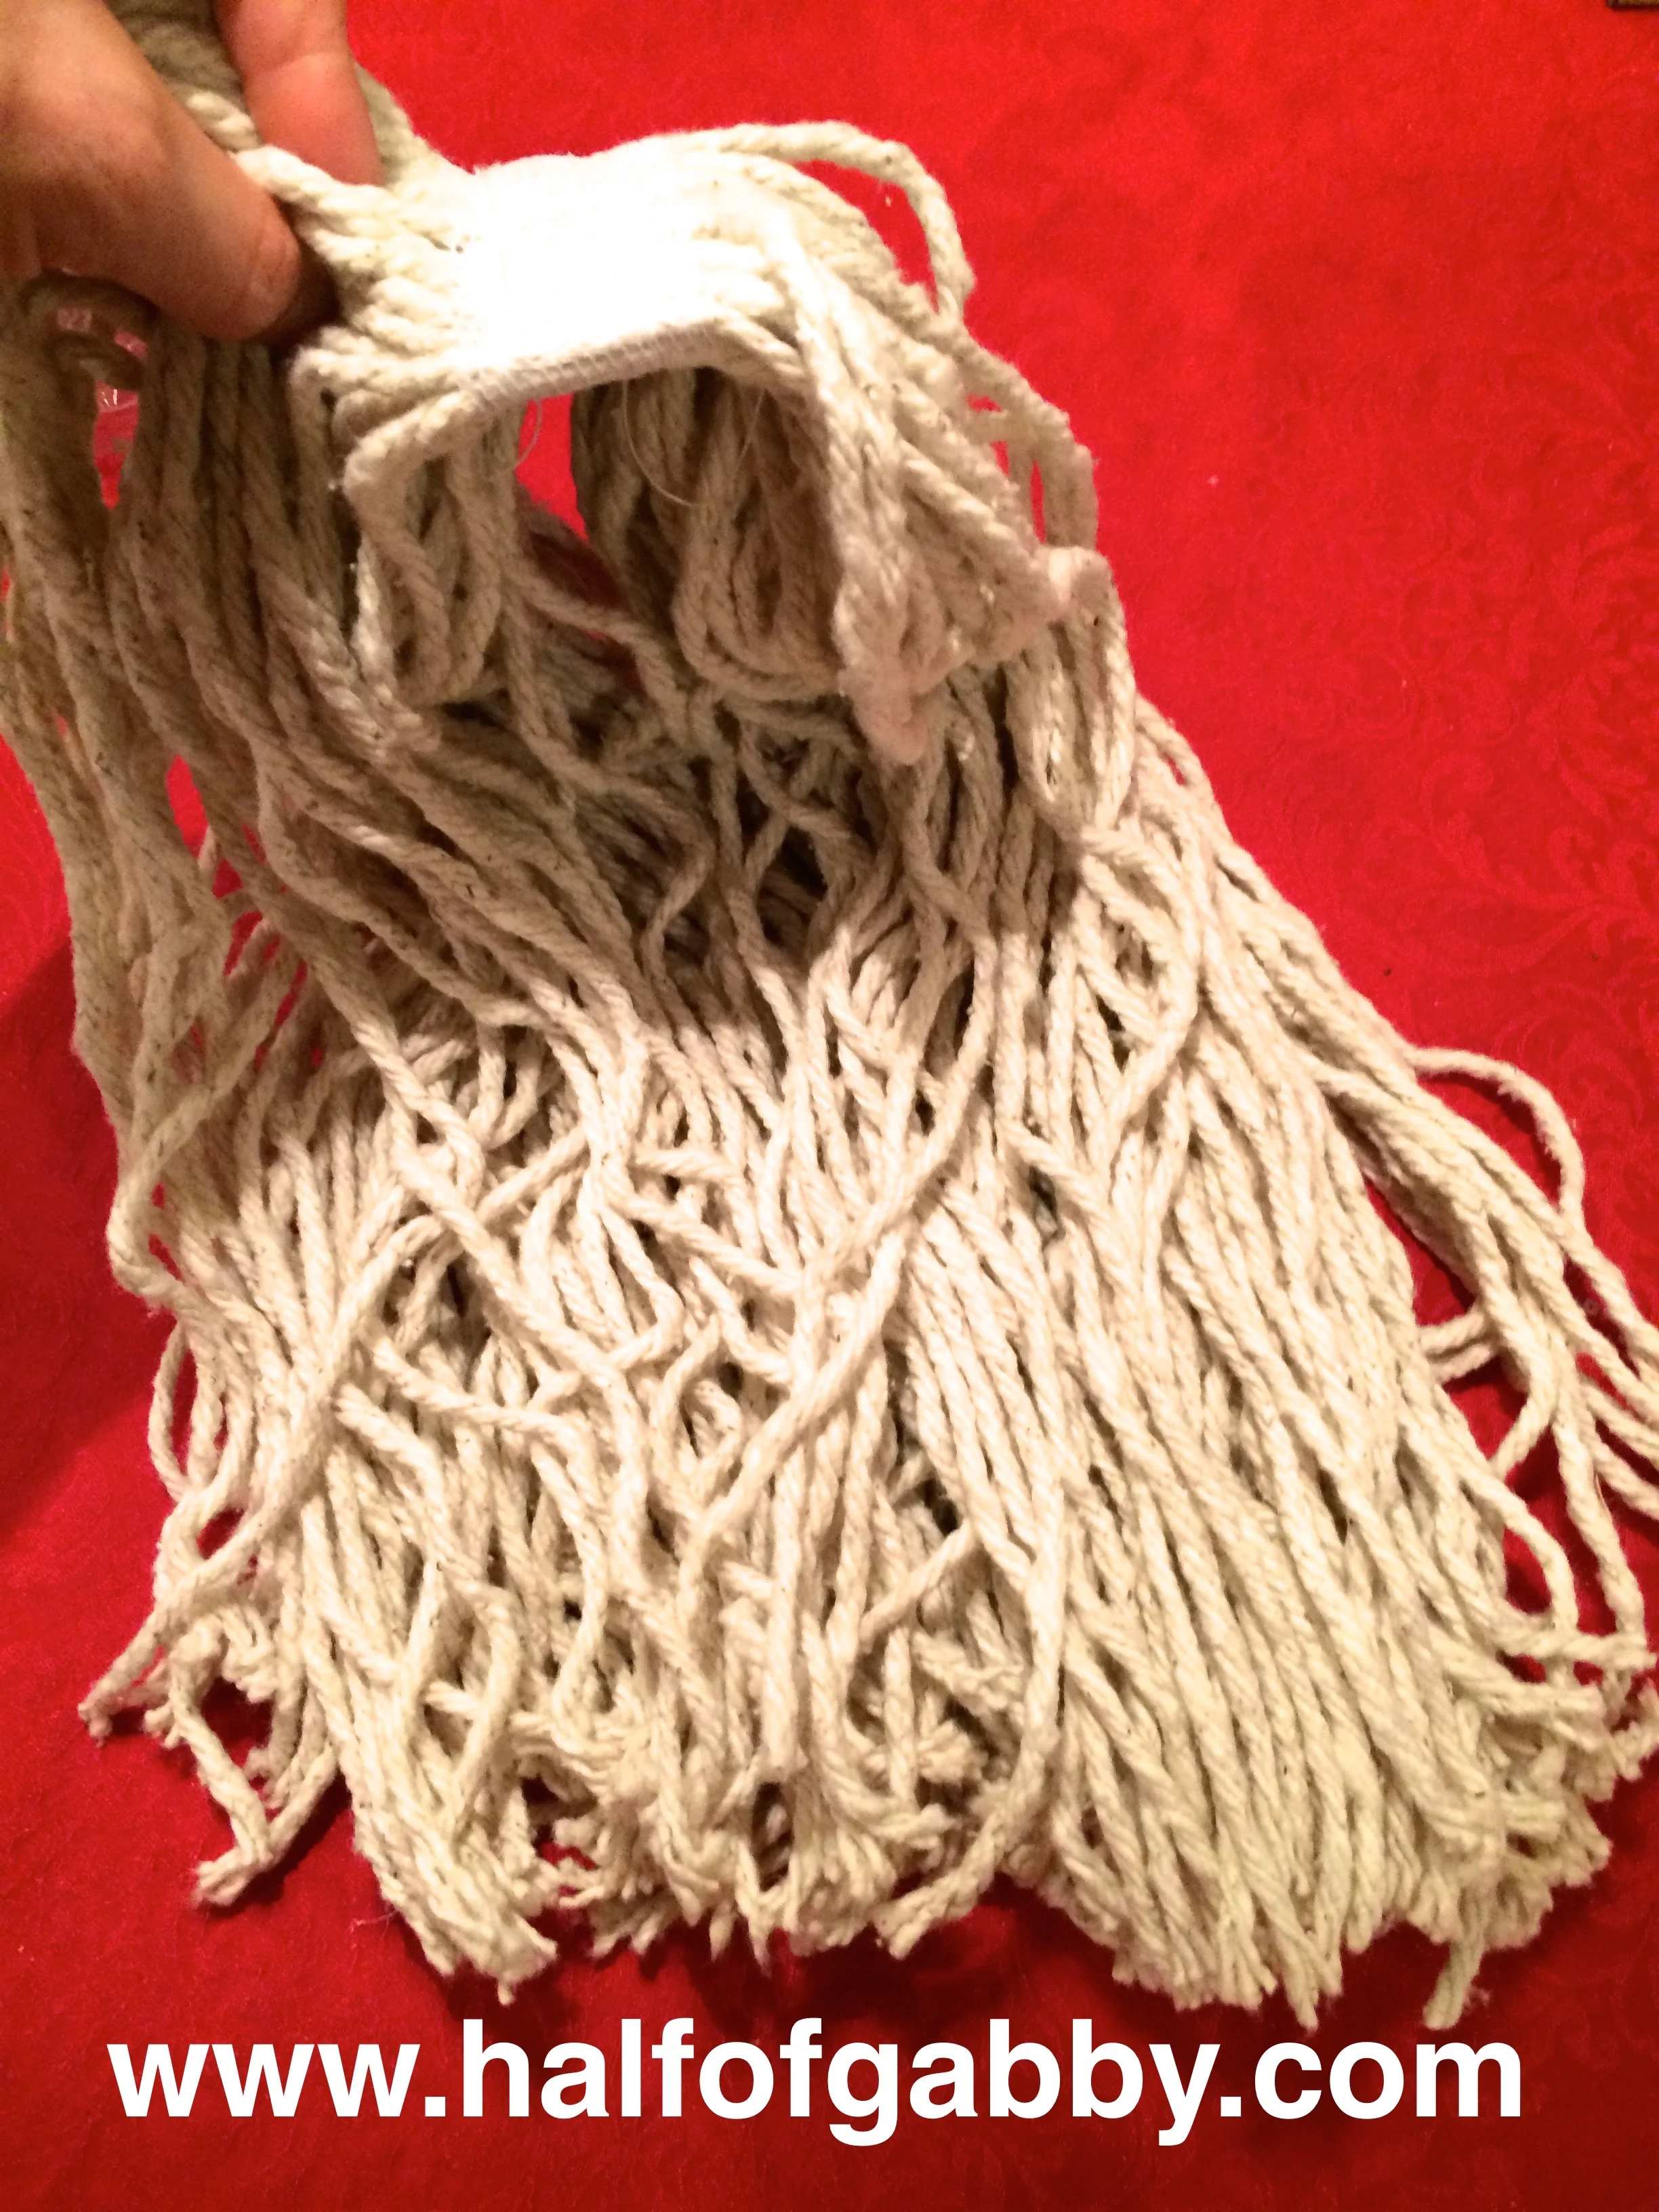
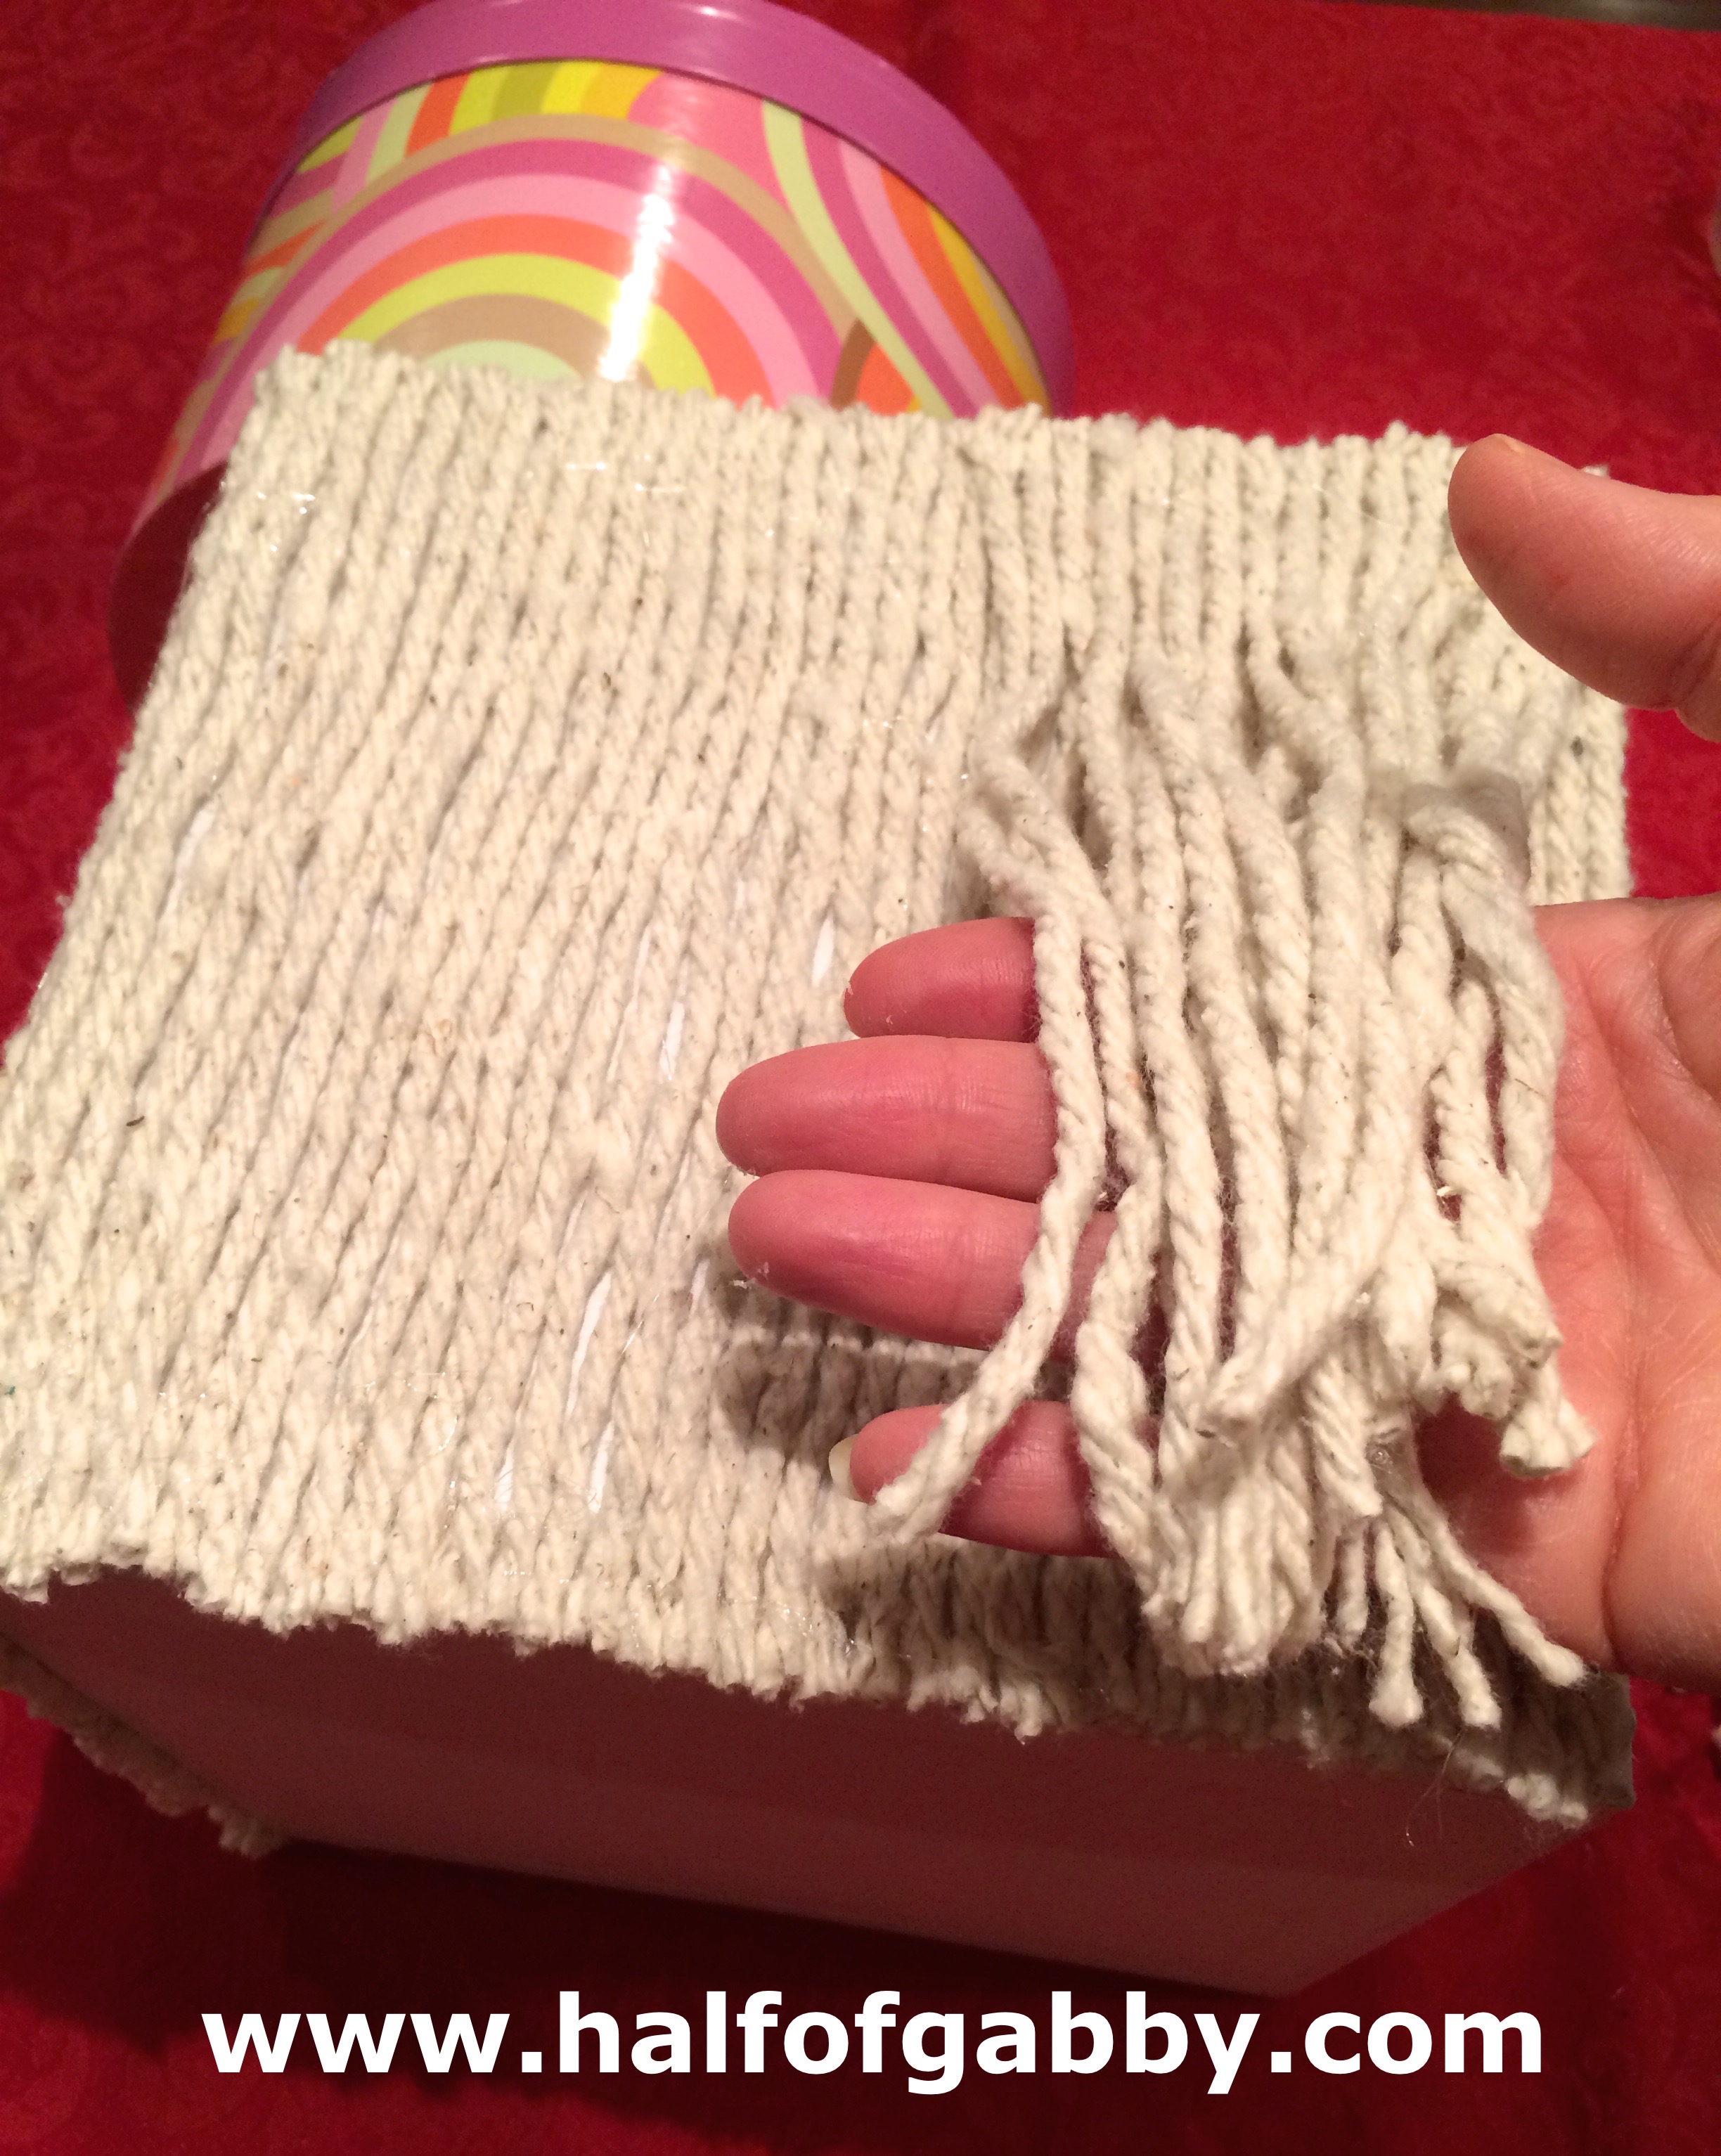
Just simply cut the mop strings off the middle connector thingy (okay, there is no official term for that!)

Now you have a pile of moppies!
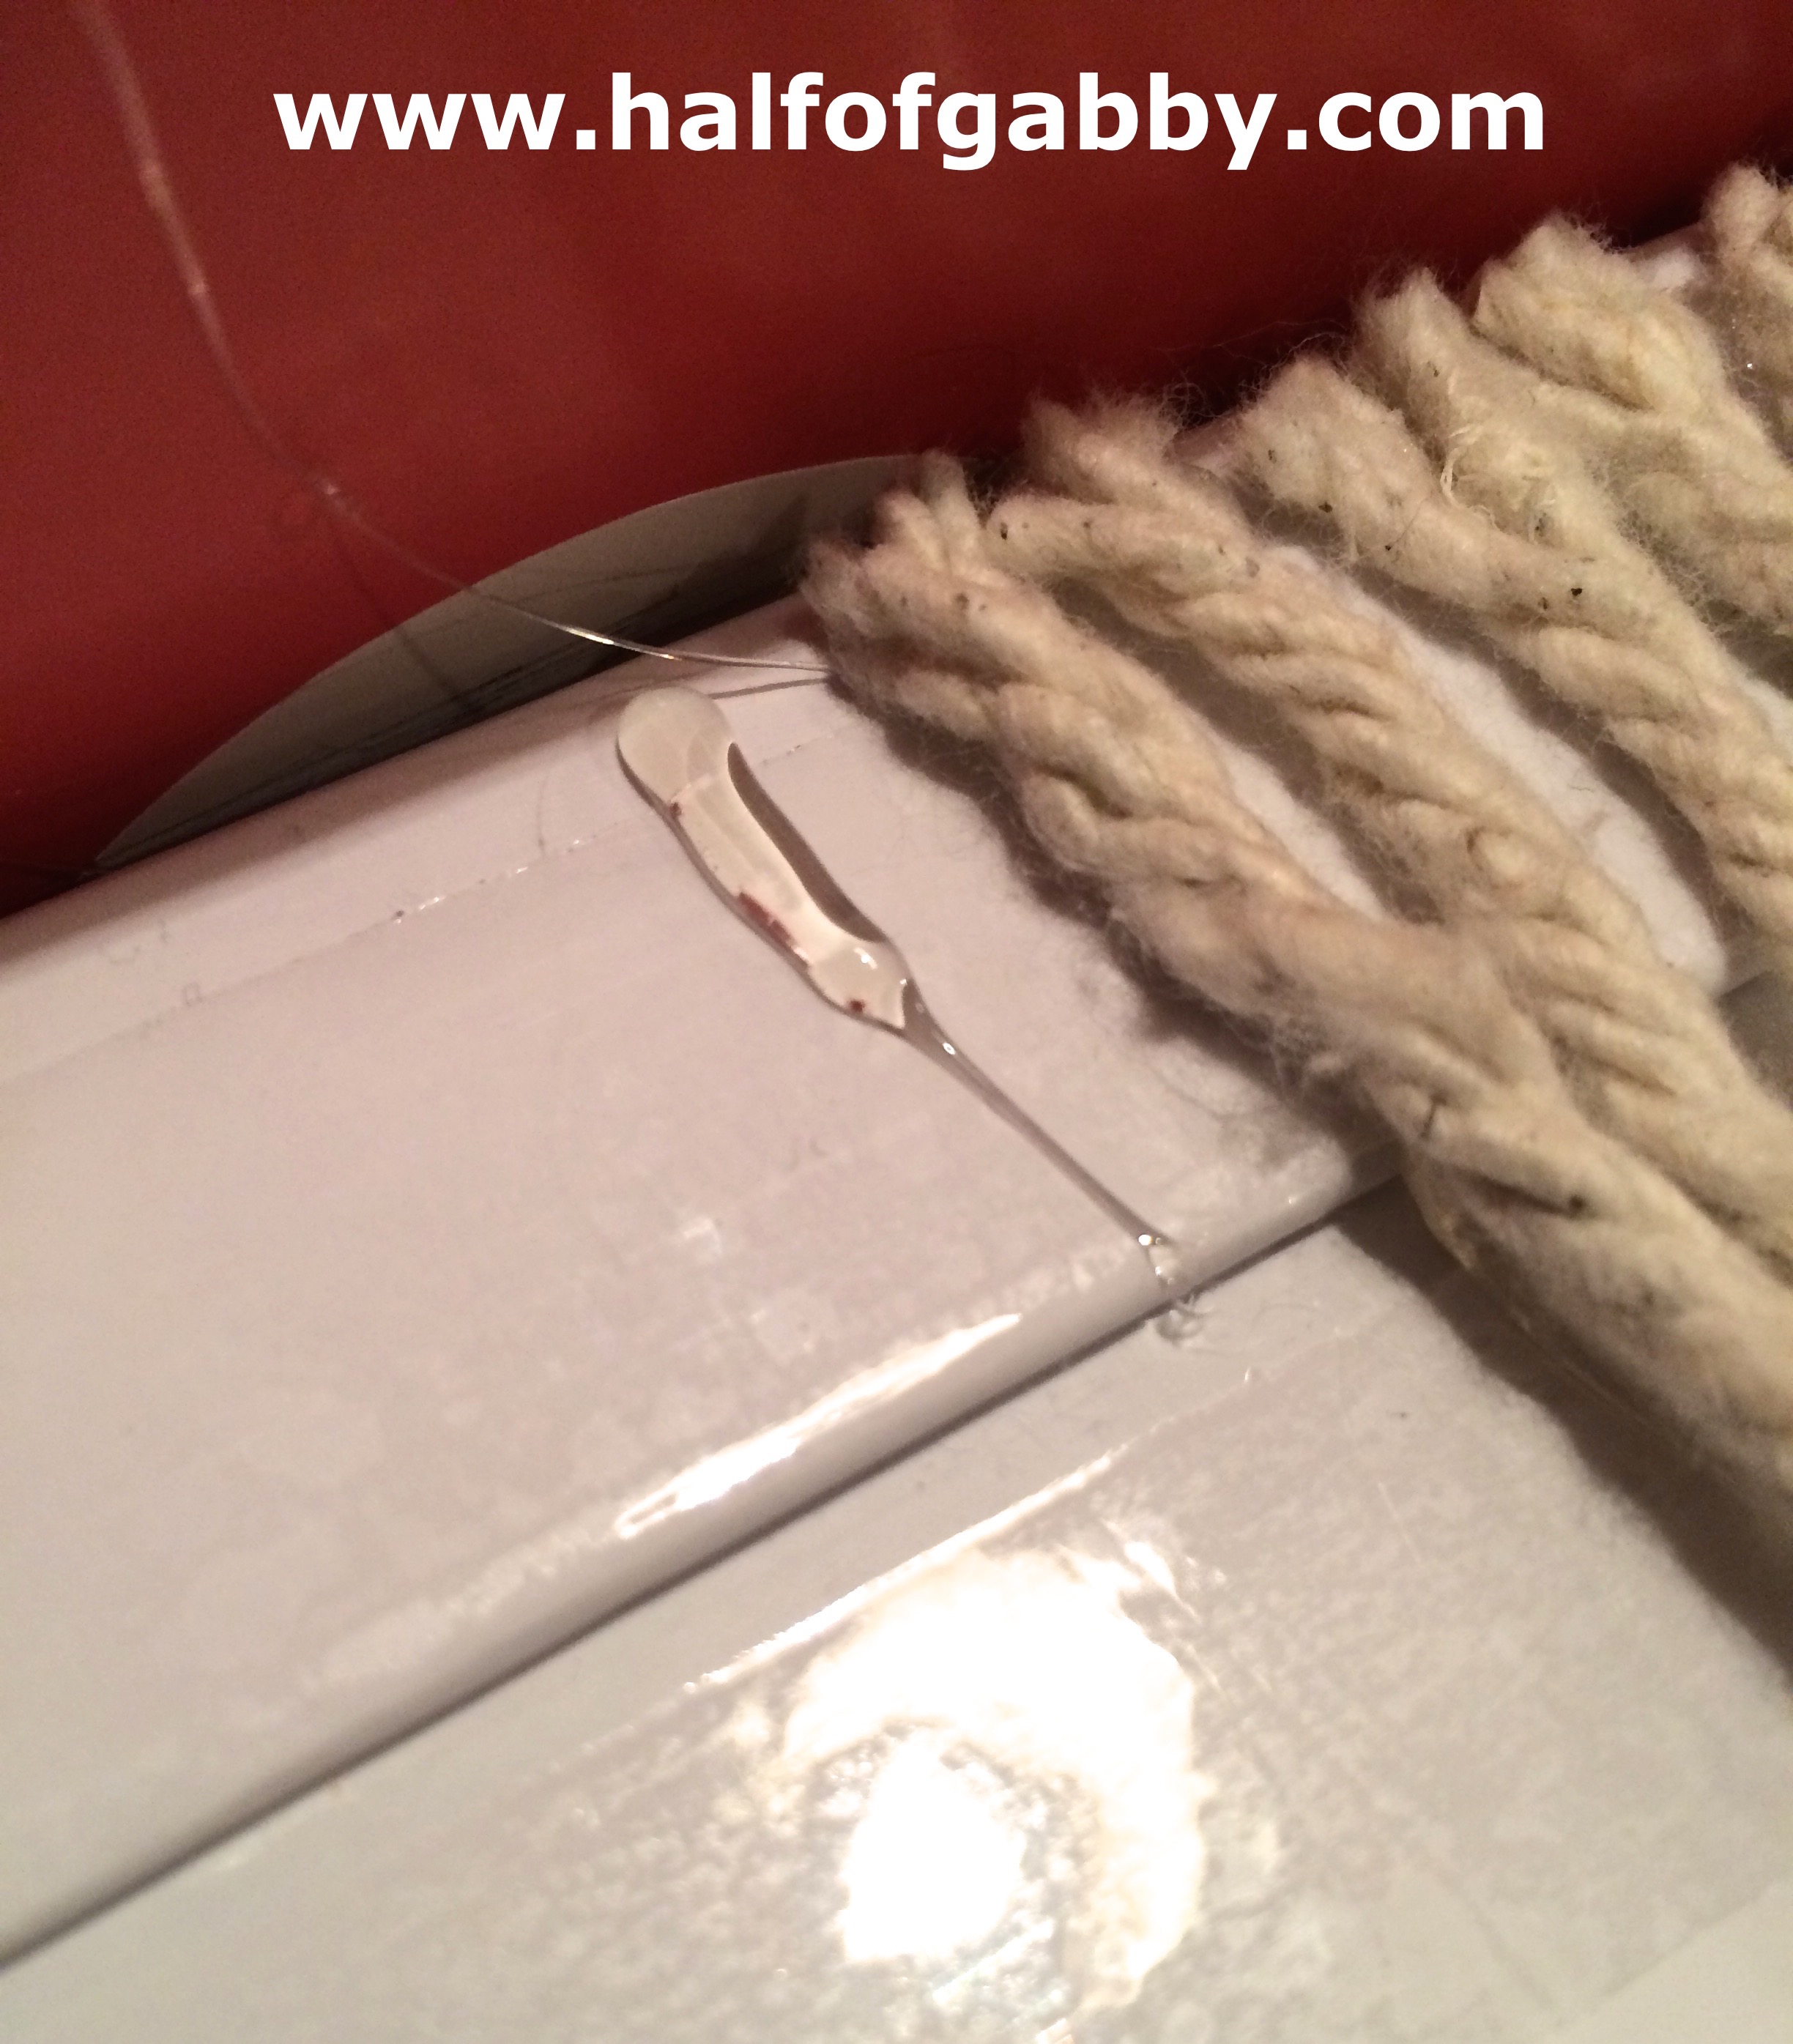
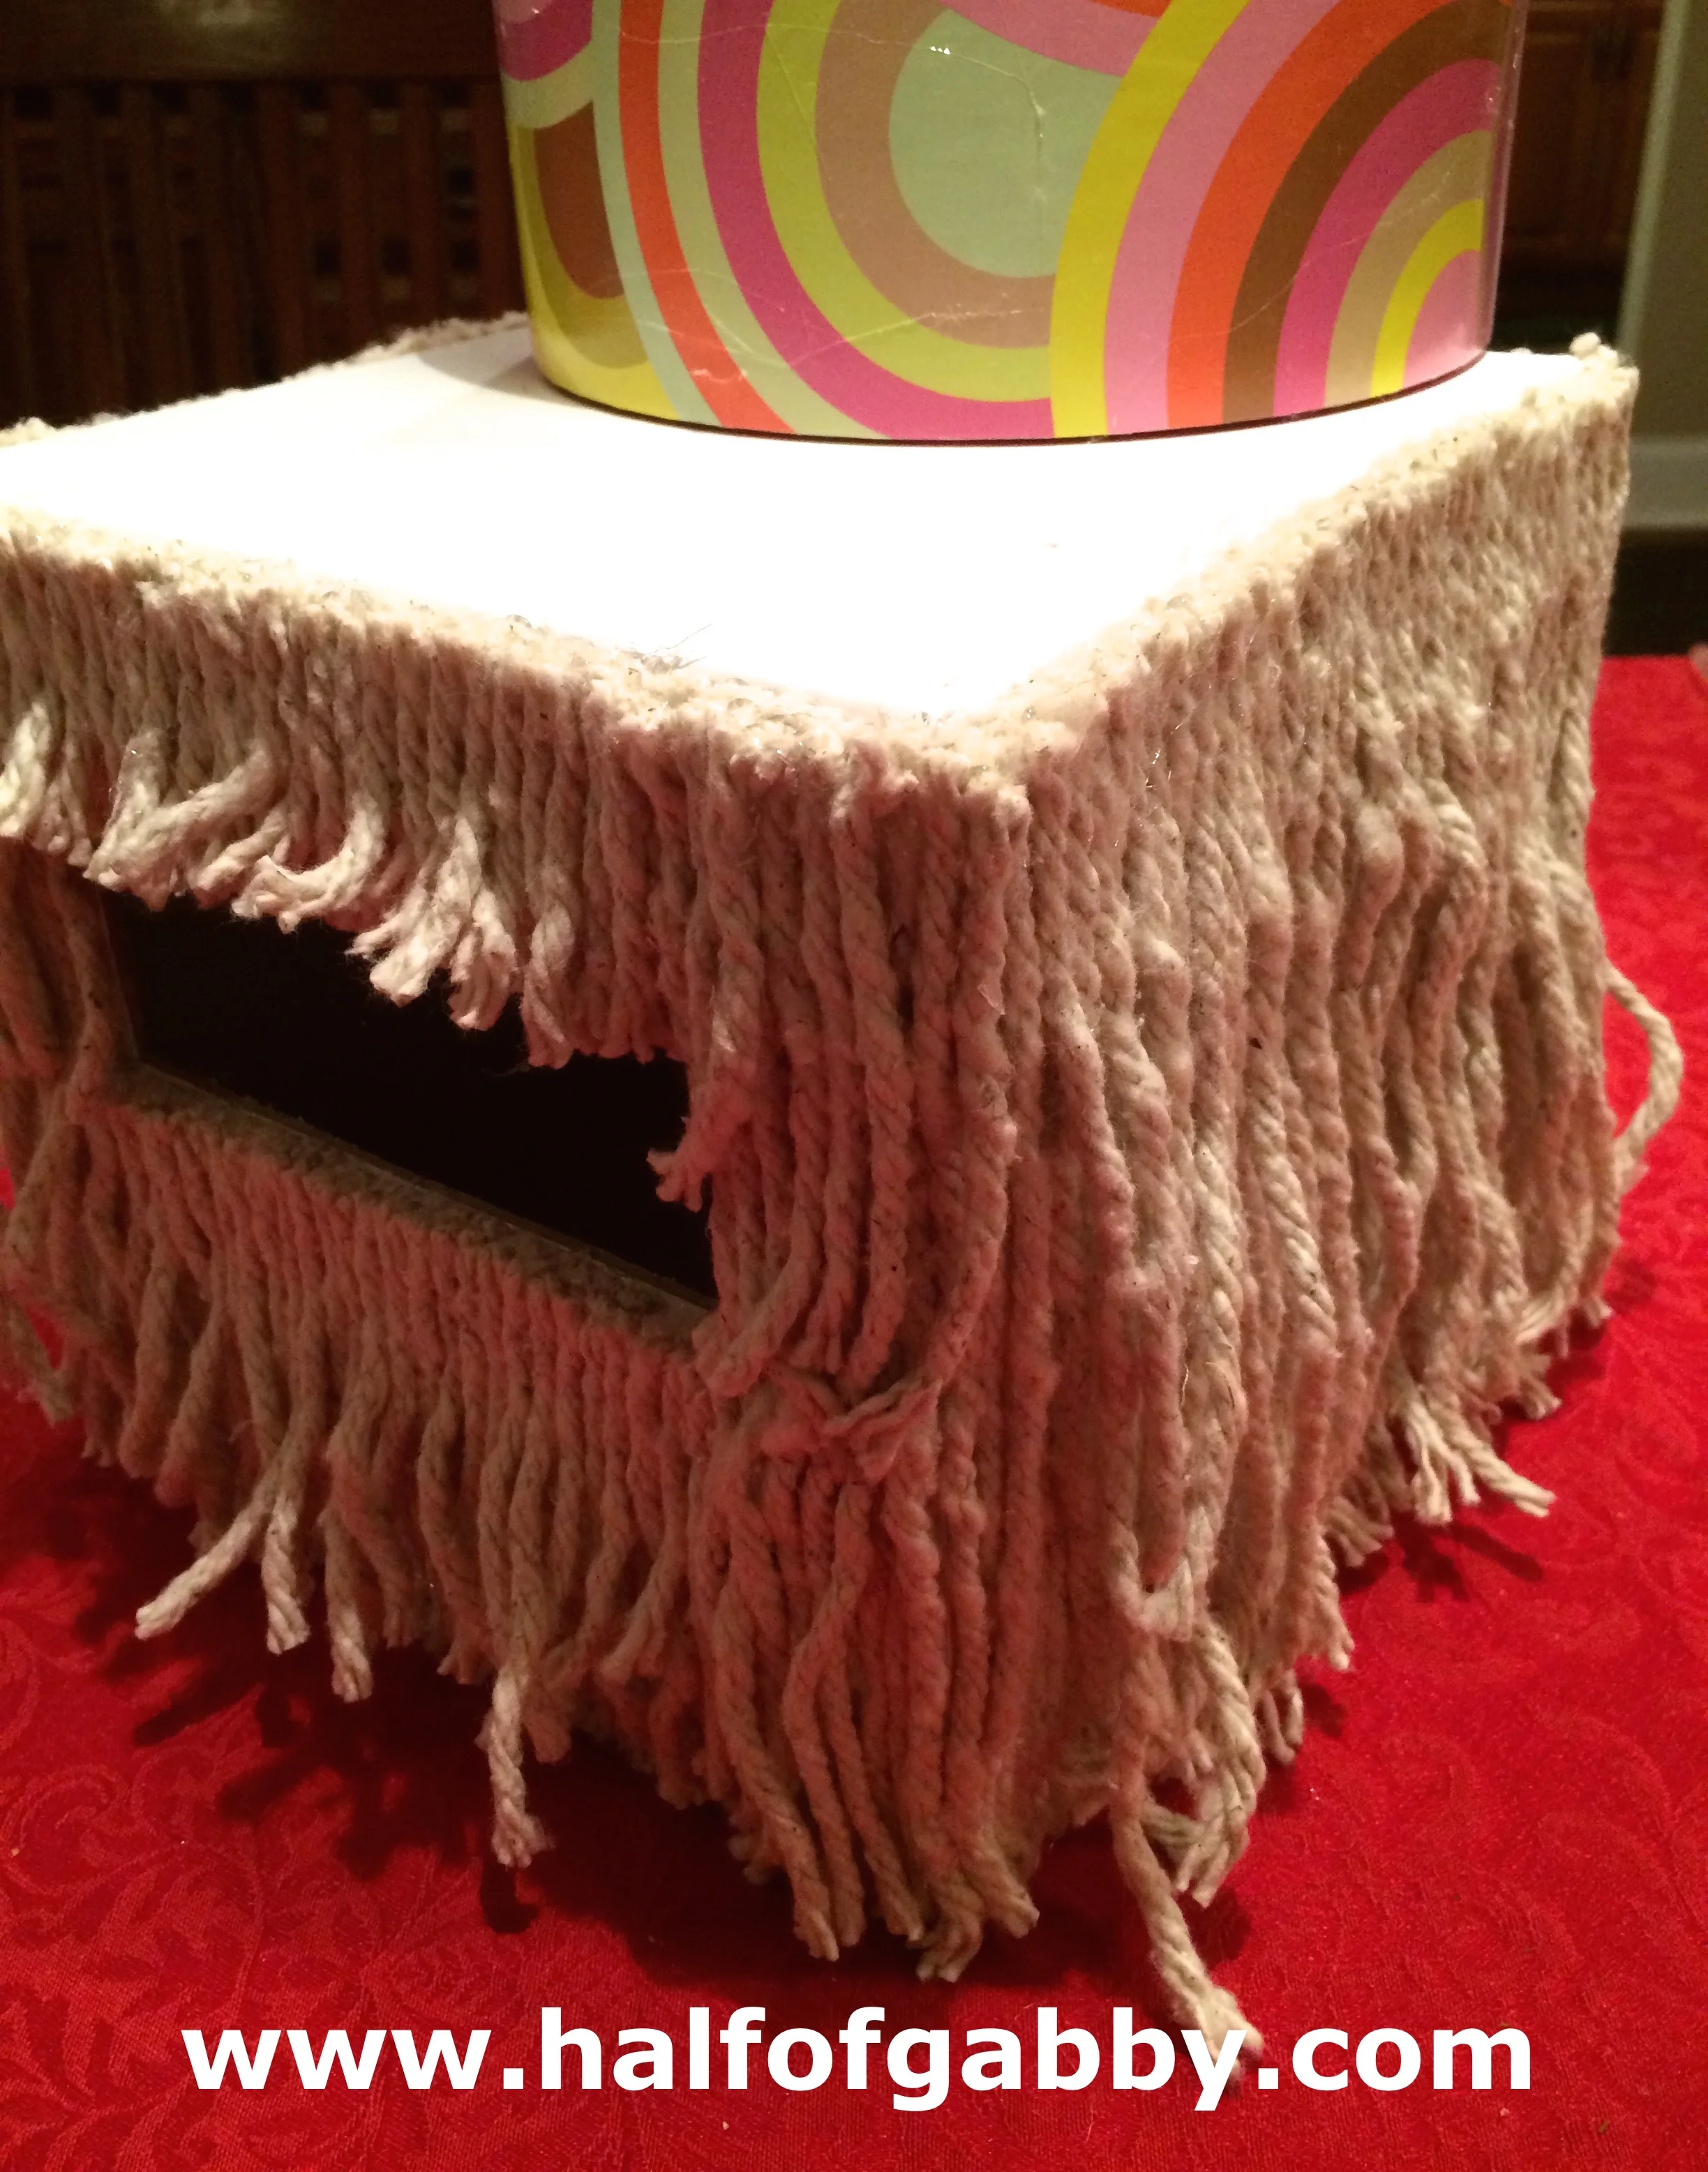
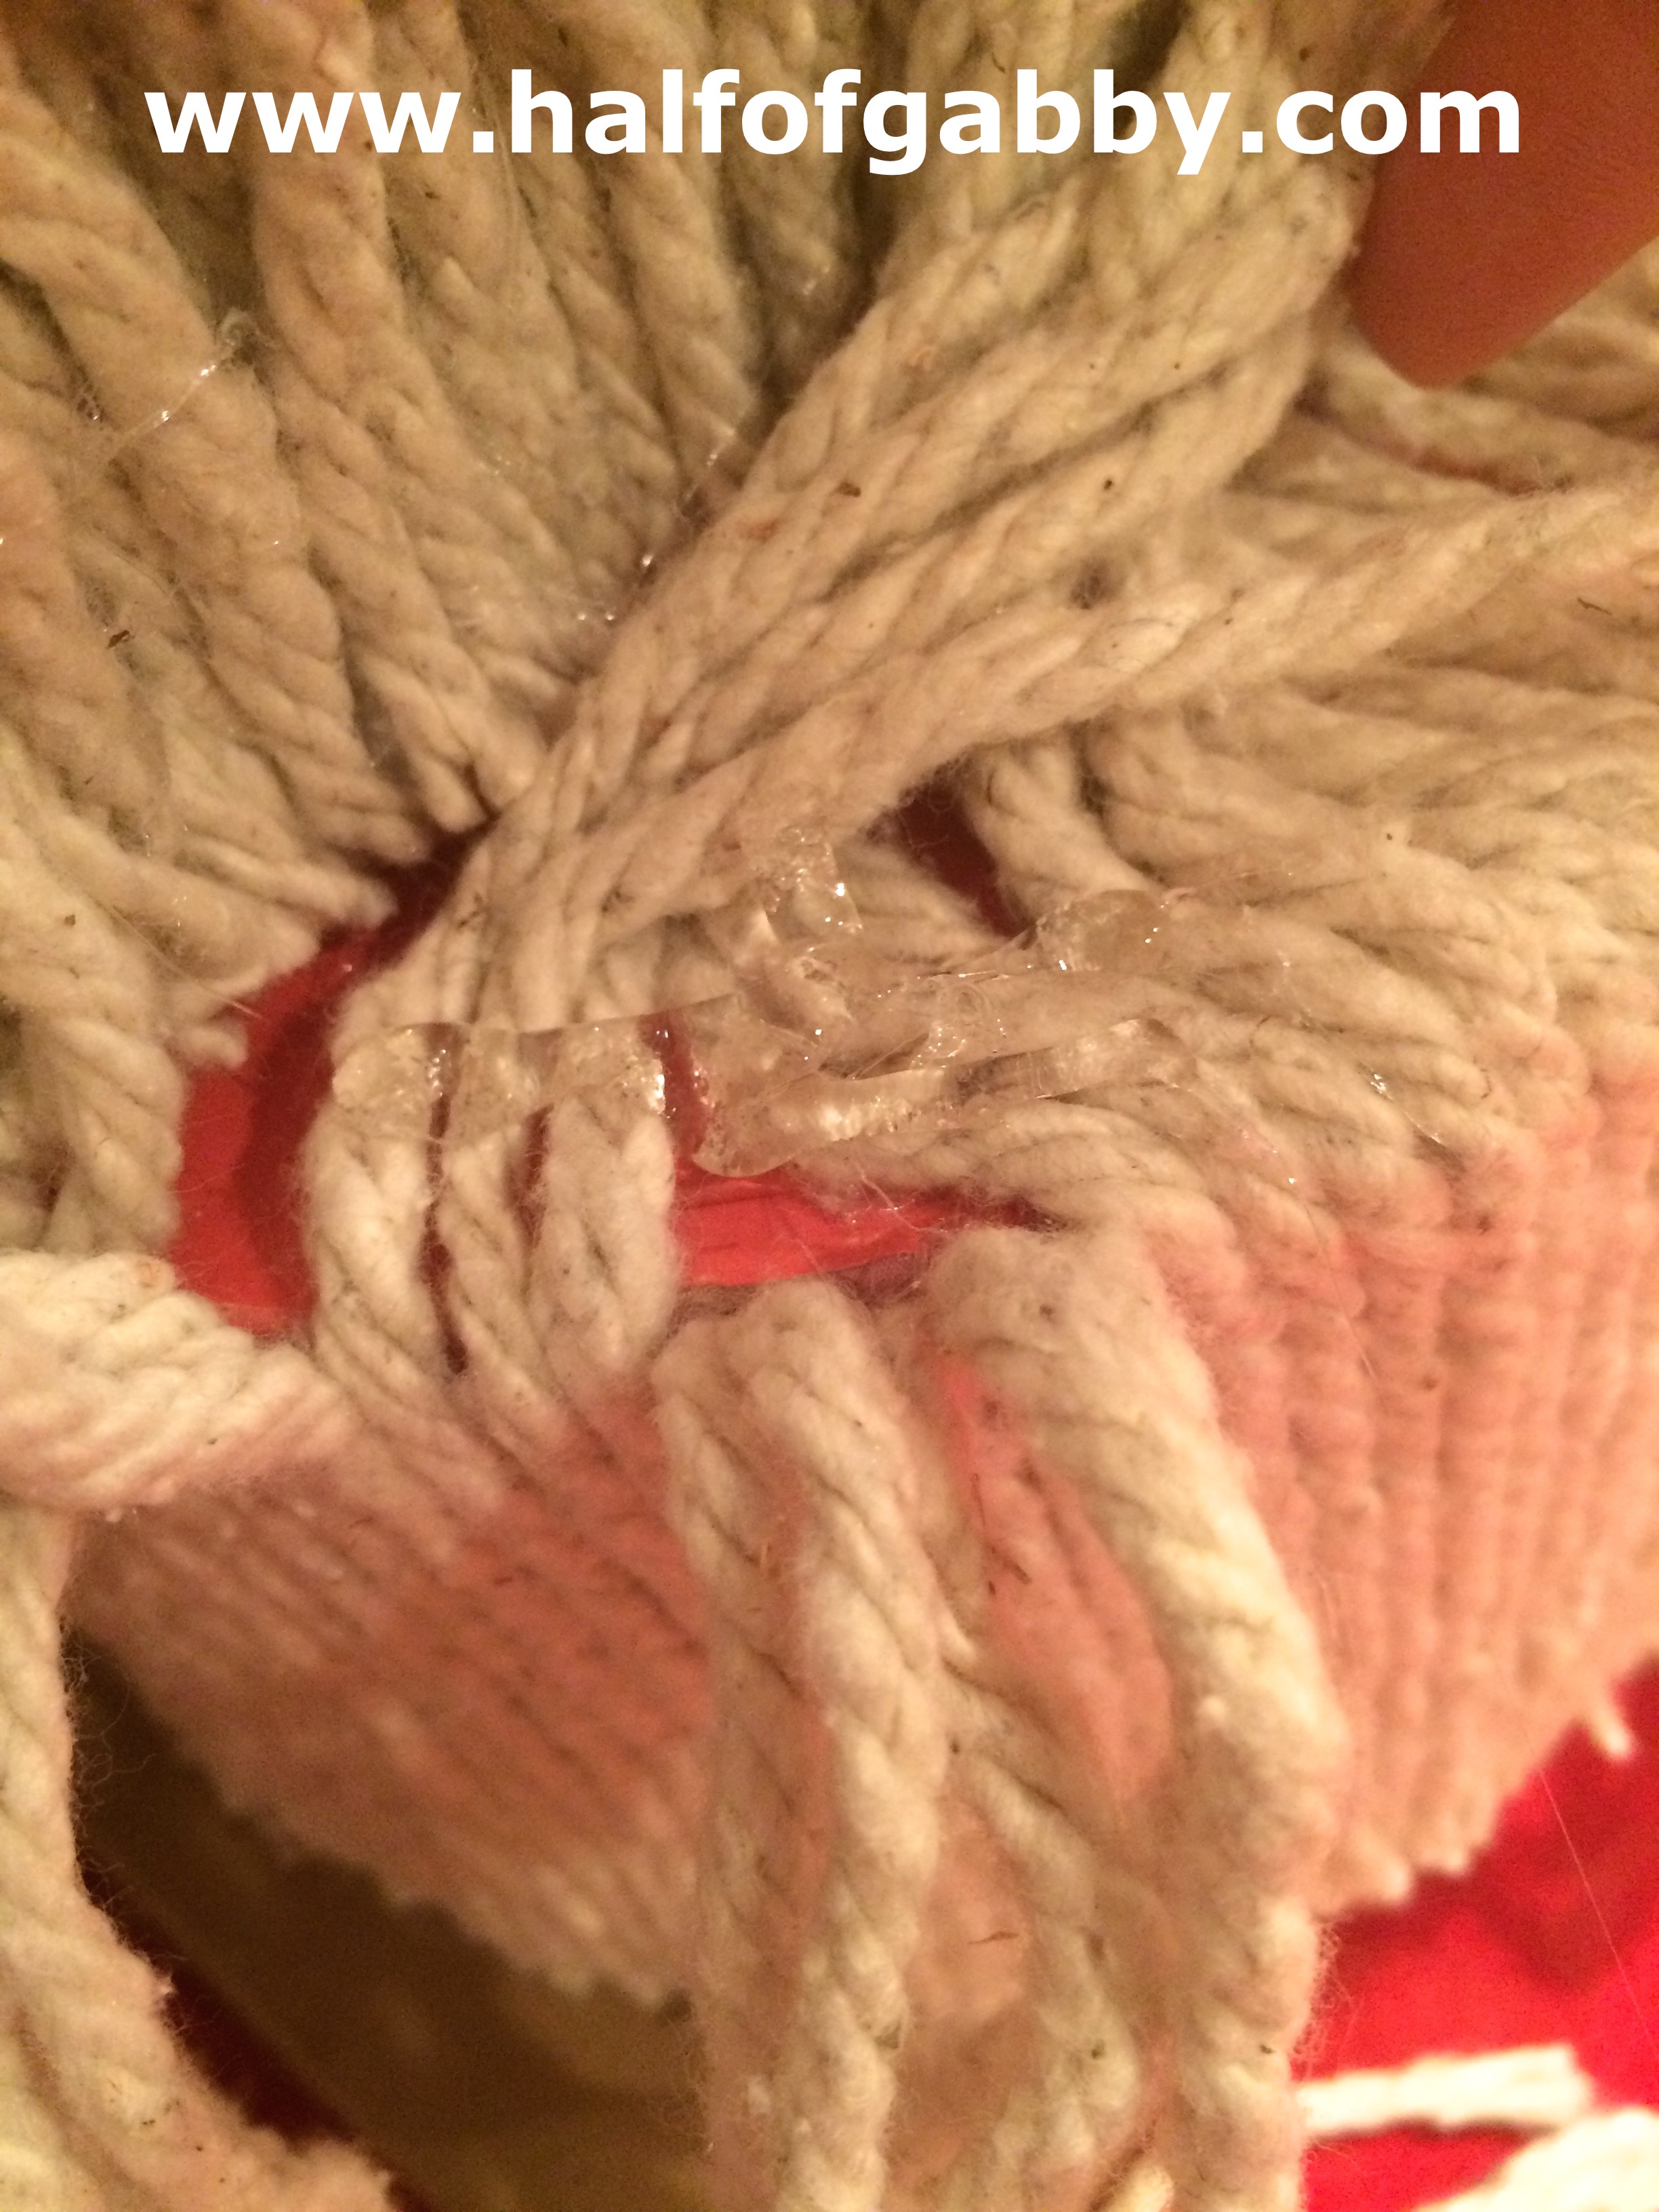
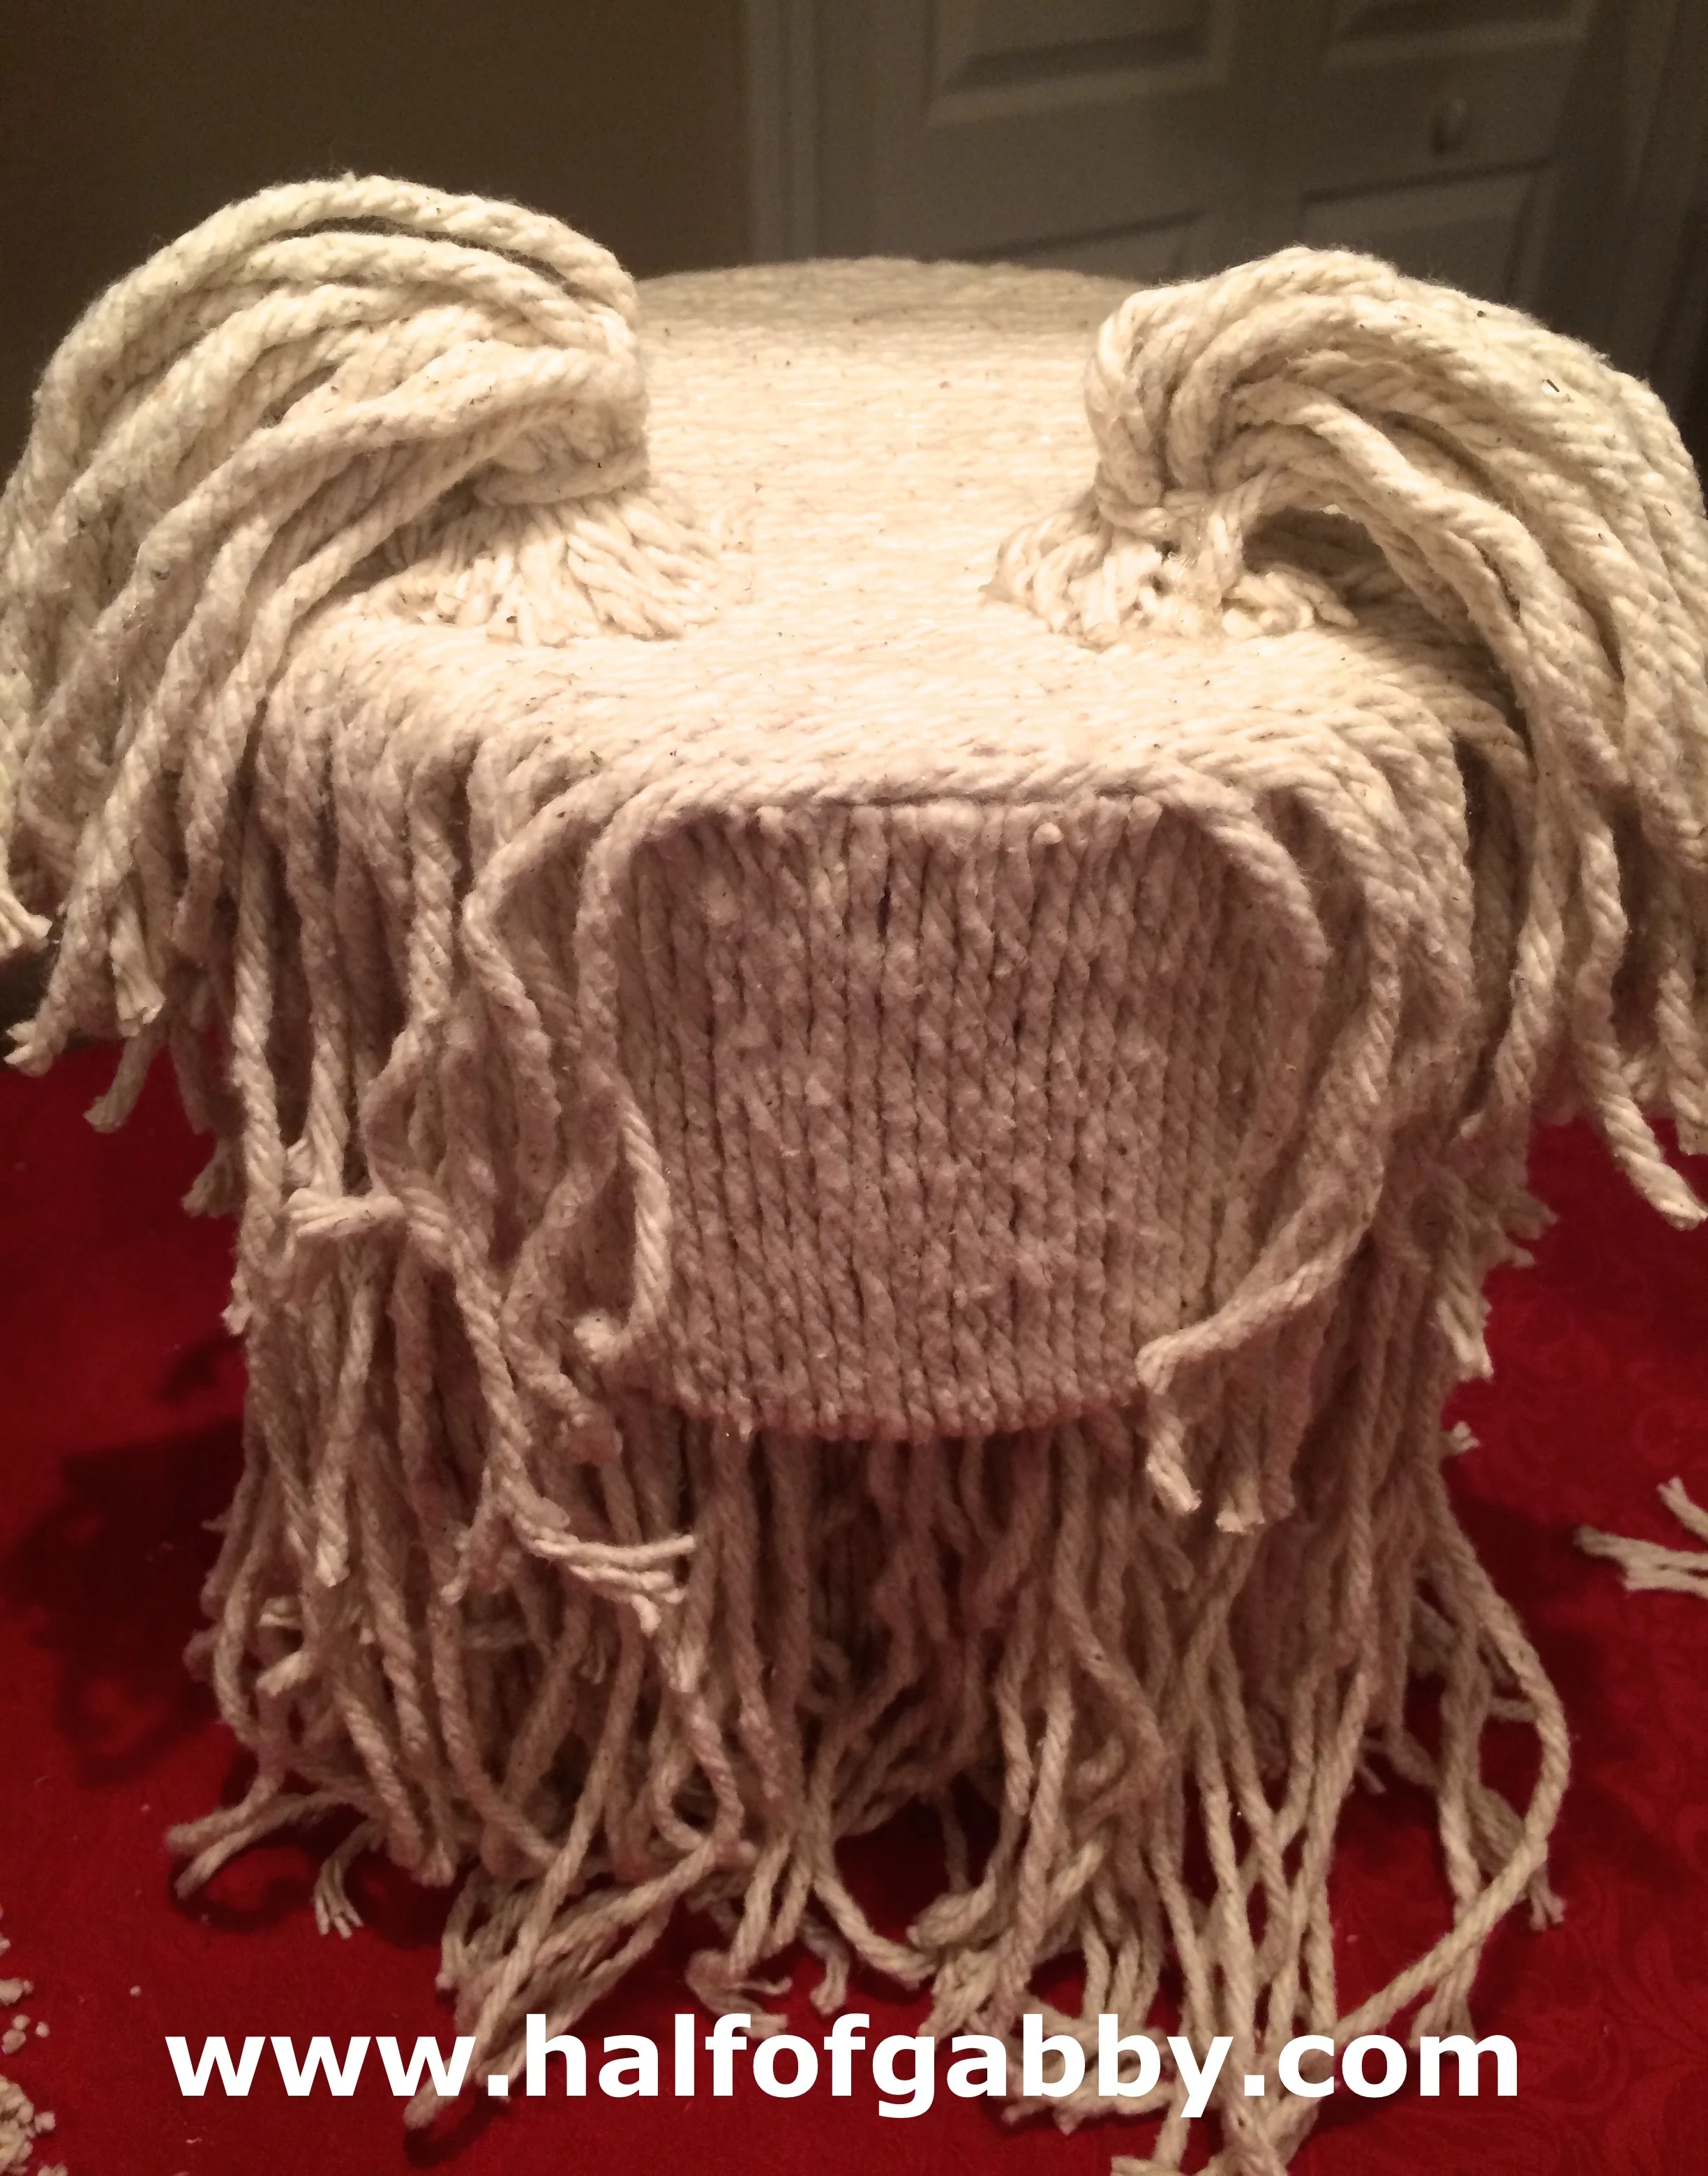
5. Lay your doggie on it's side and start hot gluing your moppies on the box.
It doesn't matter which side you start on. You'll be doing all sides on the body (the square box) first.
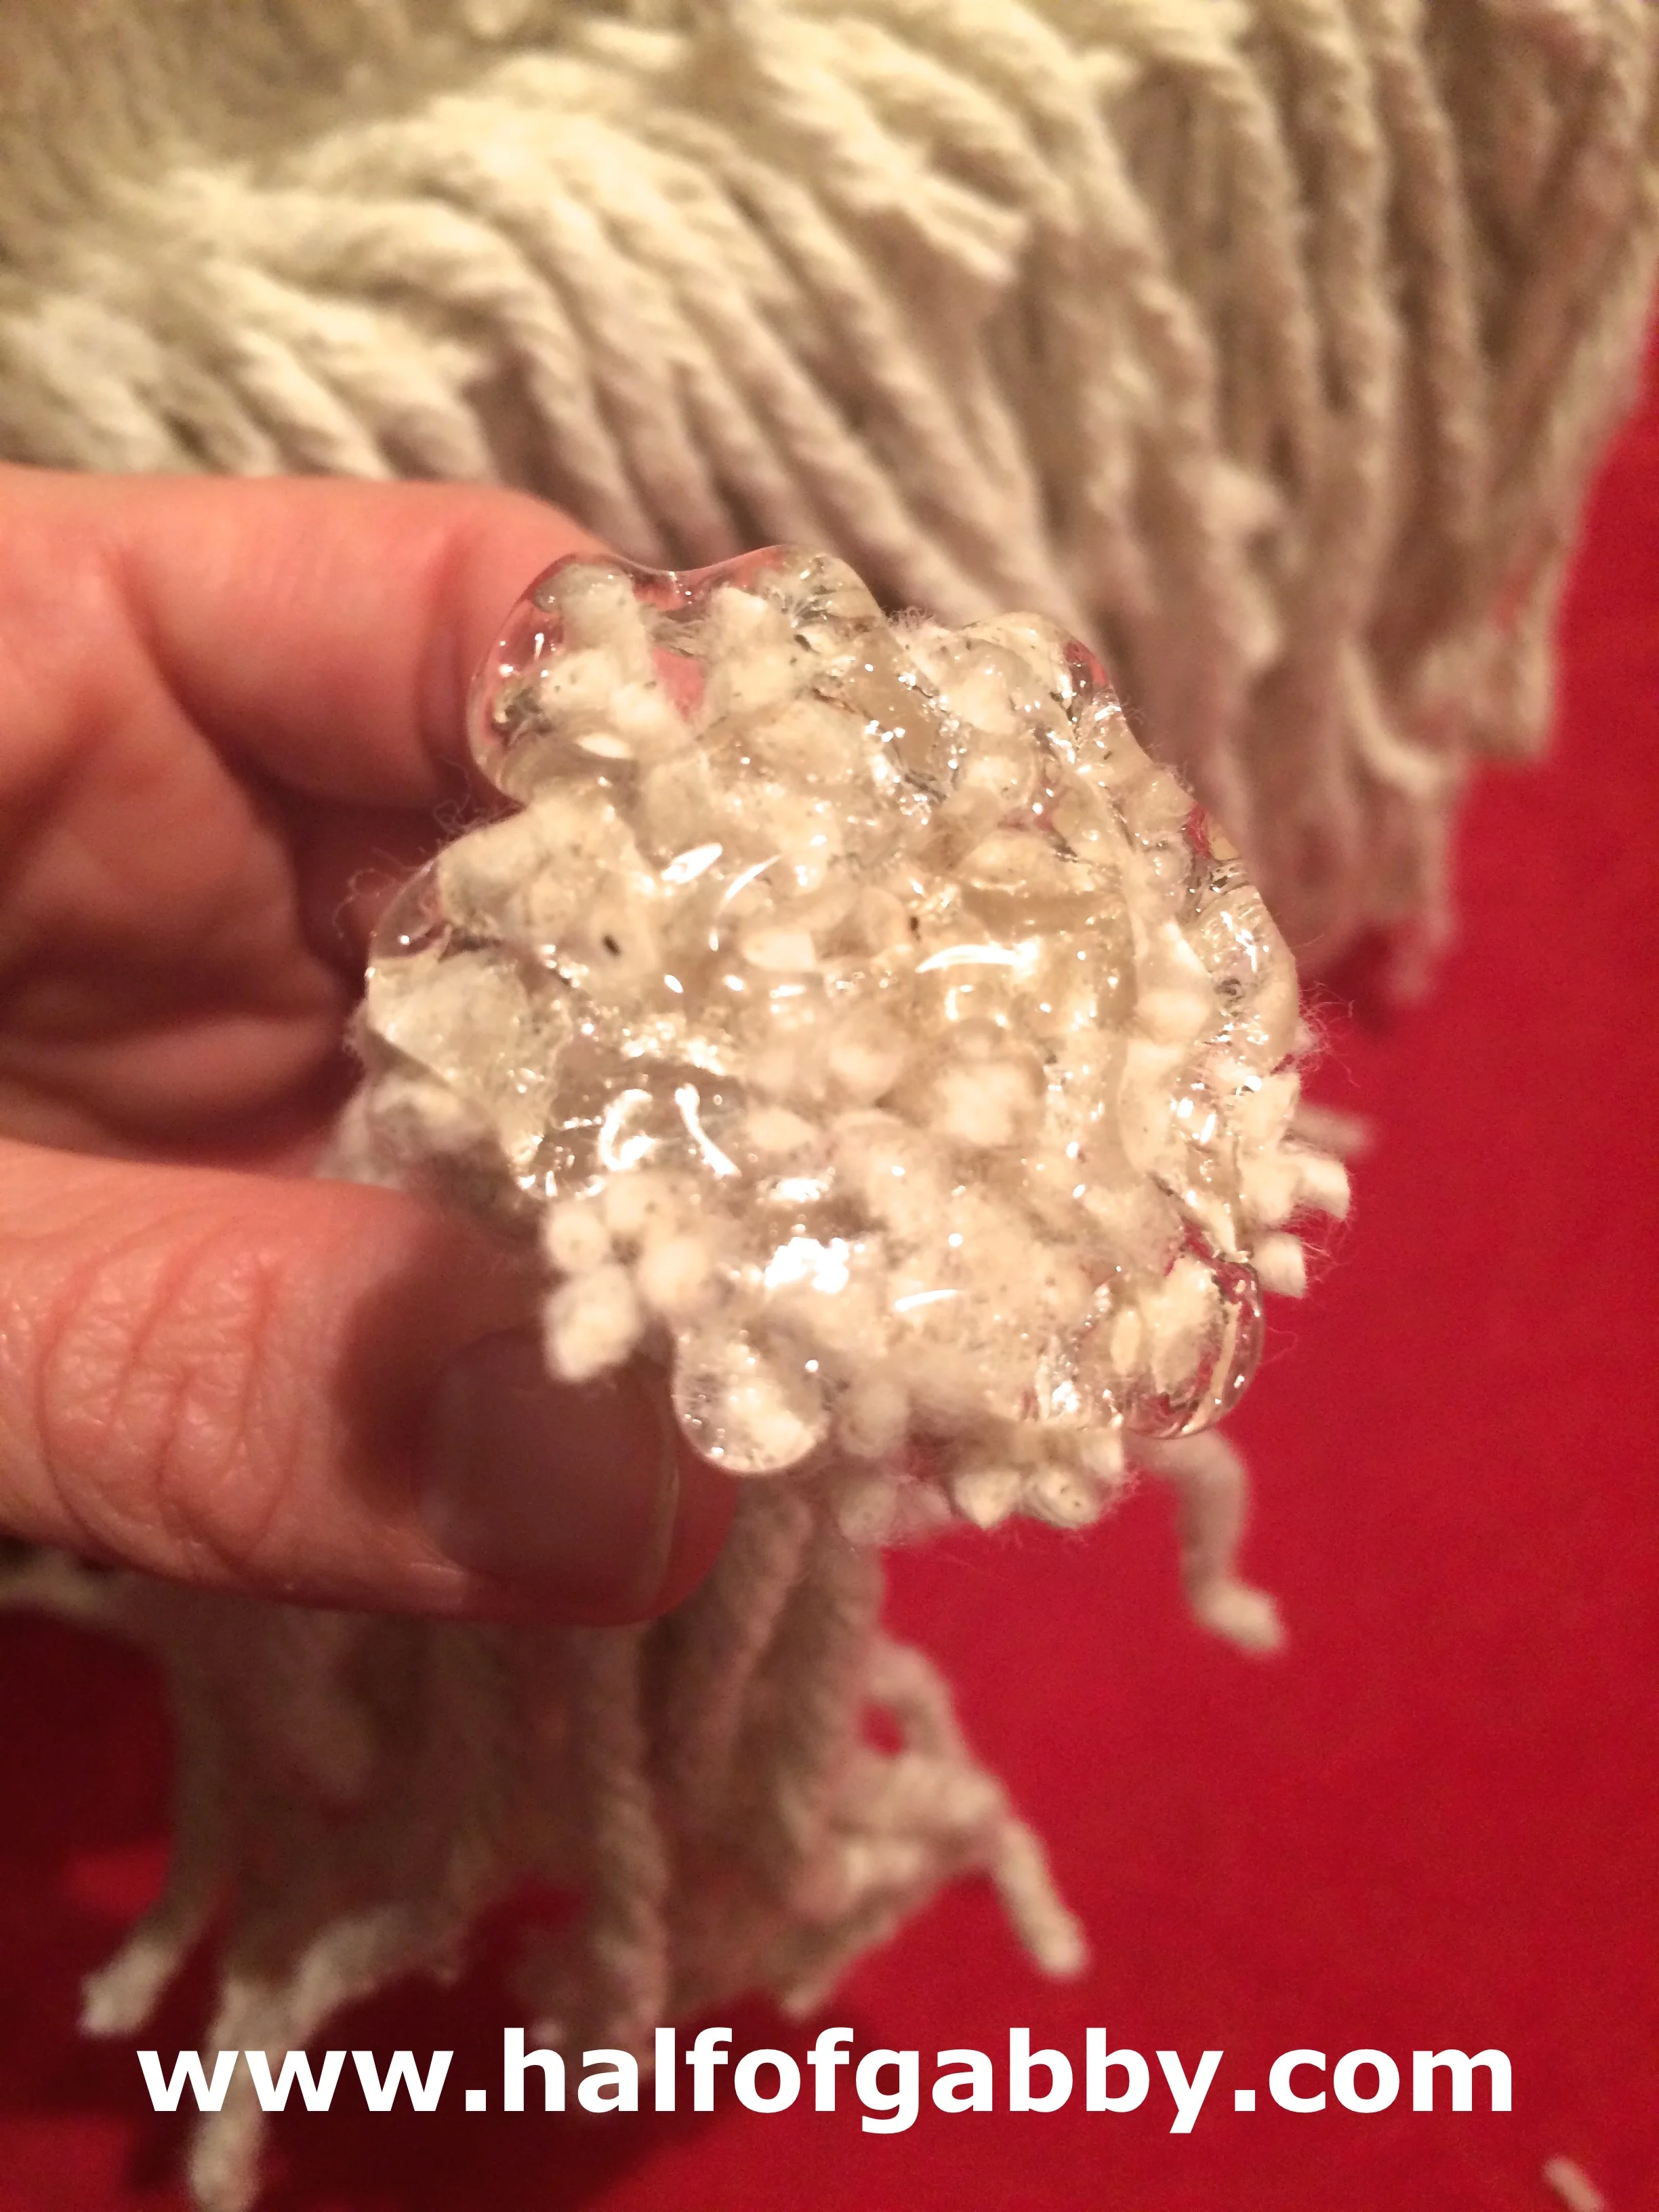
*Lay a bead of glue at the top AND the bottom of where the mop string will be. You do not have to run the glue the entire length of the string.
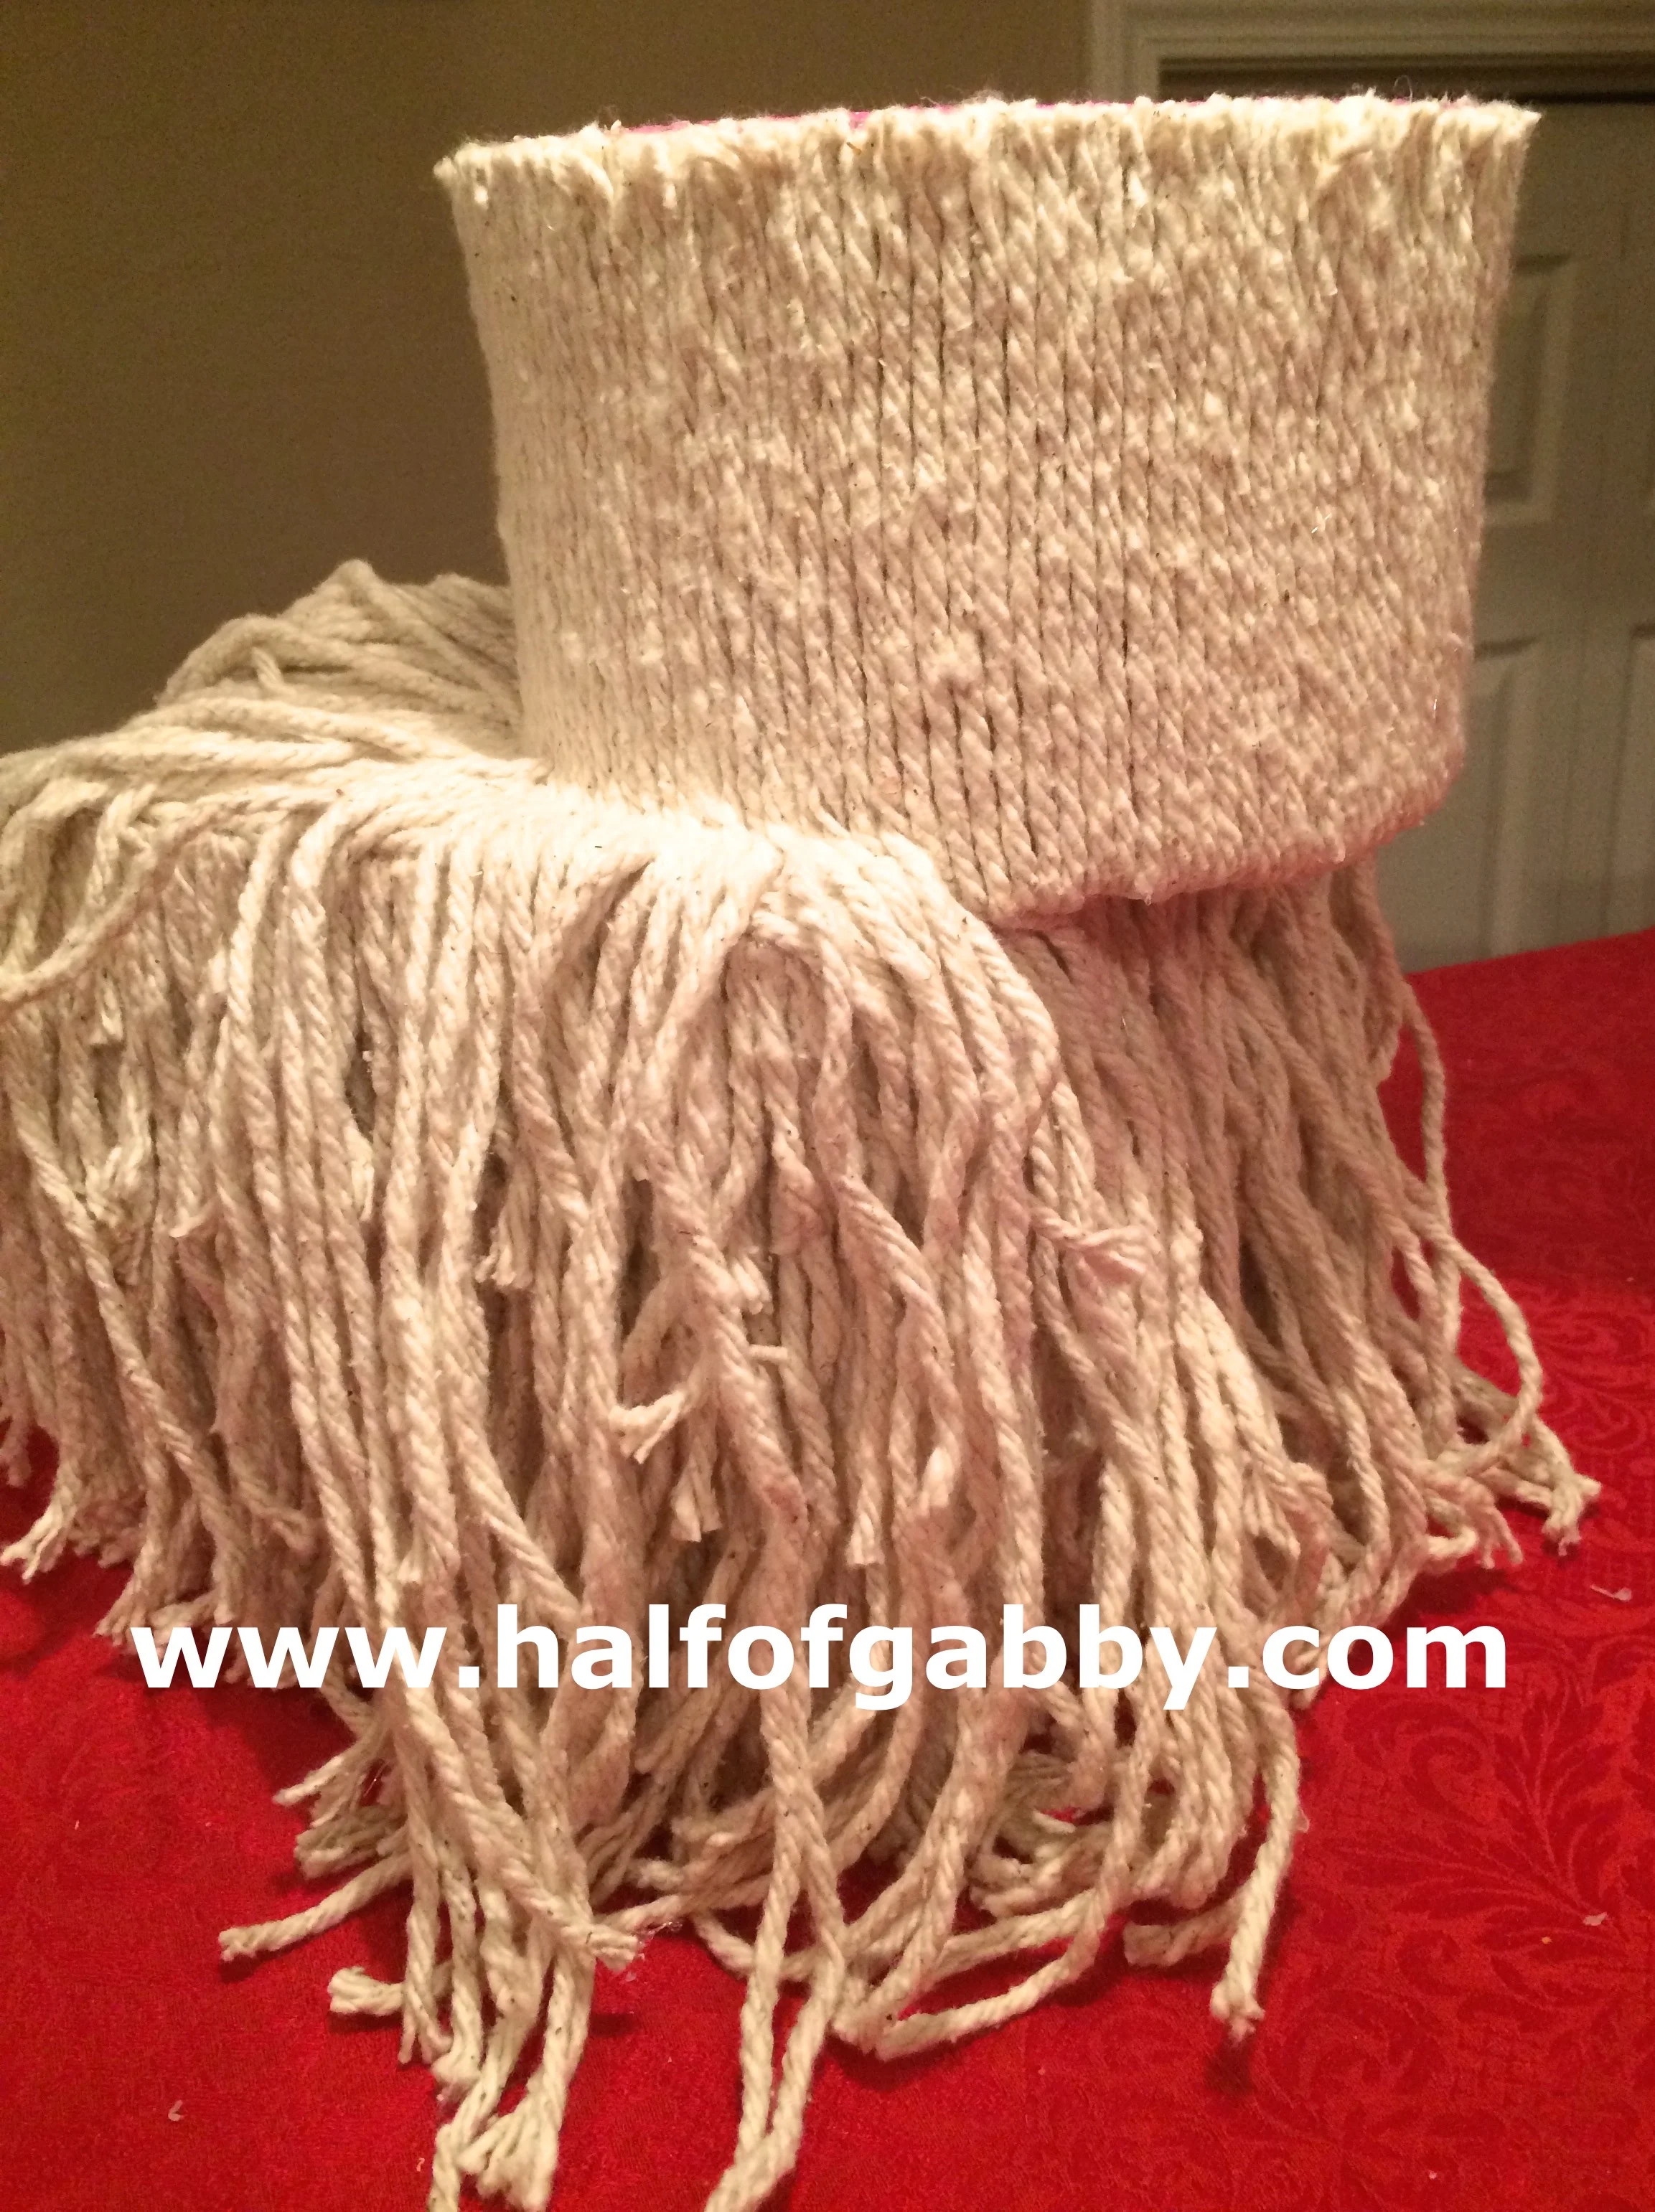
Once you have laid the first layer down on that side, it will look like this. You will have the mop strings hanging over the box.
Simply trim them off.

Save the strings, you'll be able to use them!
Then it will look like this! Yay, it's starting to look like something now.
Continue doing this for each side of the body box.
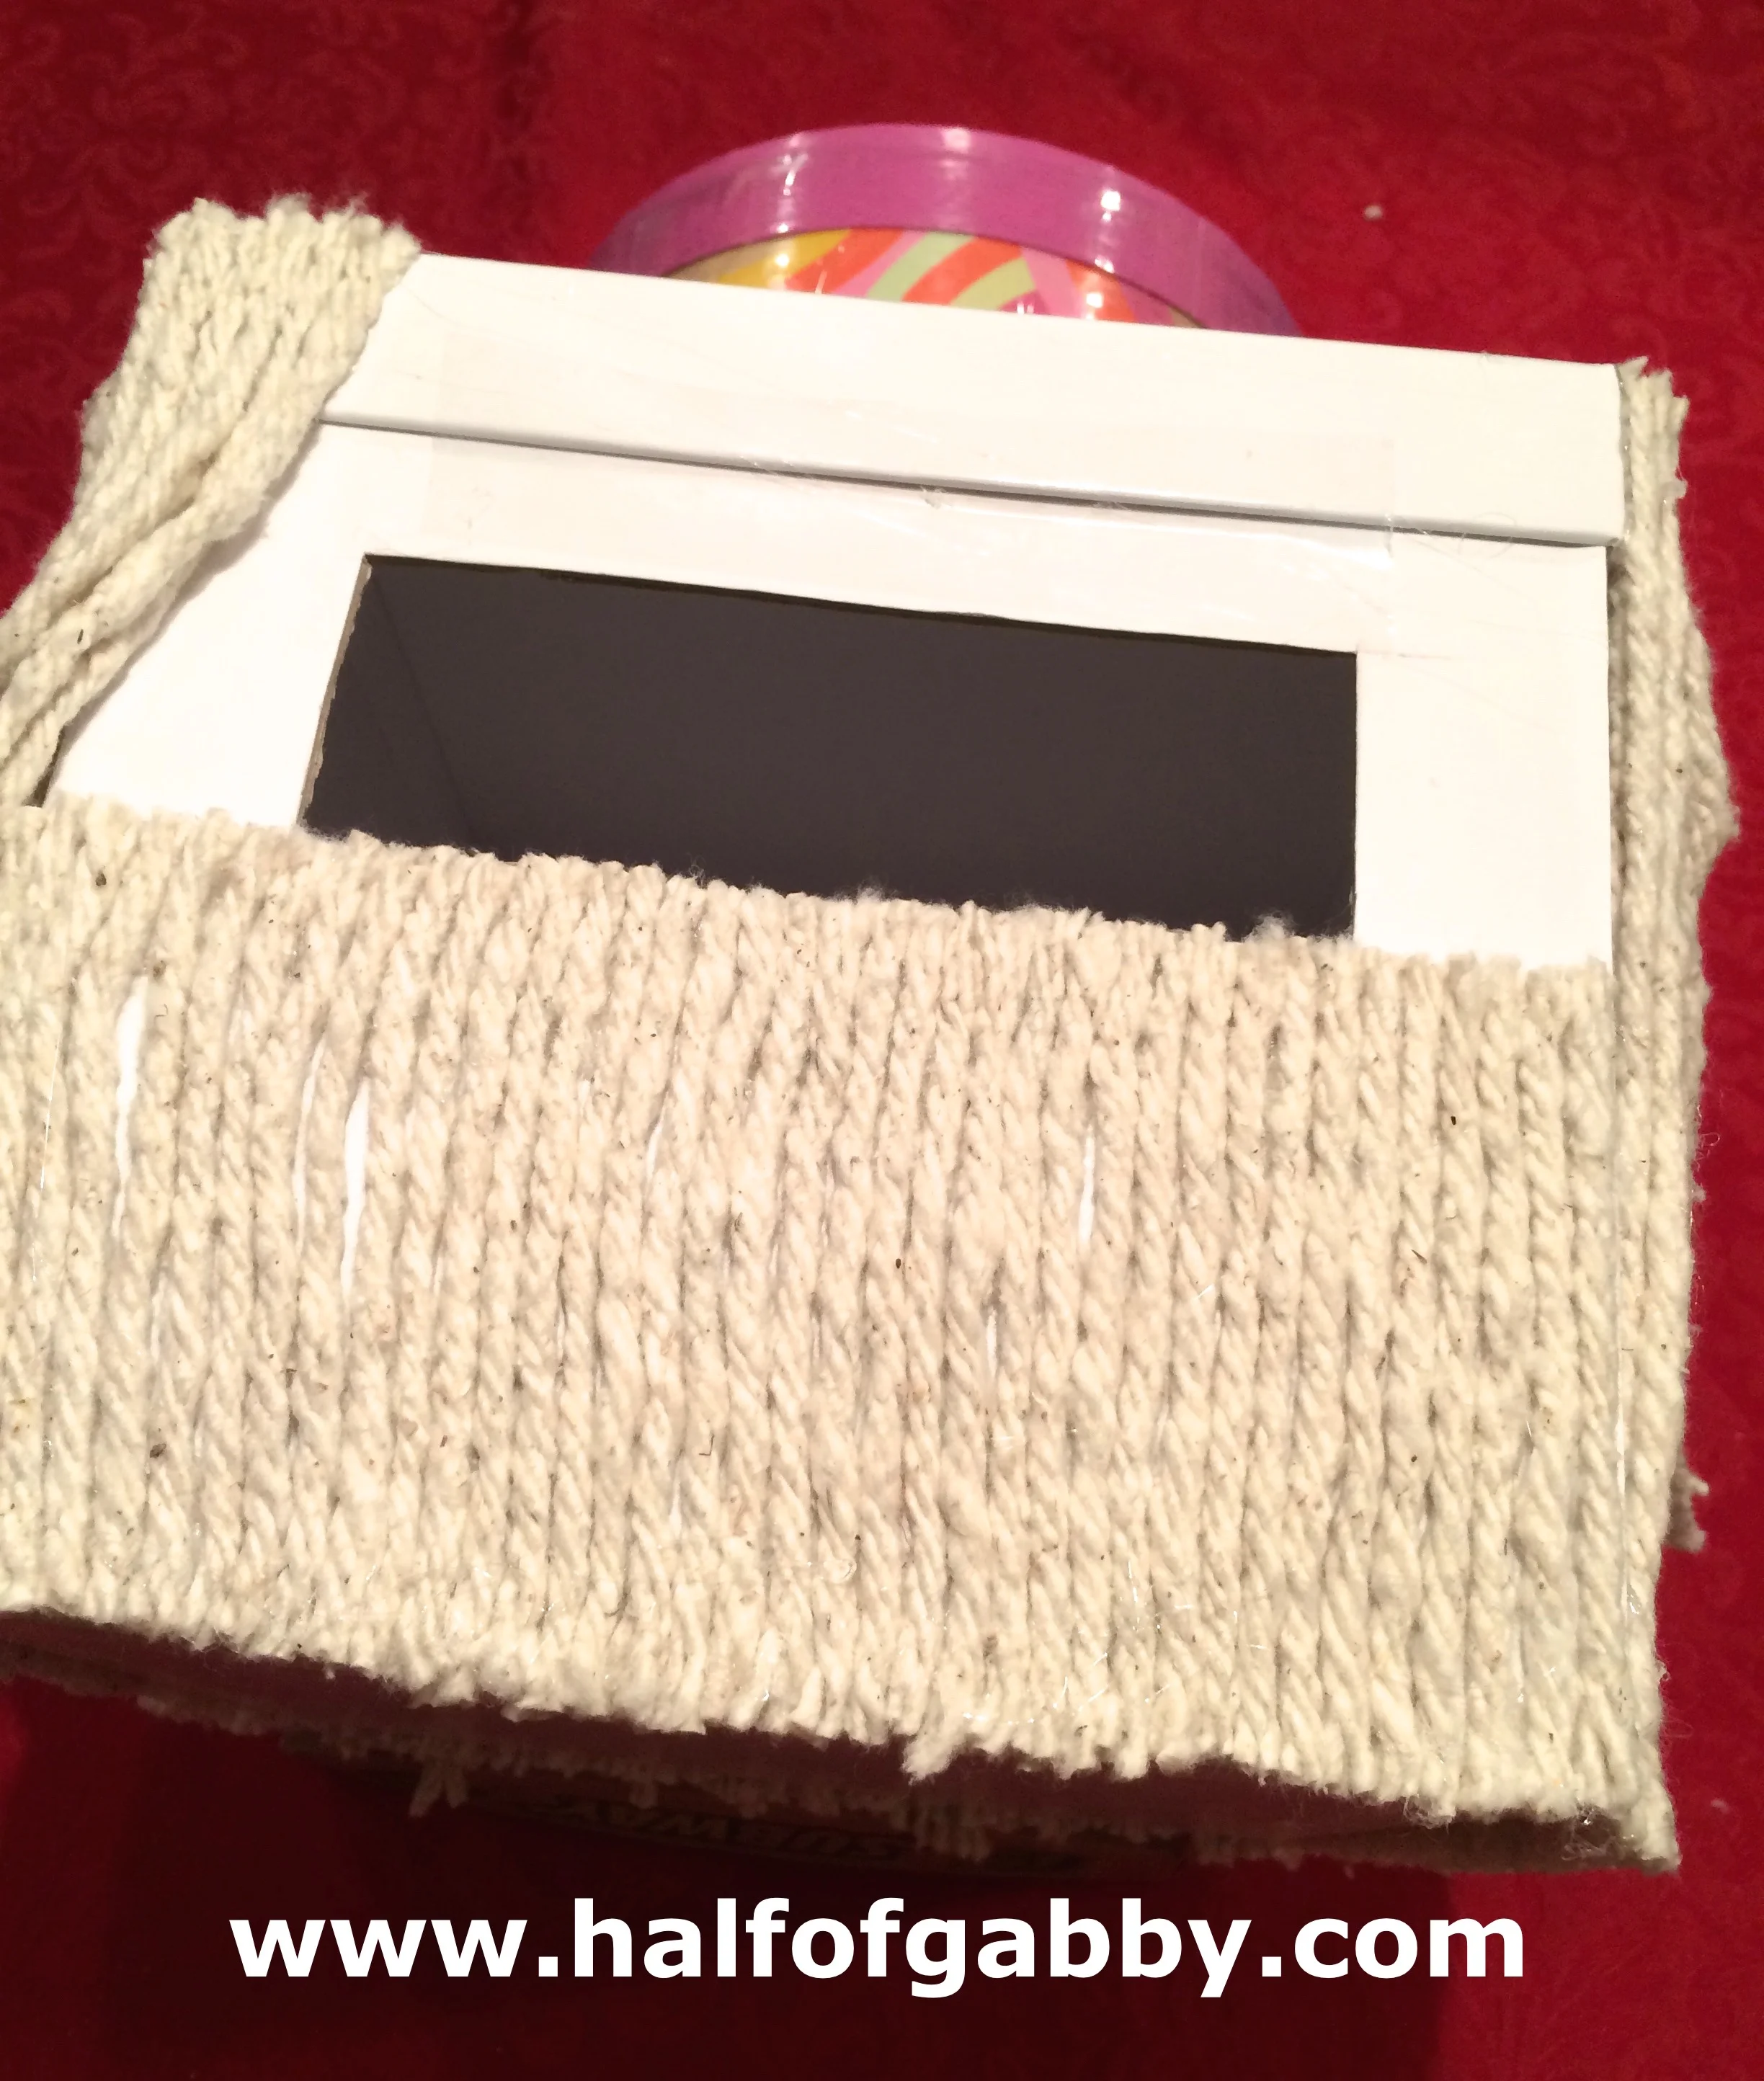
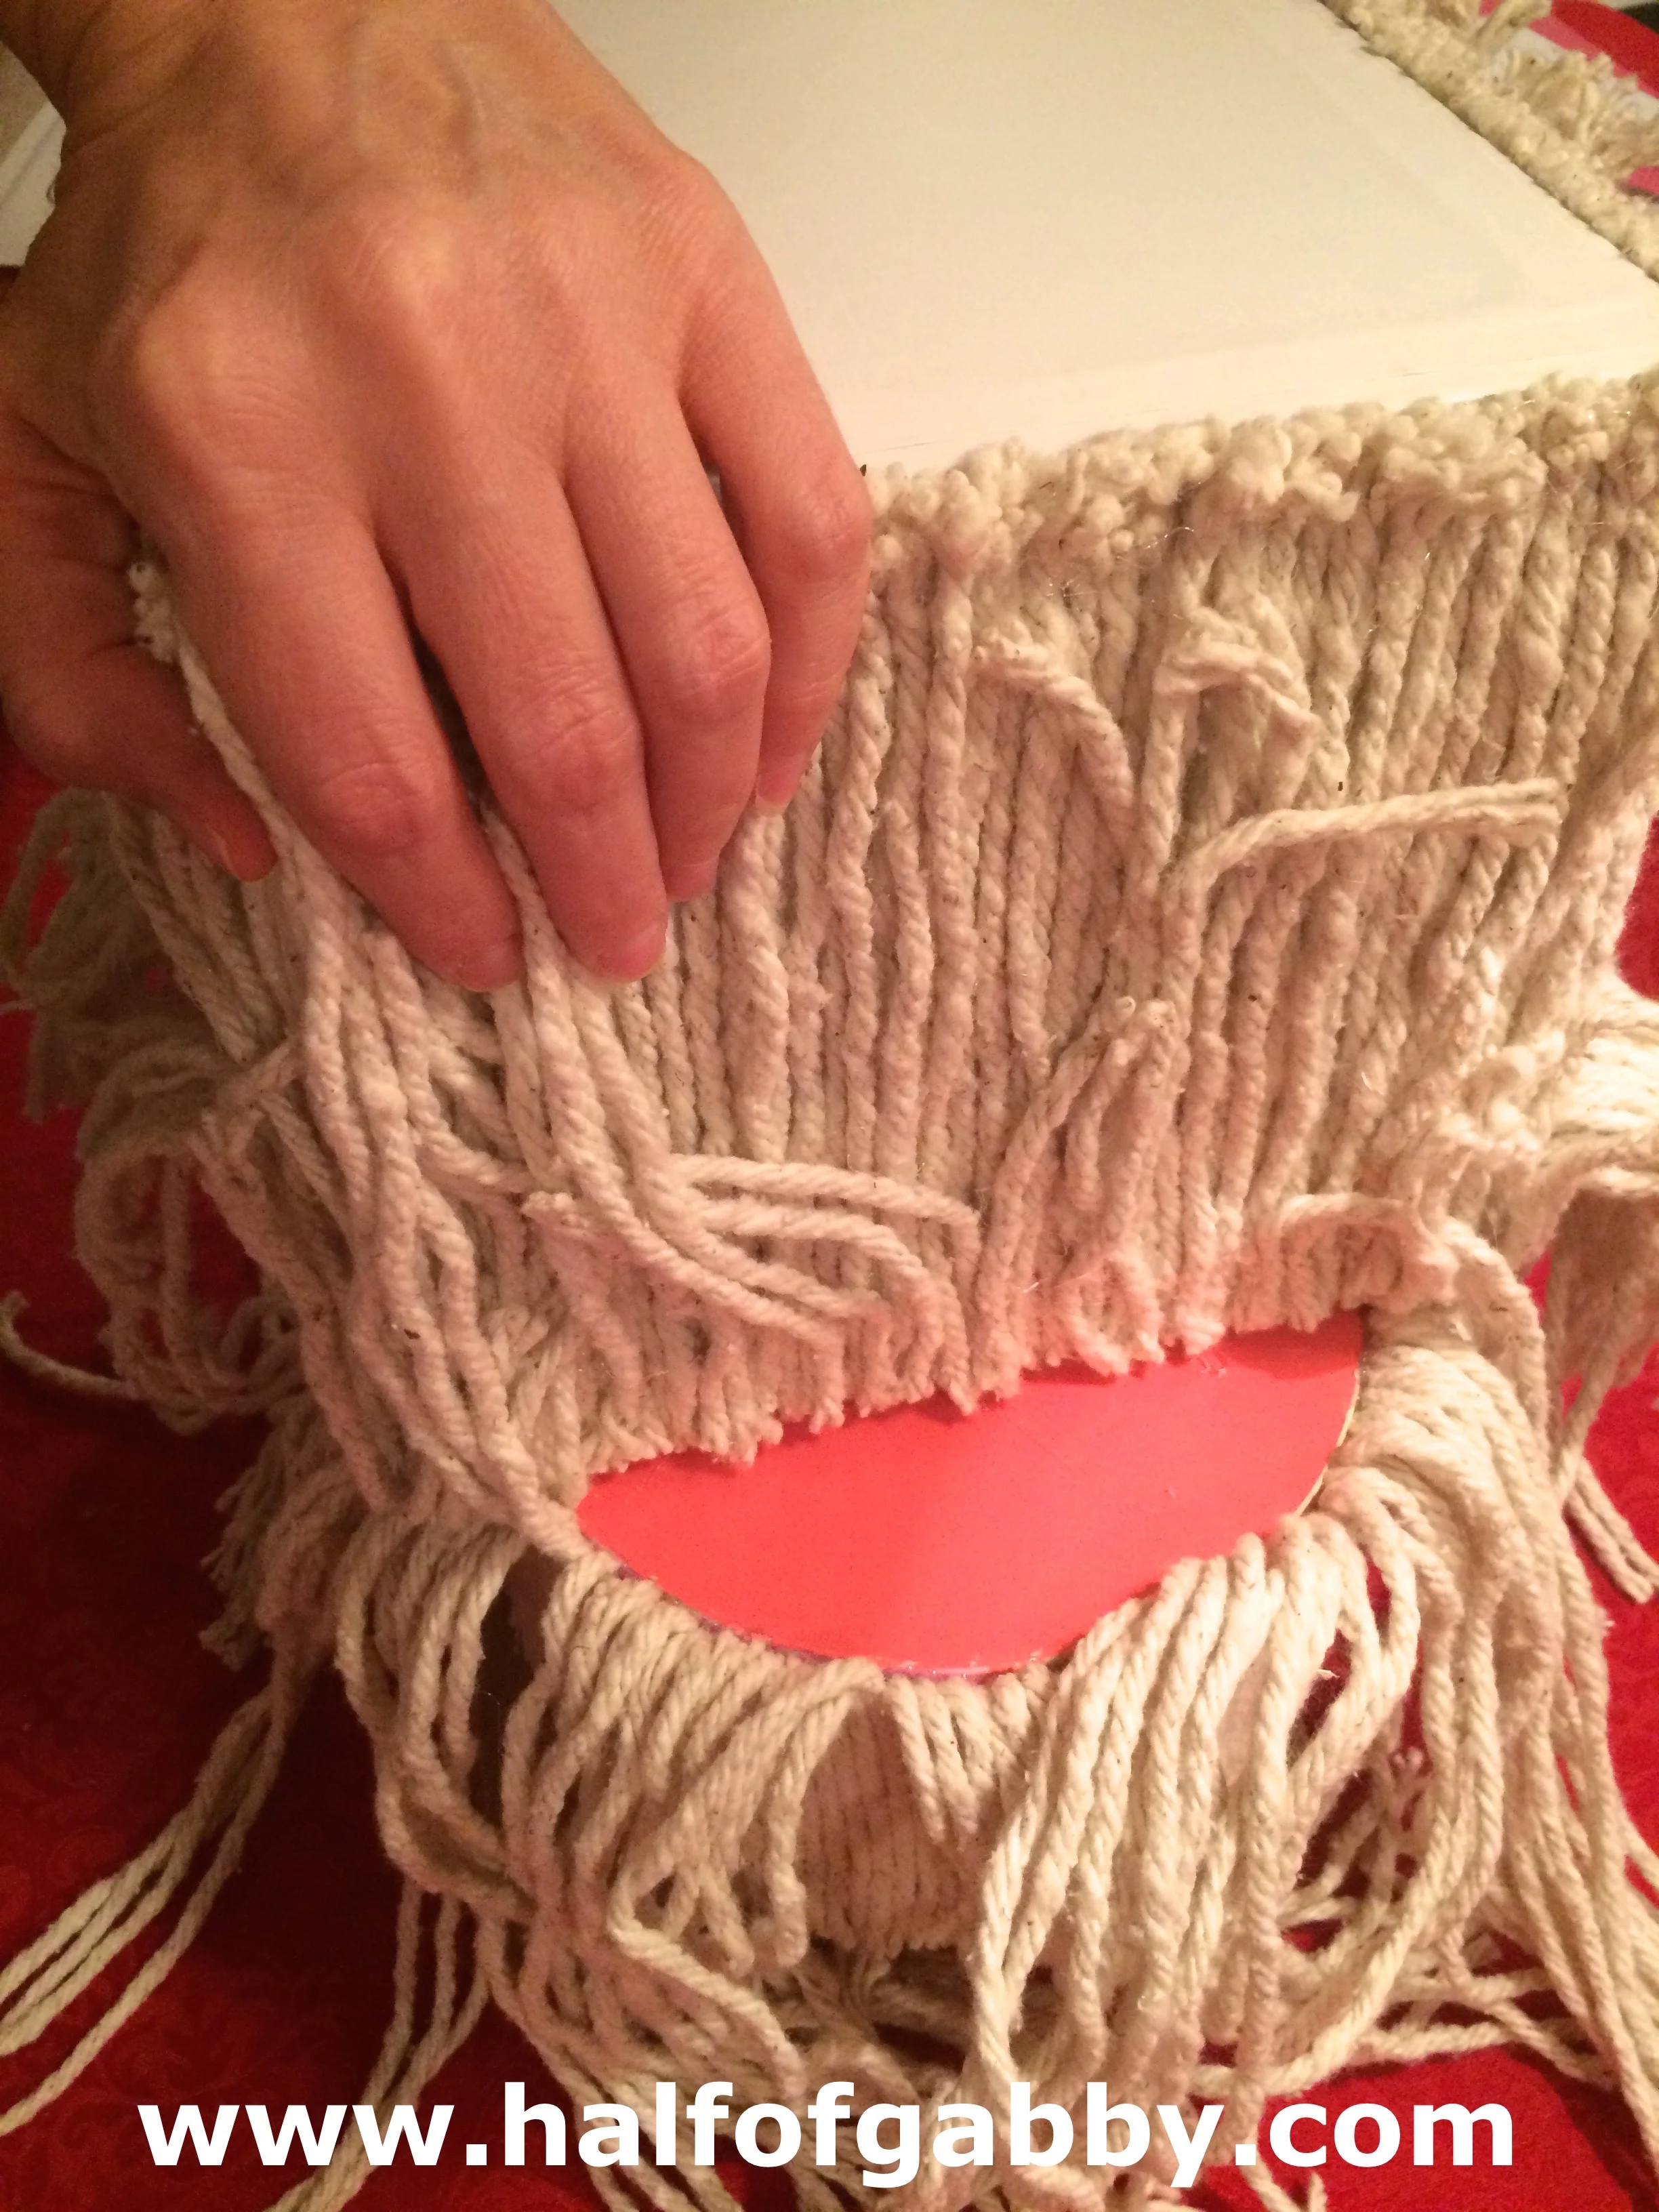
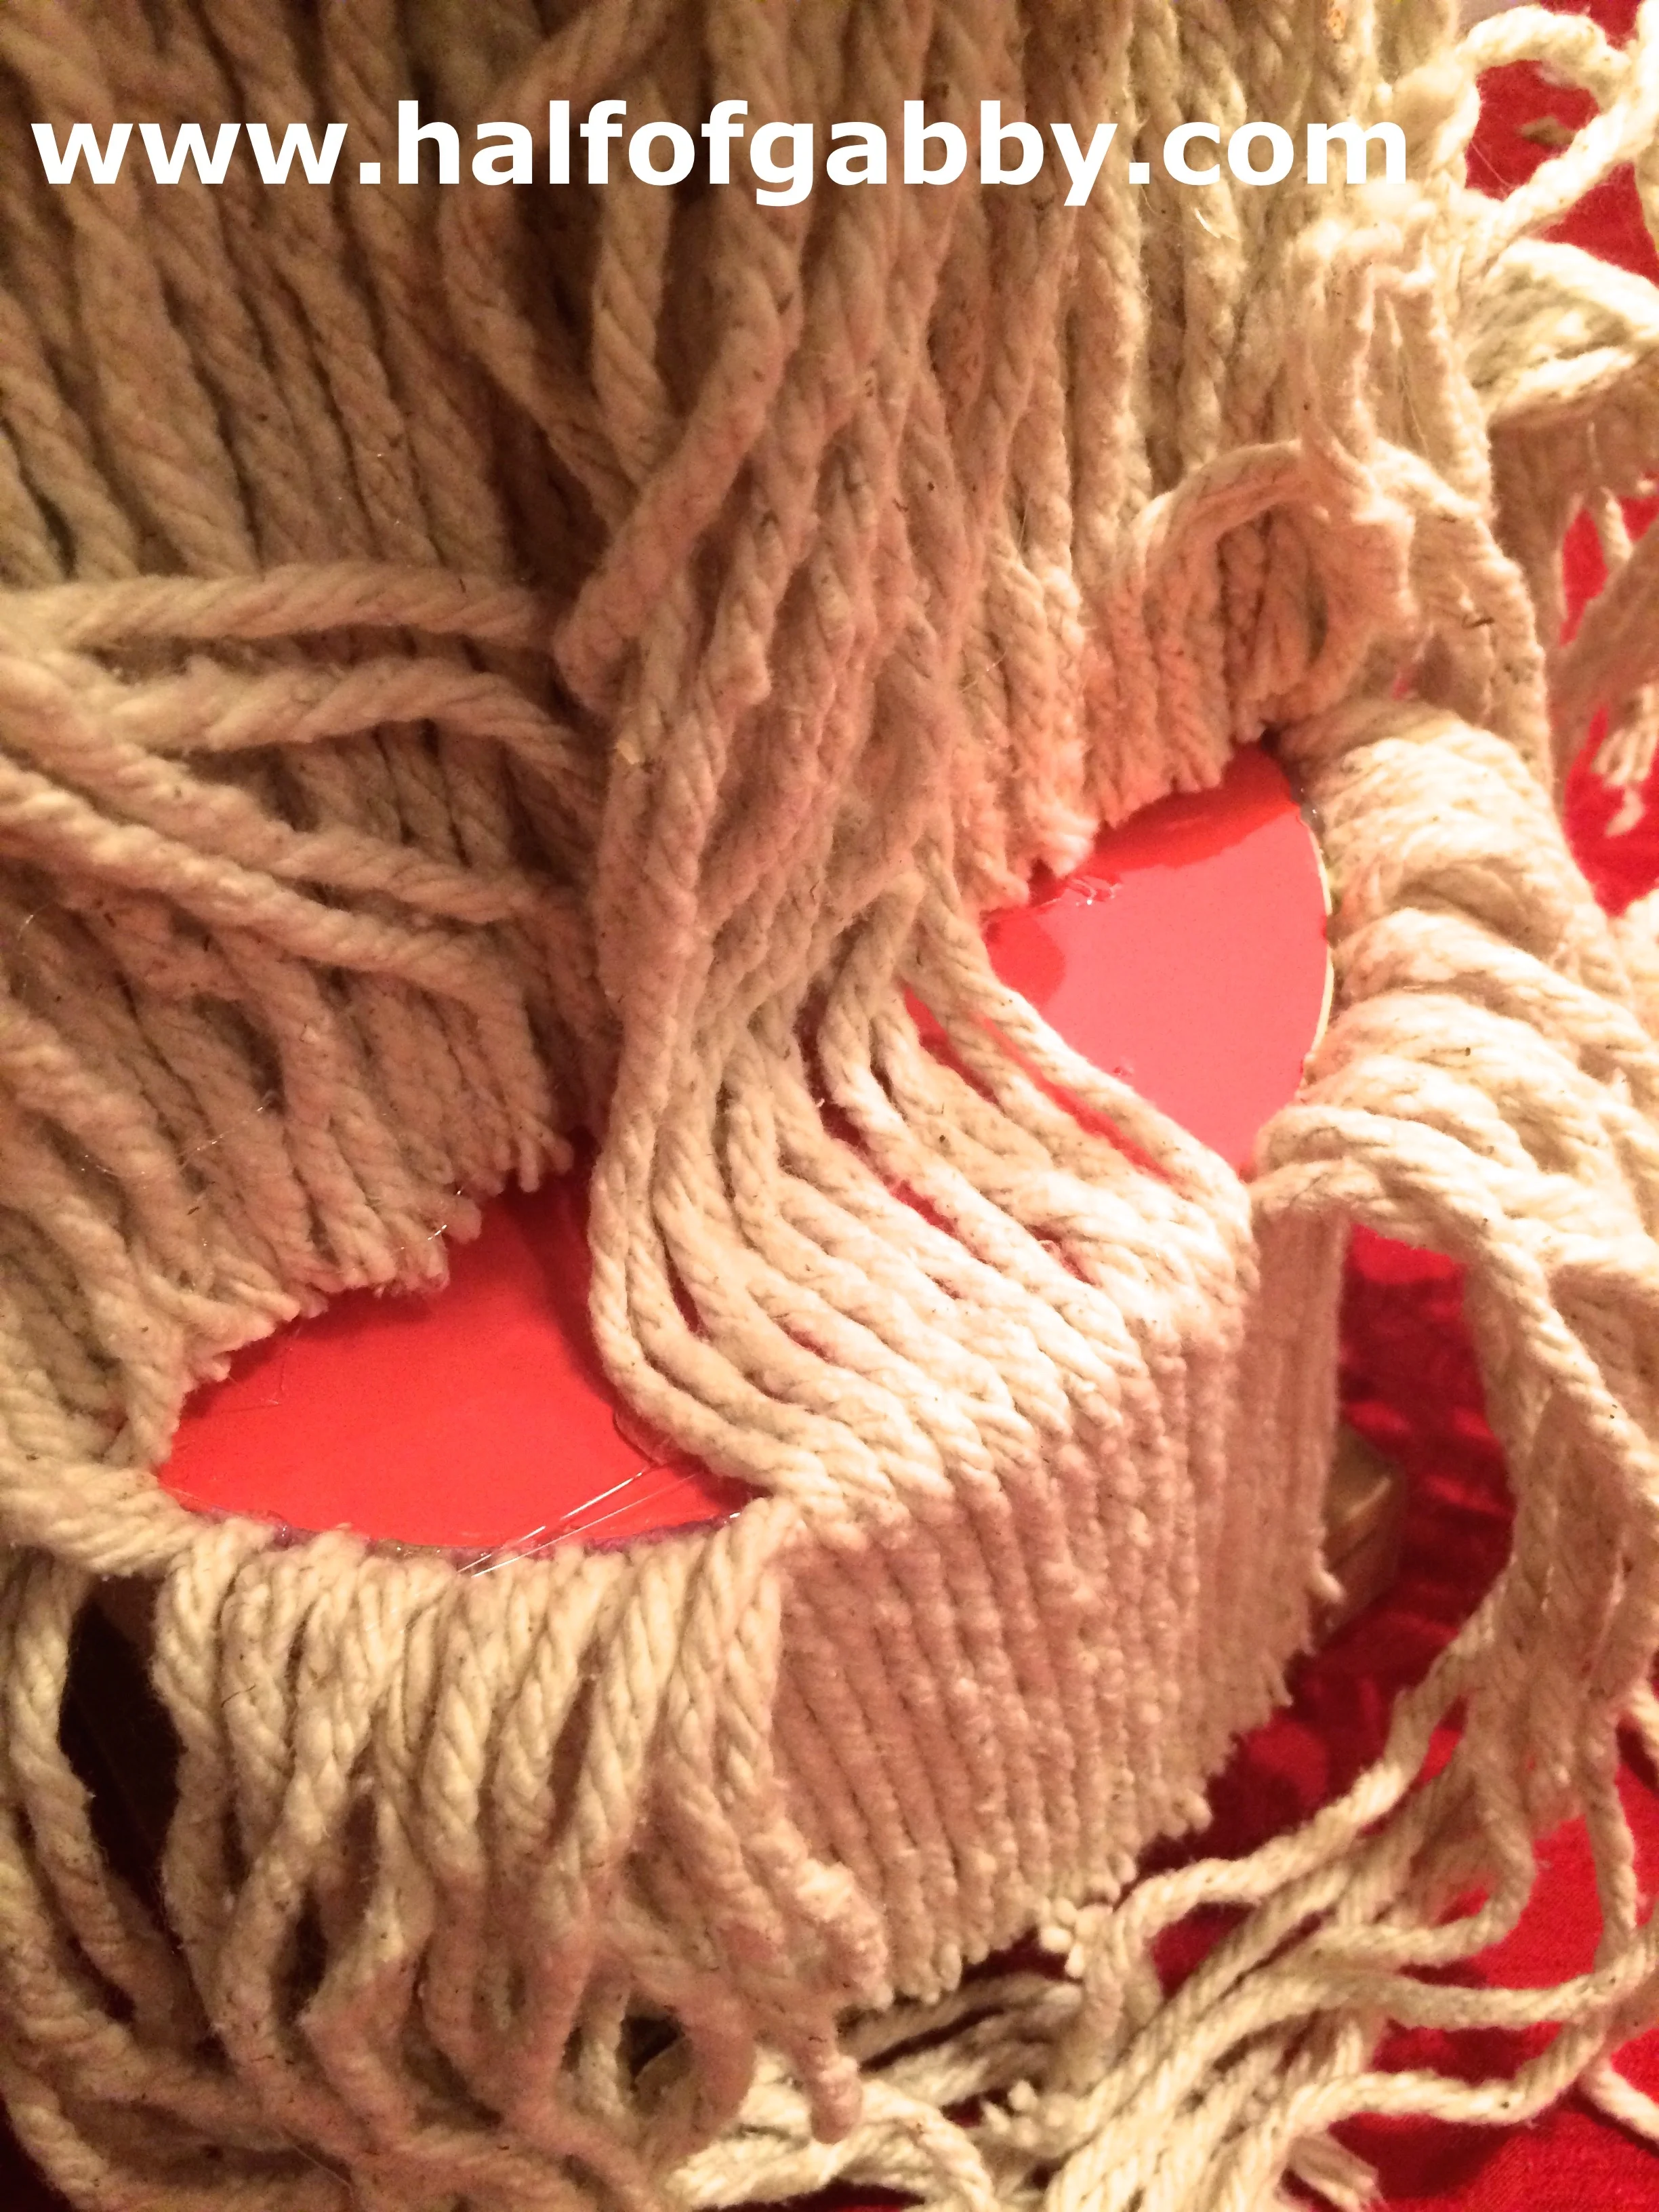
*When you get to the back where the Valentine slot is, trim around the slot. However, when you get to the far left and far right sides (those little sections to the left and right of the slot),
DON'T TRIM THOSE LITTLE SECTIONS
You will be putting a second layer on all of your doggie sides, so it will save a little bit of time to not trim those sections since you'll be adding another layer anyway.
6. Put a second layer on all the sides you just finished.
*However, this time you will NOT BE GLUING THE BOTTOM of the string.
This is where your shaggy effect will come in.
The first layer serves as a base, but the second layer is what's really going to make your doggie look like a doggie.
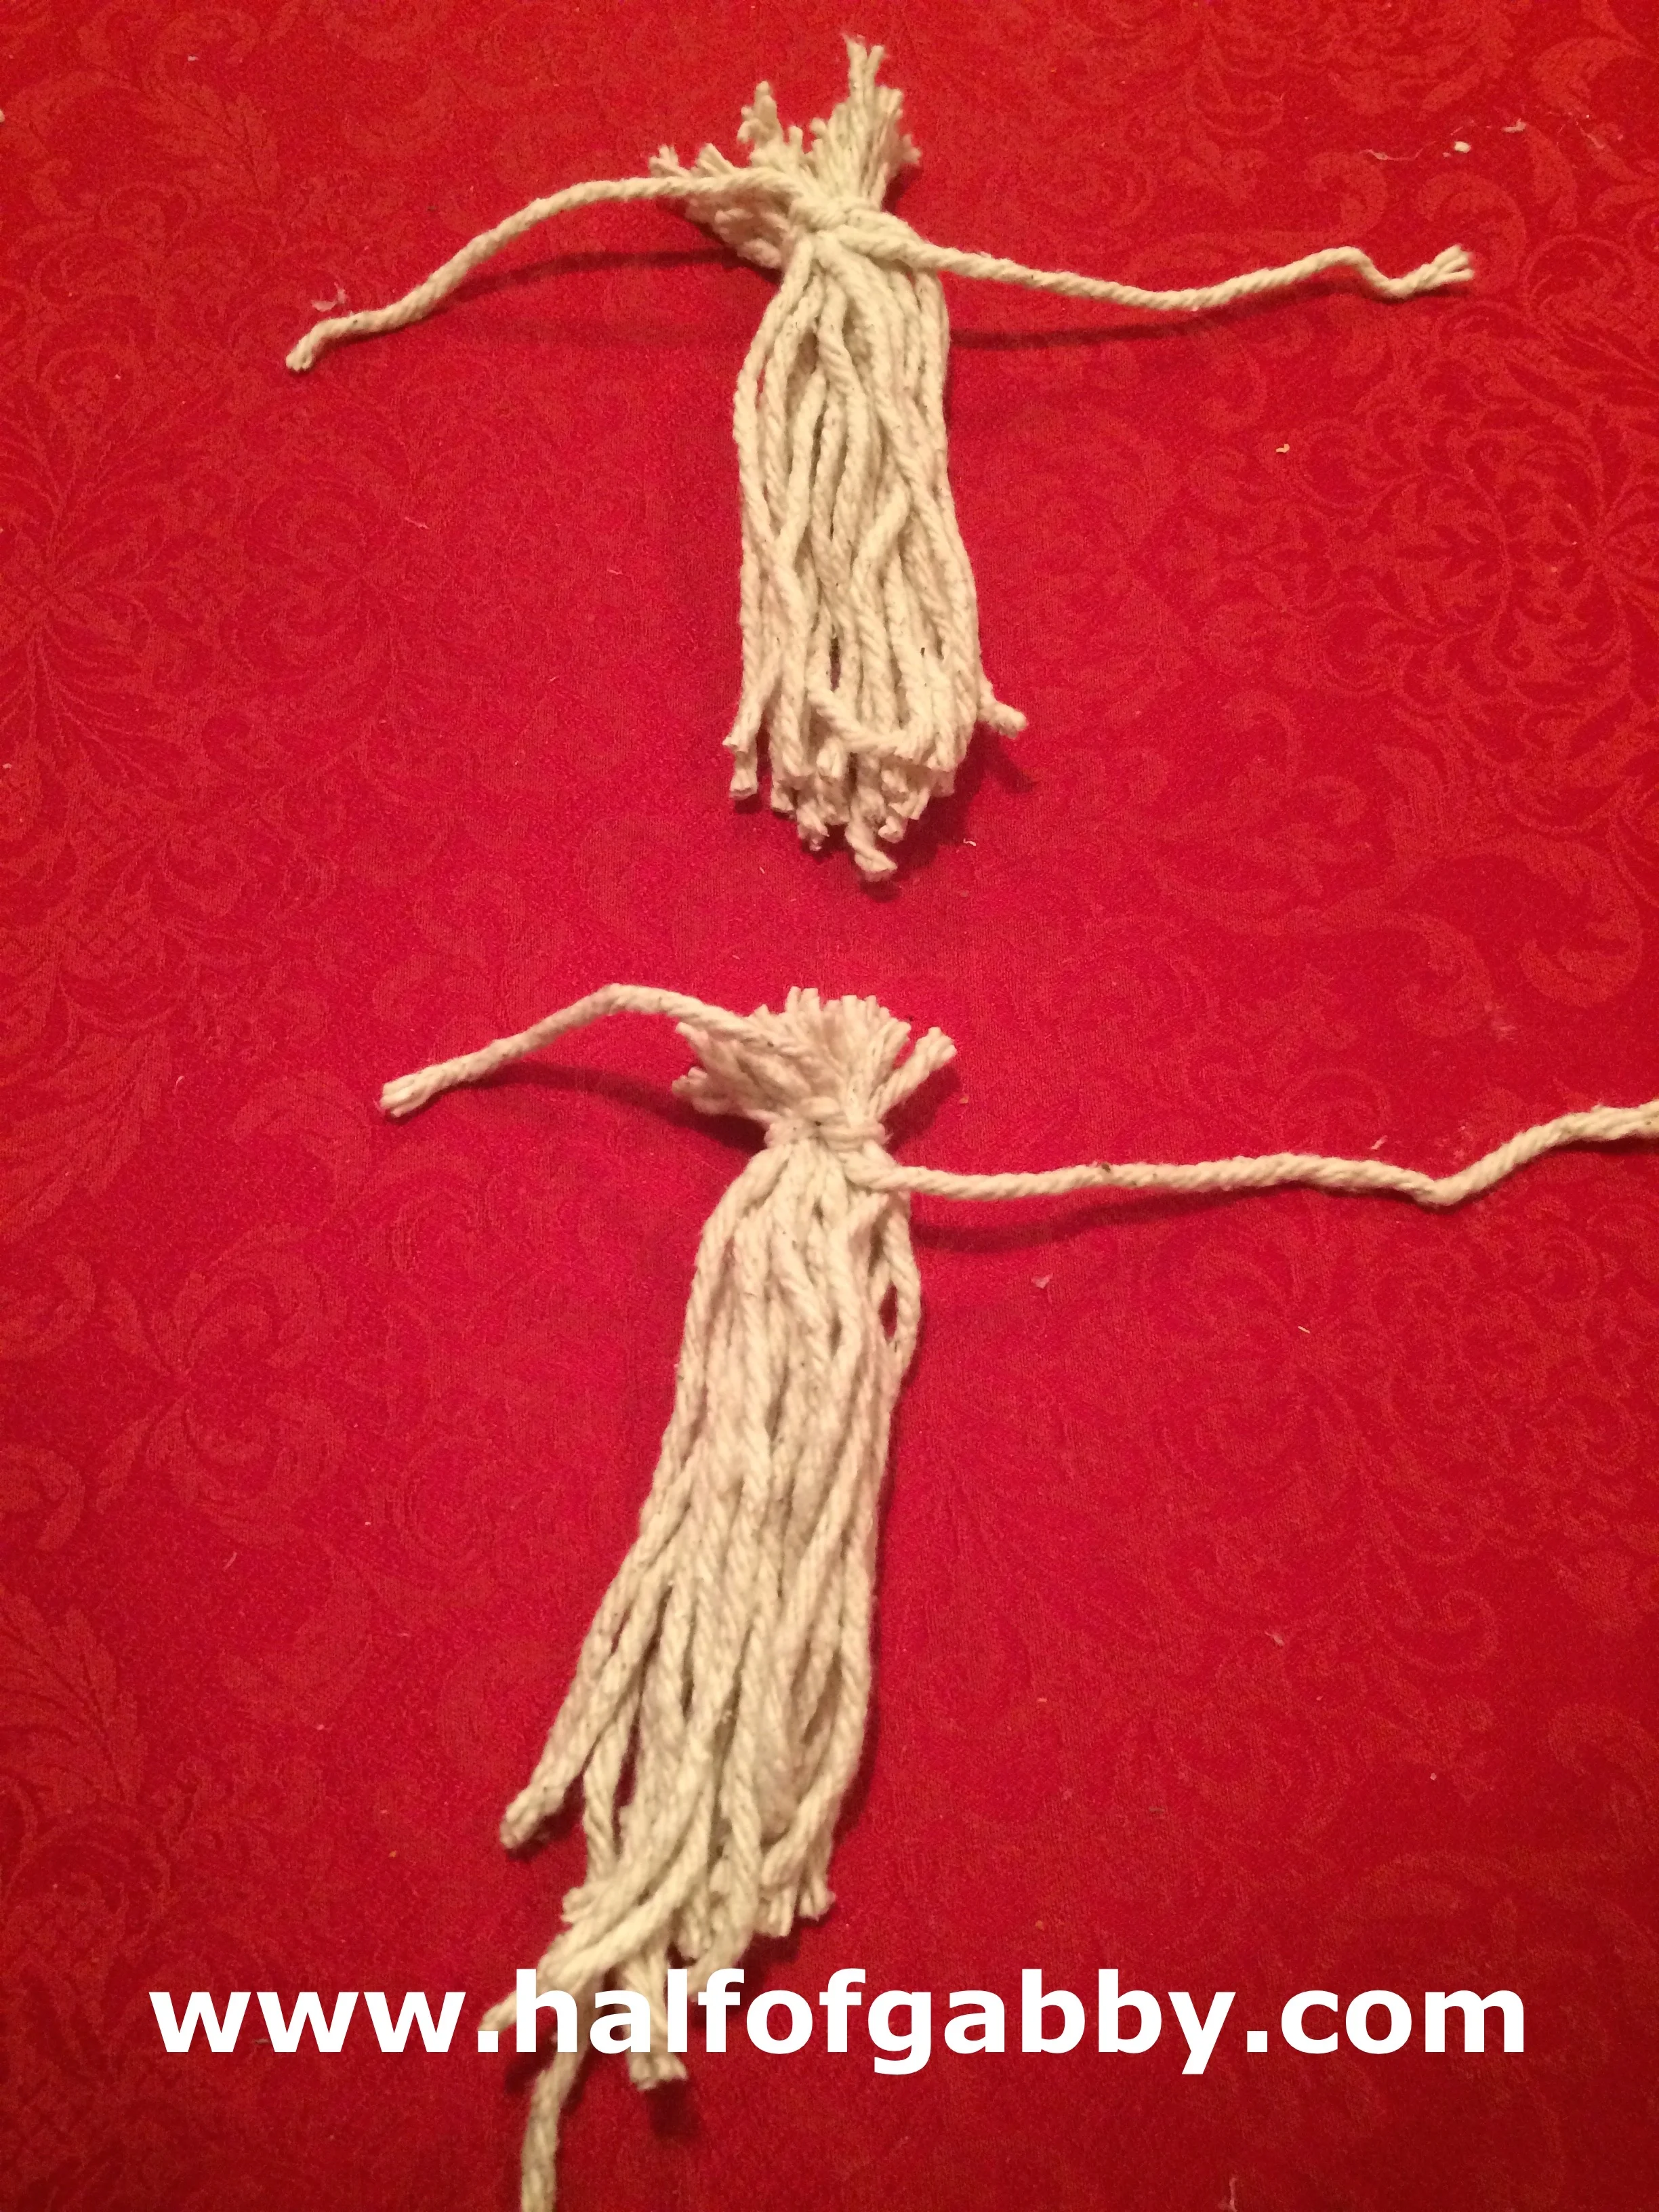
7. Put a tail on your doggie.
Lay a pile of moppies on the table and use another moppie to tie it in half.
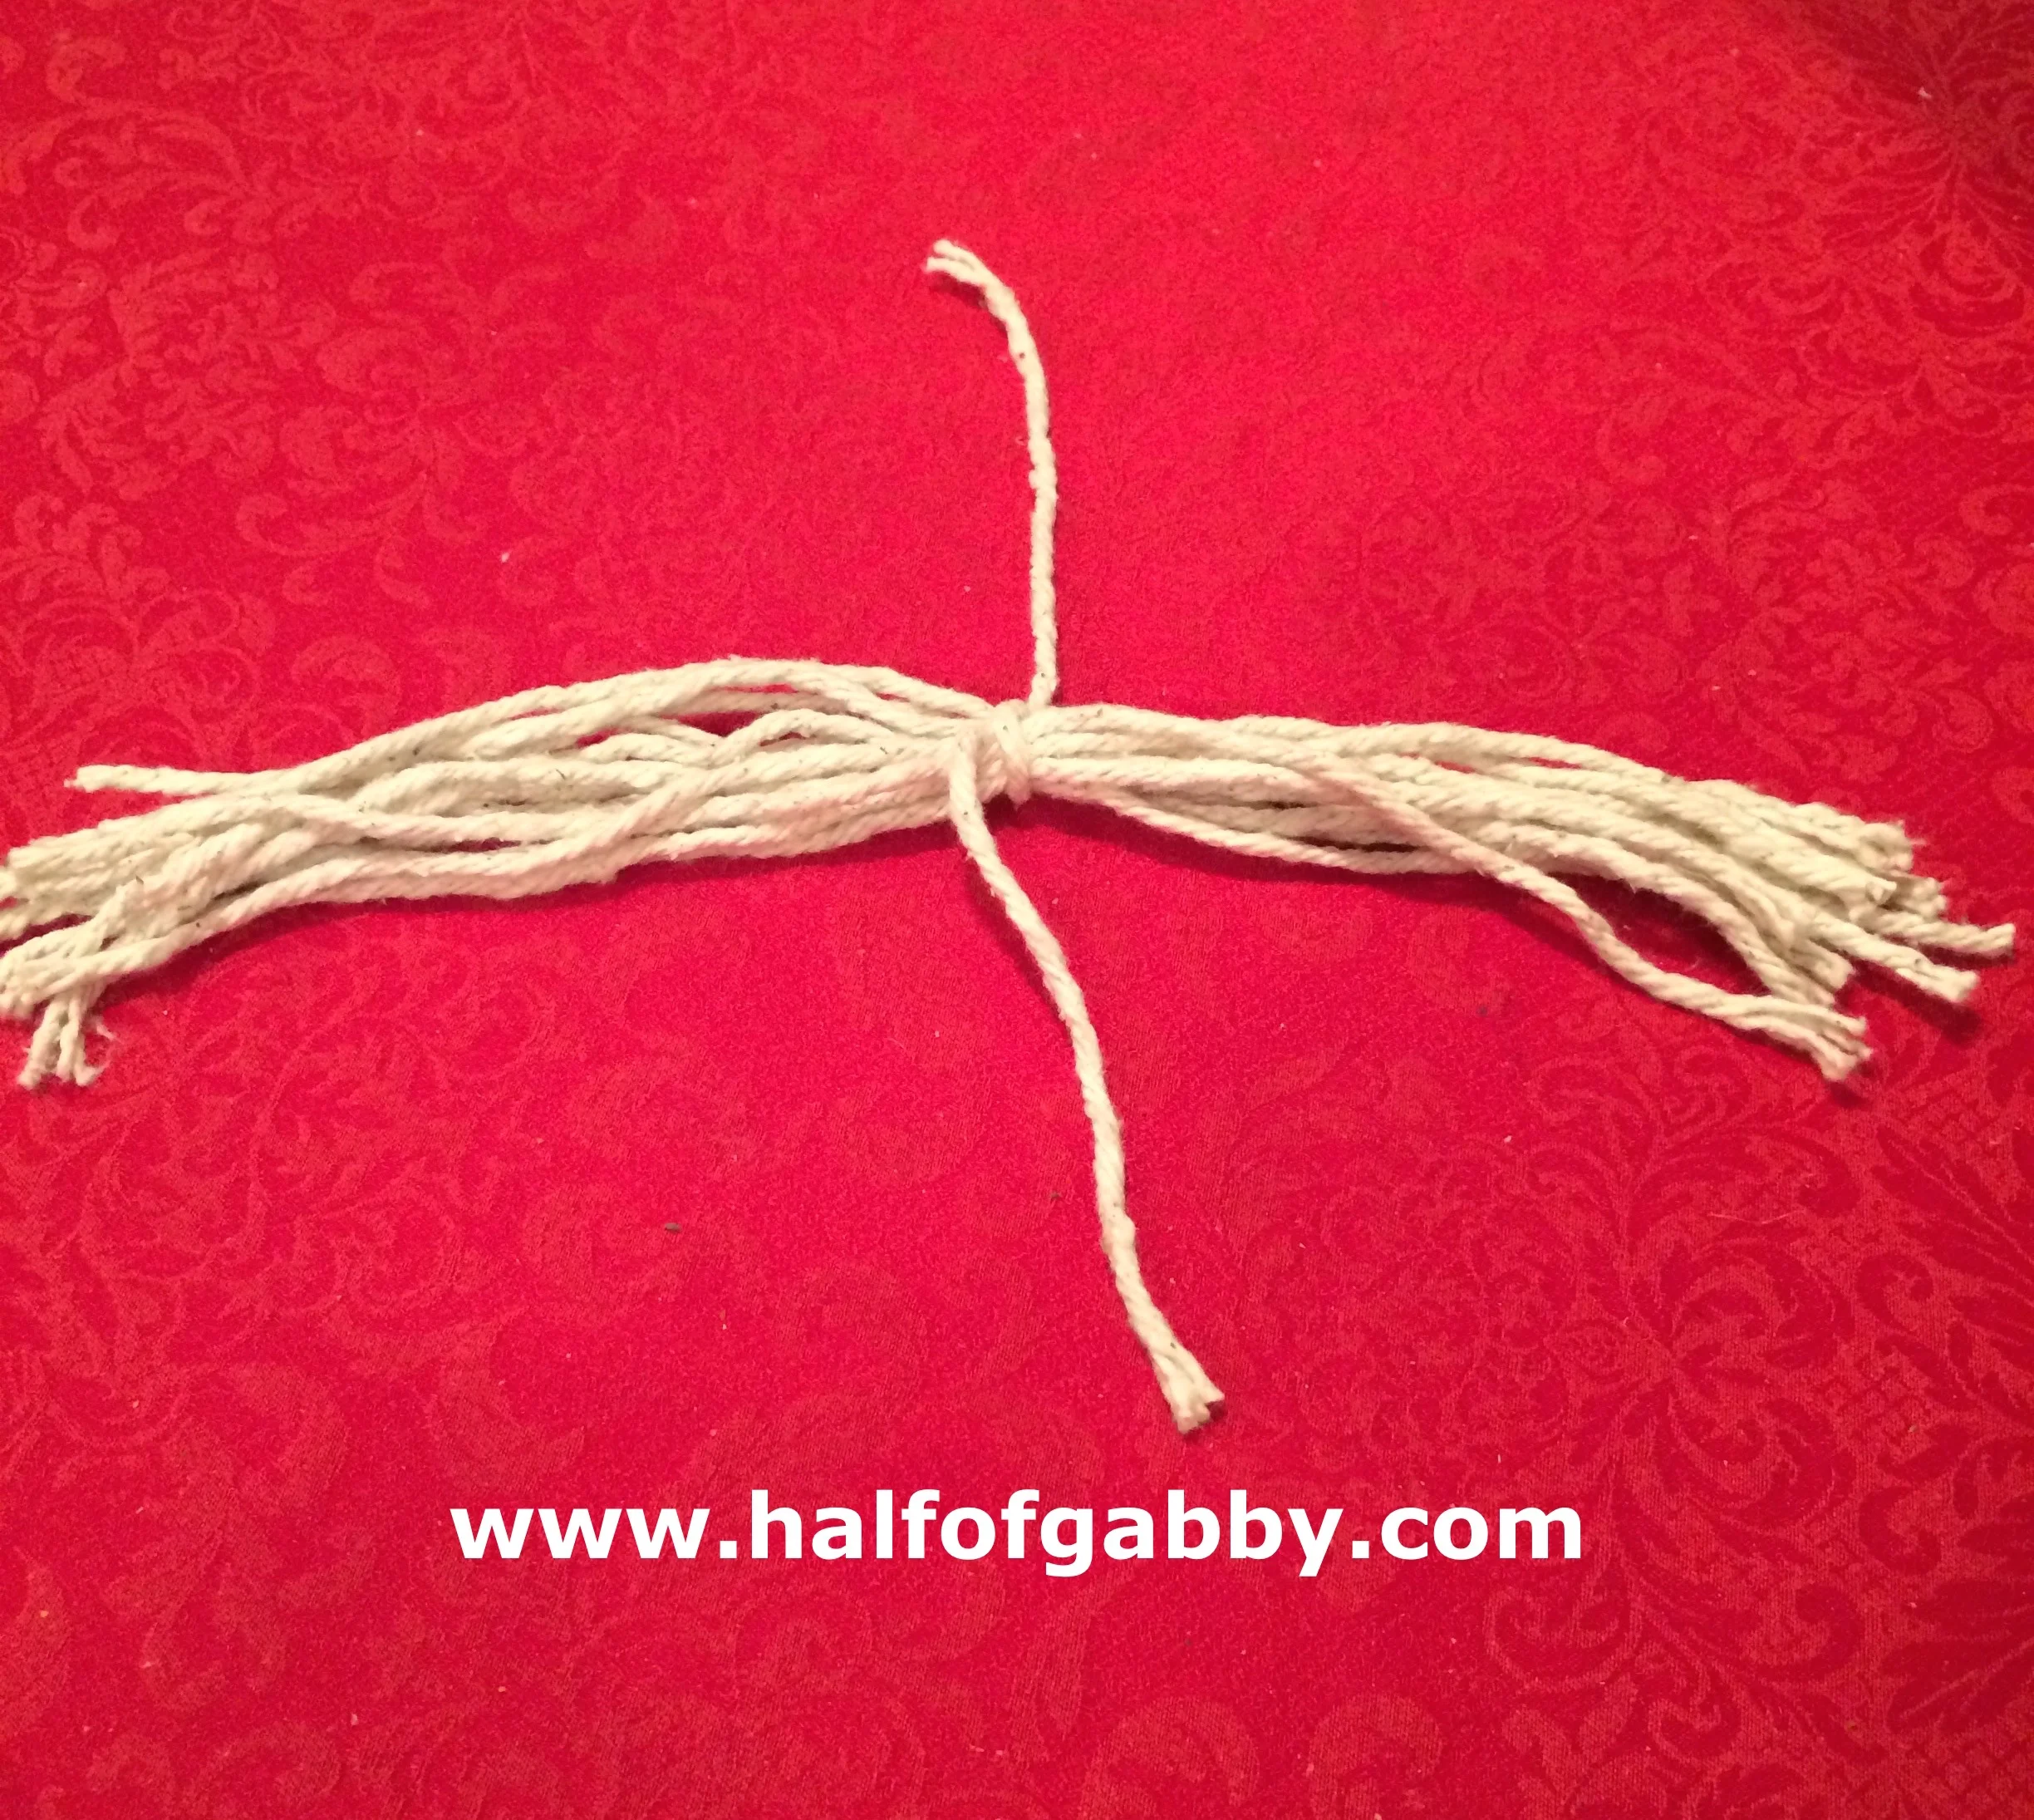
Then glue it together. Simply hot glue where the middles will meet.
Then glue it to the box where you want the tail to be.
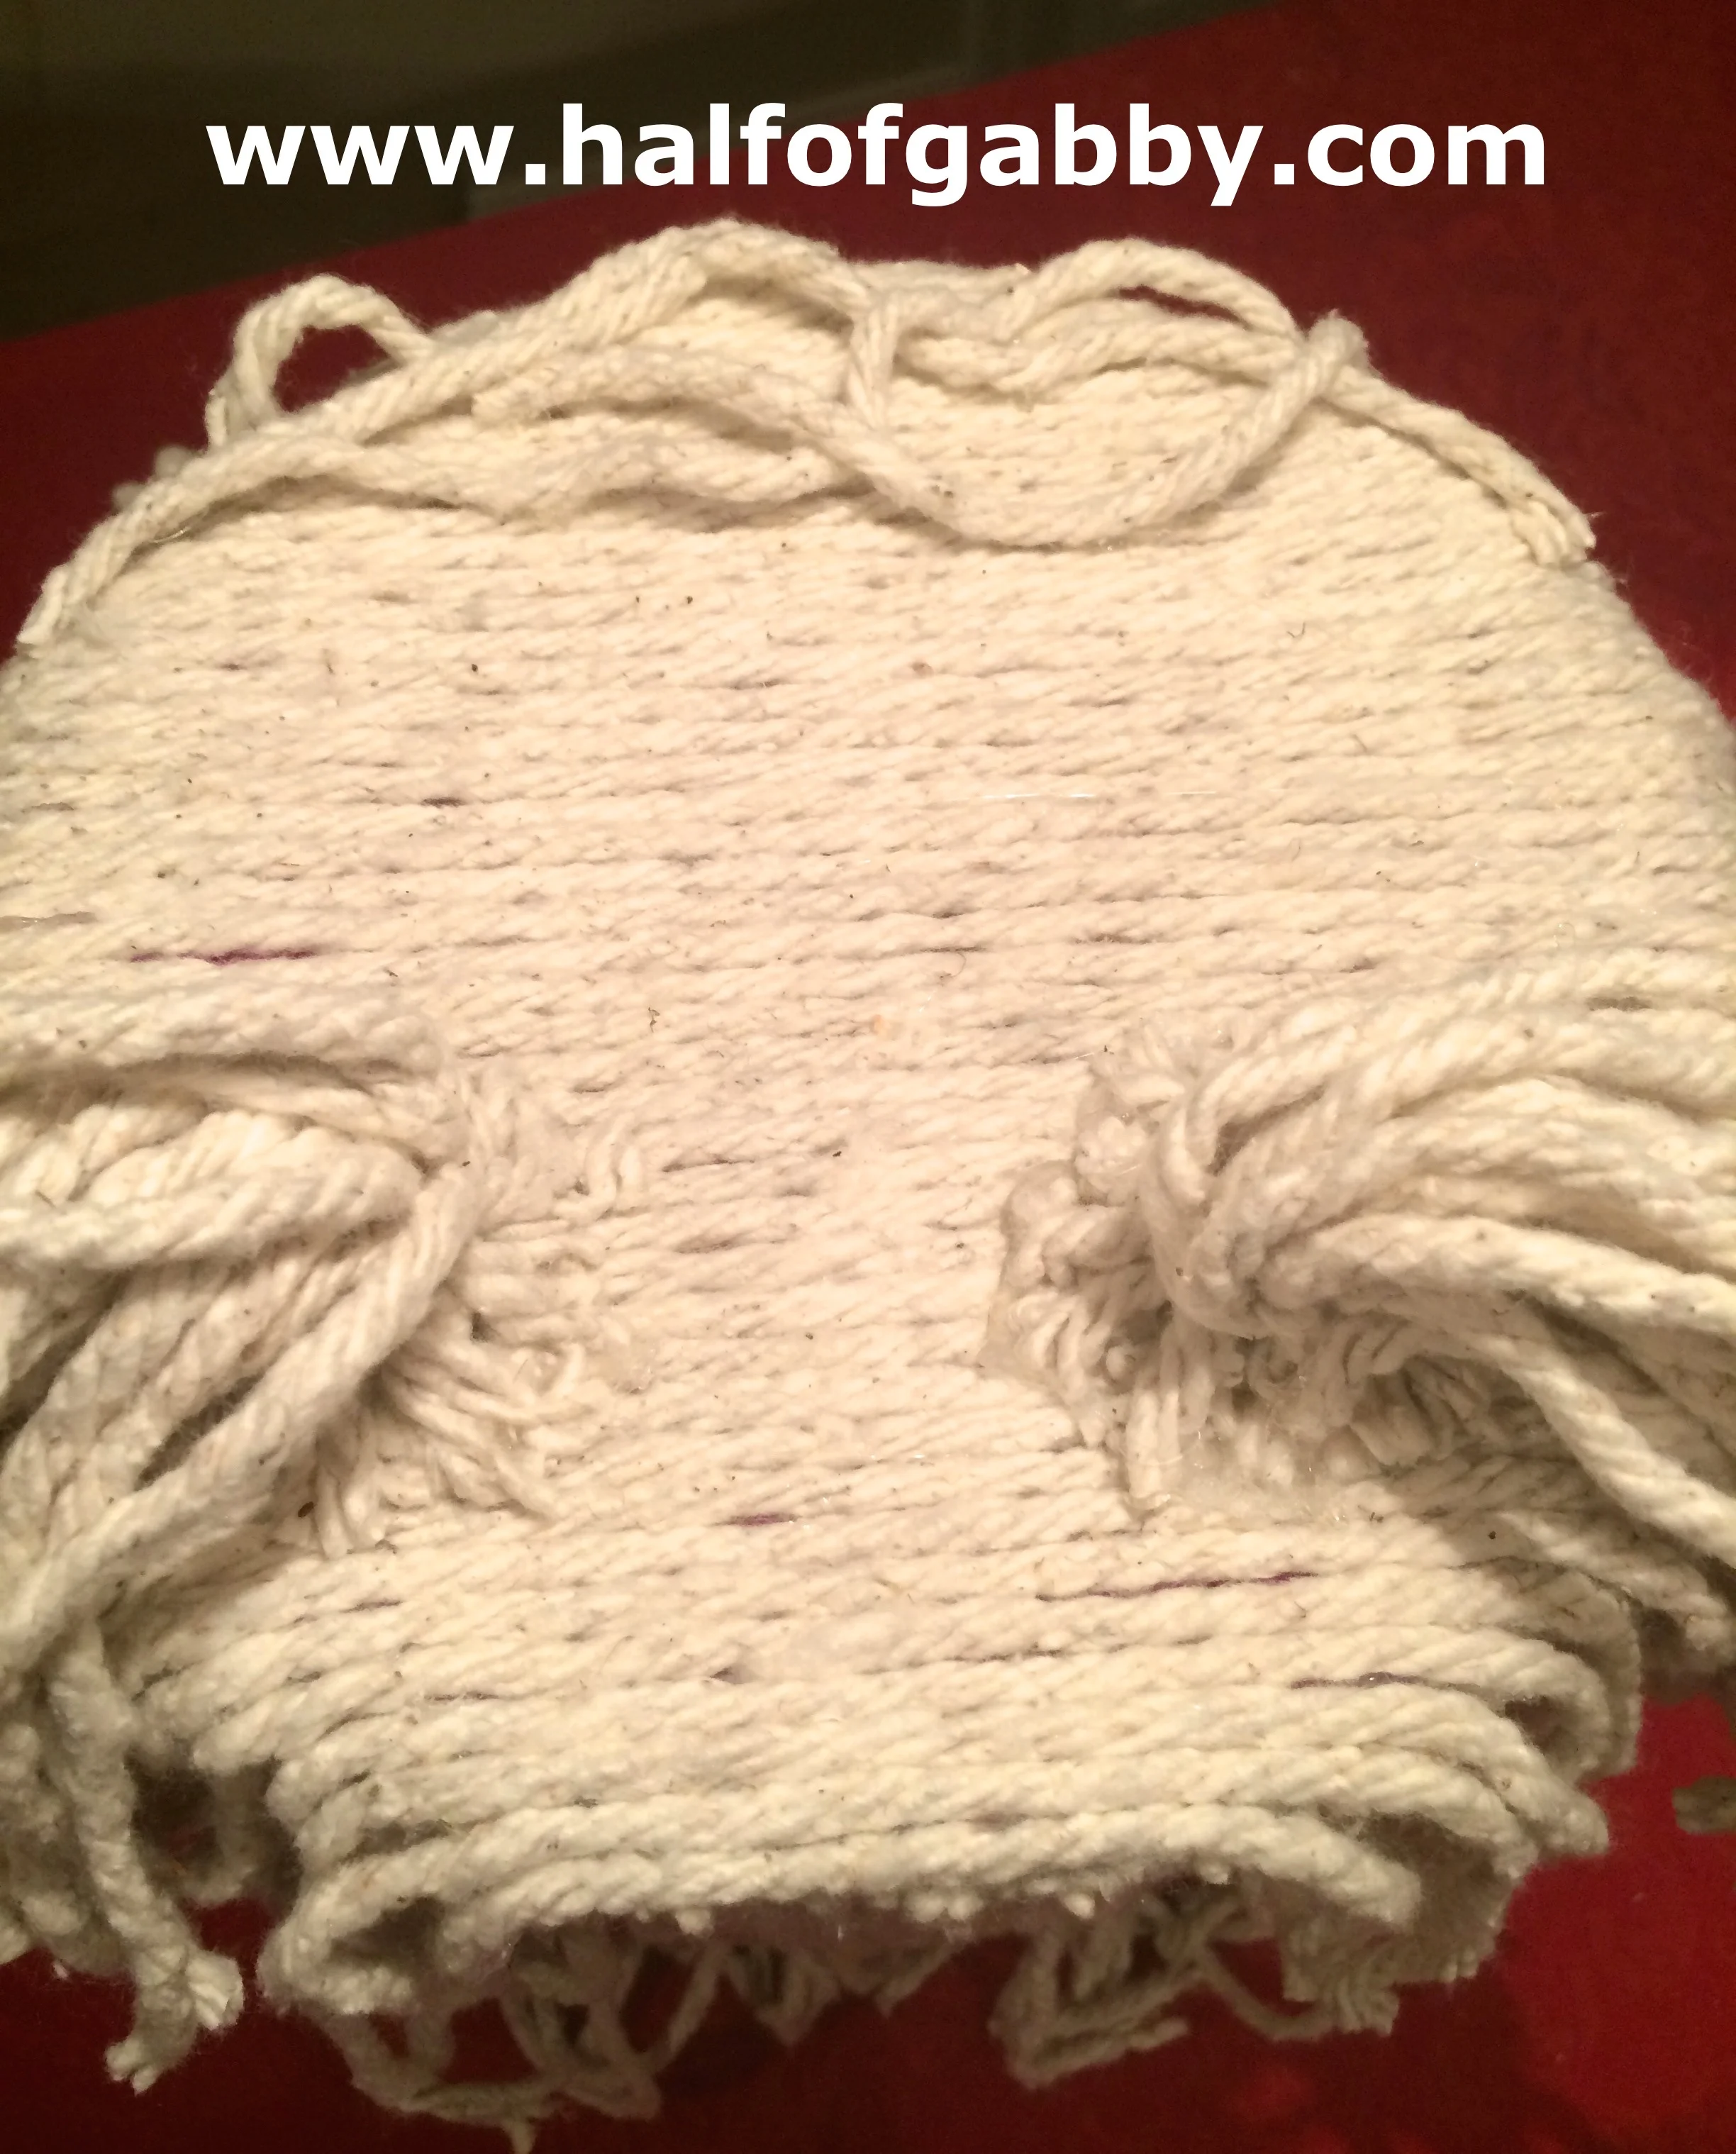
8. Now start your first layer on the top of the body box (the doggie's back).
Again, you will be gluing both the top and the bottom of the string. You want this layer to be secure and serve as a base coat.
Do NOT trim all of the strings!
The hang over moppies will serve as your second layer on the back of the box, which is your doggie's butt :)
You will only be trimming around the Valentine slot.
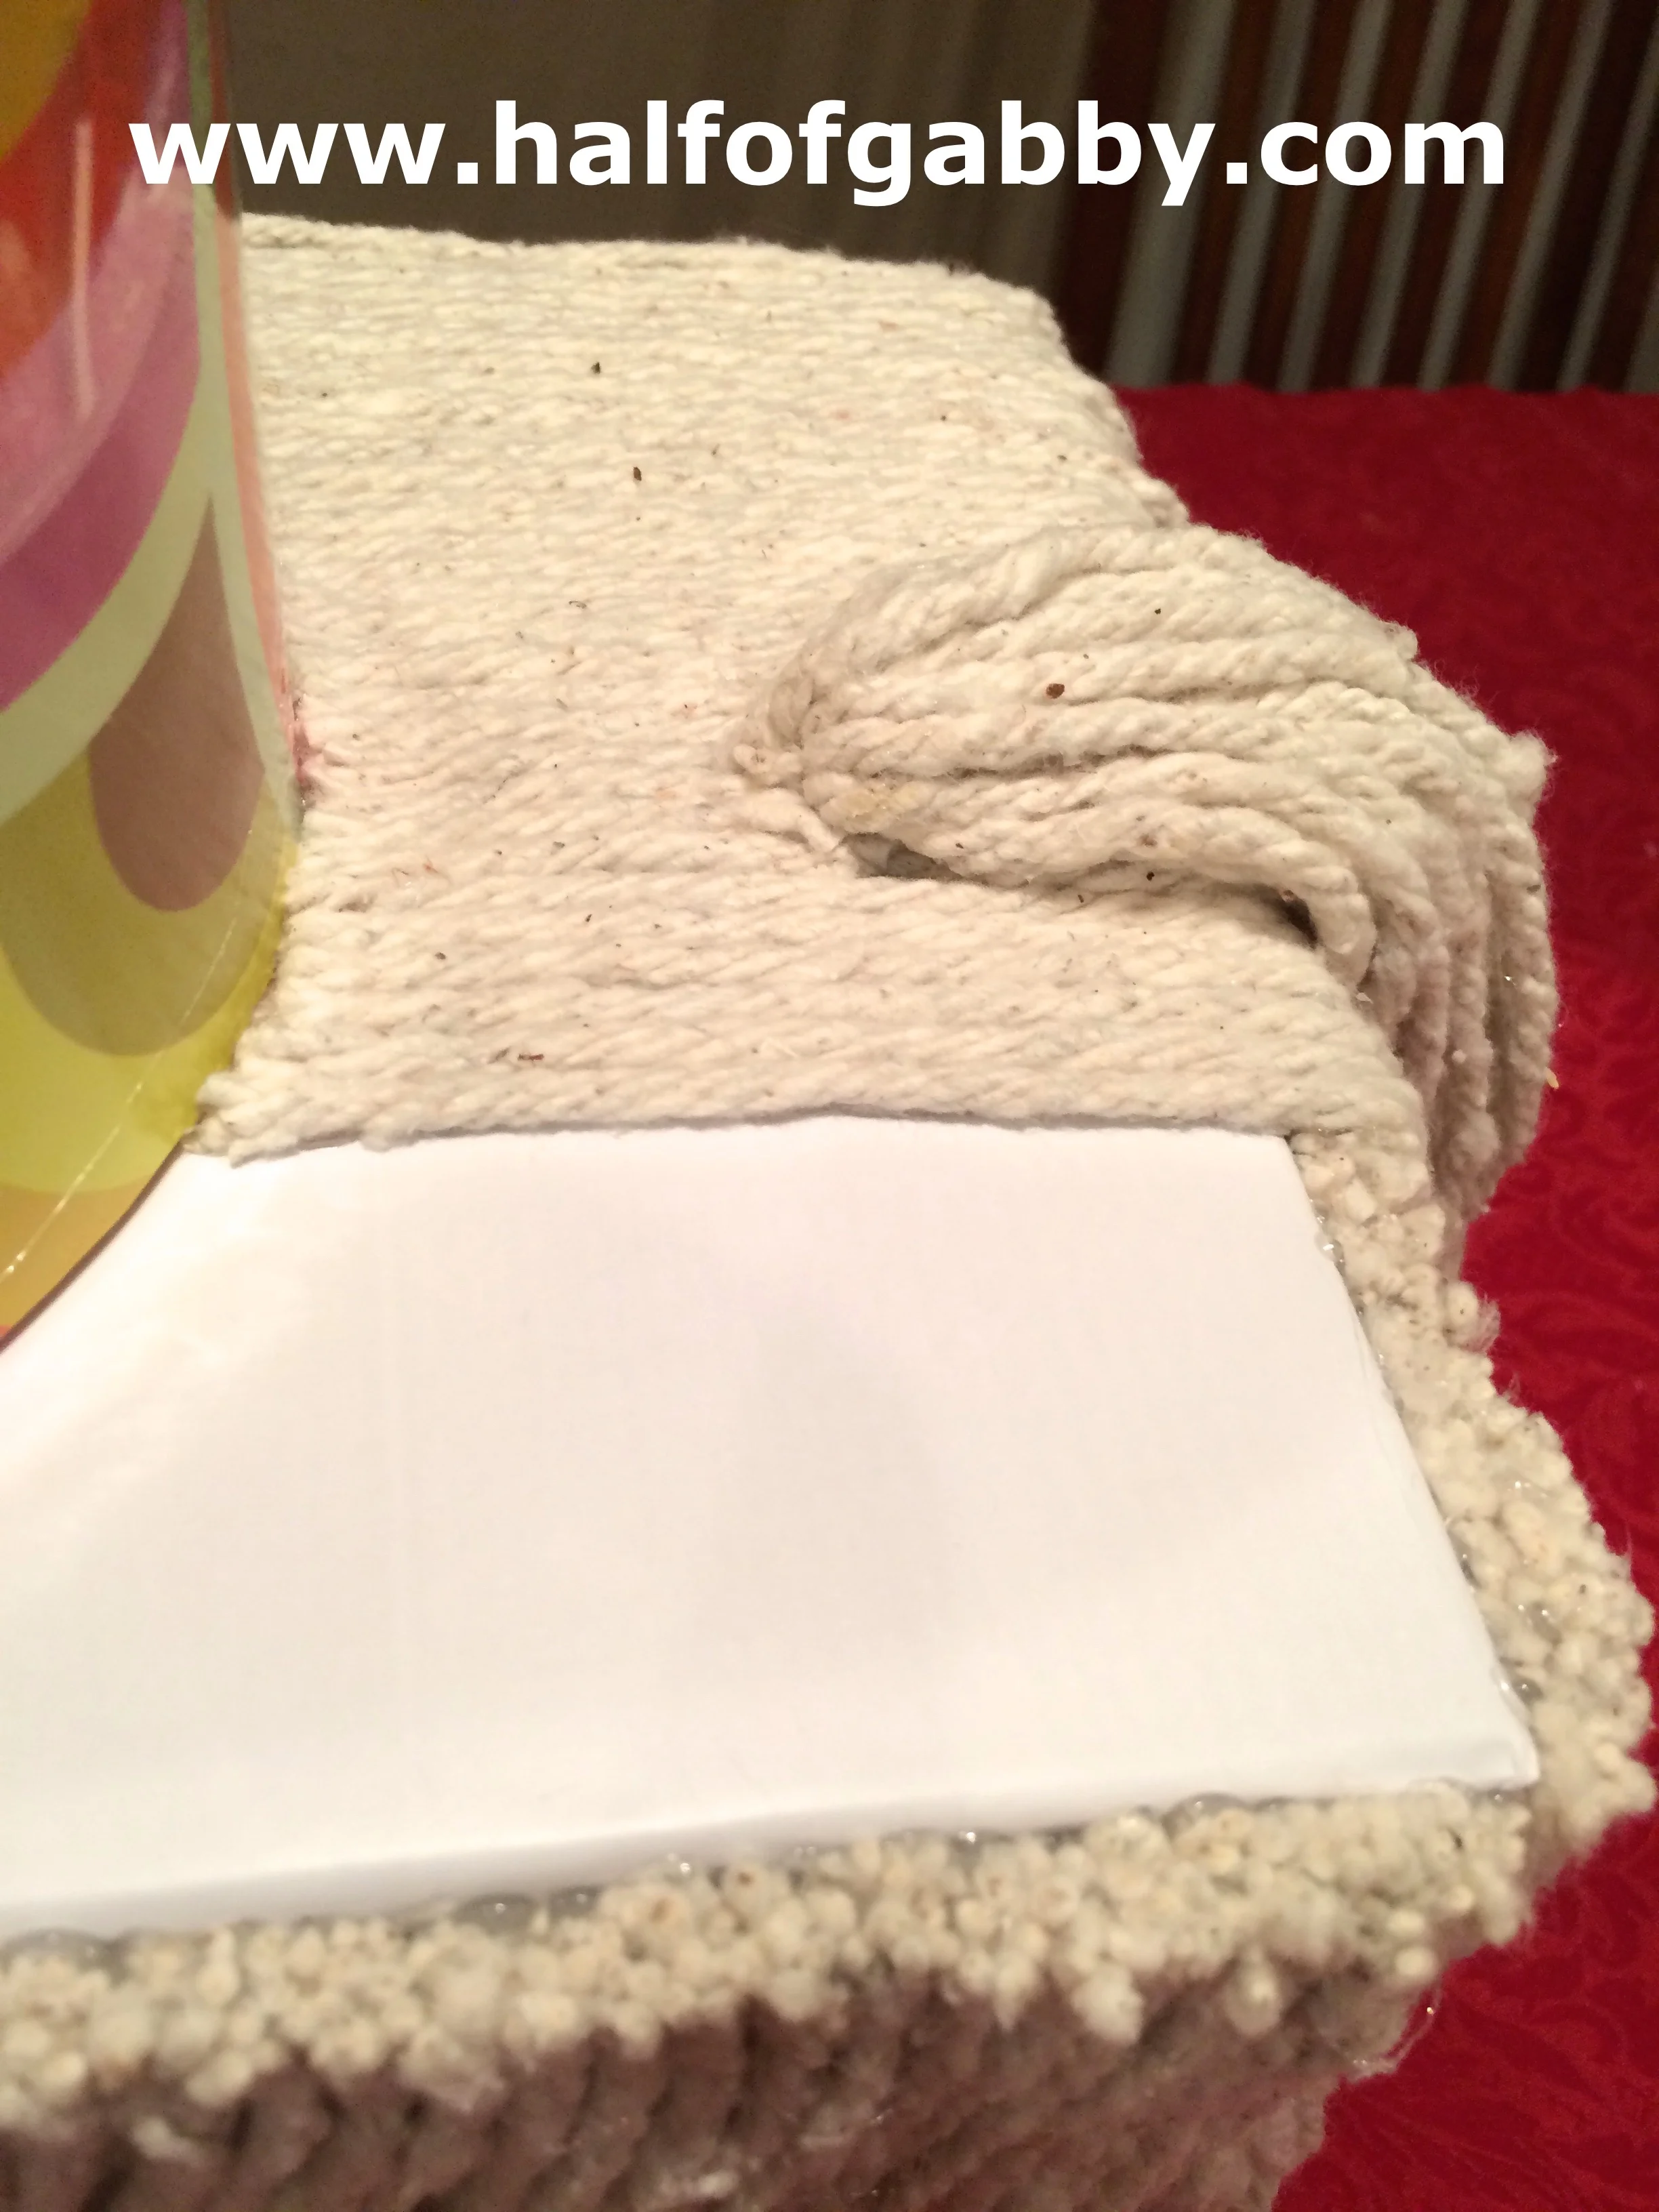
Glue the moppies right up to the round box (the doggie's head).

9. Now it's time to glue your first layer around the sides of your round box.
Again, glue the top and bottom of the string, where it will lay on the round box.
Use LONG moppies for this step.
The hang over moppies are going to finish off your shaggy dog look!

When you're done, it will look like this.

10. Now it's time to give the doggie a chin.
You need to glue the hanging moppies to the underside of the round box.
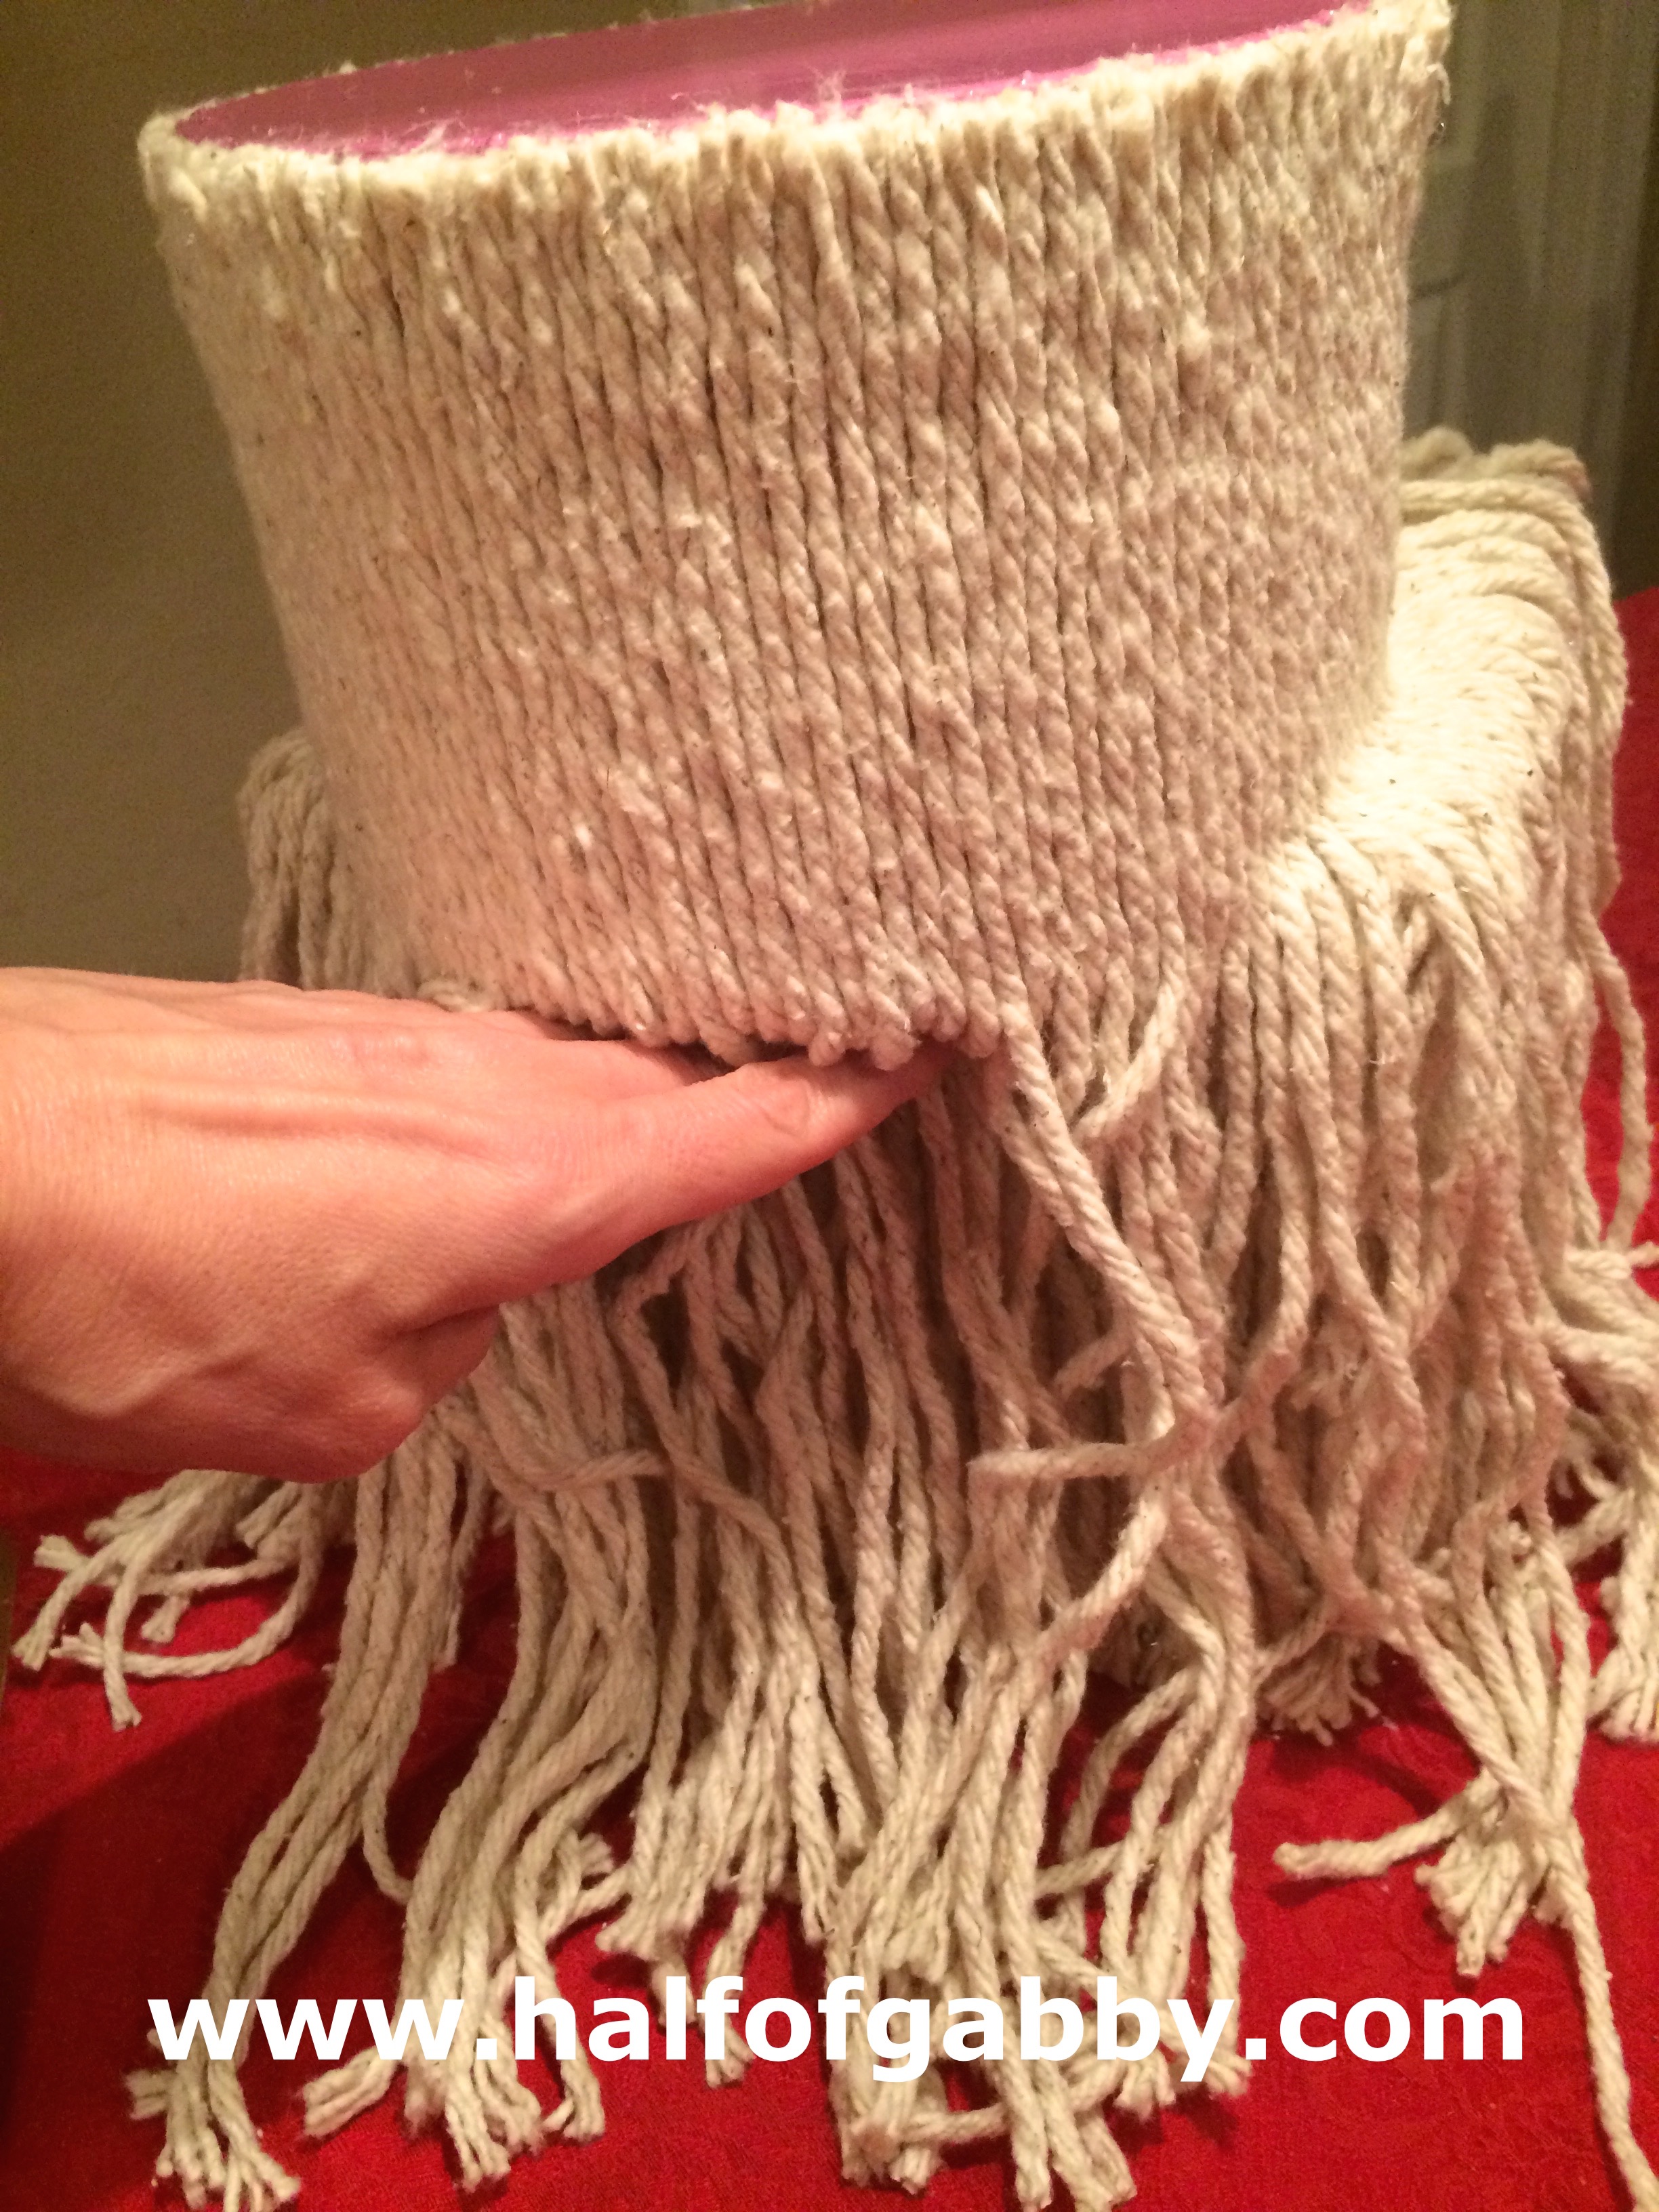
Flip the doggie upside down.
This isn't going to look pretty. Your job is to just get those suckers glued under there.

So just start gluing the moppies.
You're gonna have moppies on top of moppies and tangled everywhere. Like I said, it's not gonna look pretty. Just glue whatever you have to to get them all secure.
But when you flip Fido over, viola!... You have a doggie head! With a chin! Yay!

Now it's really starting to look like a doggie!!
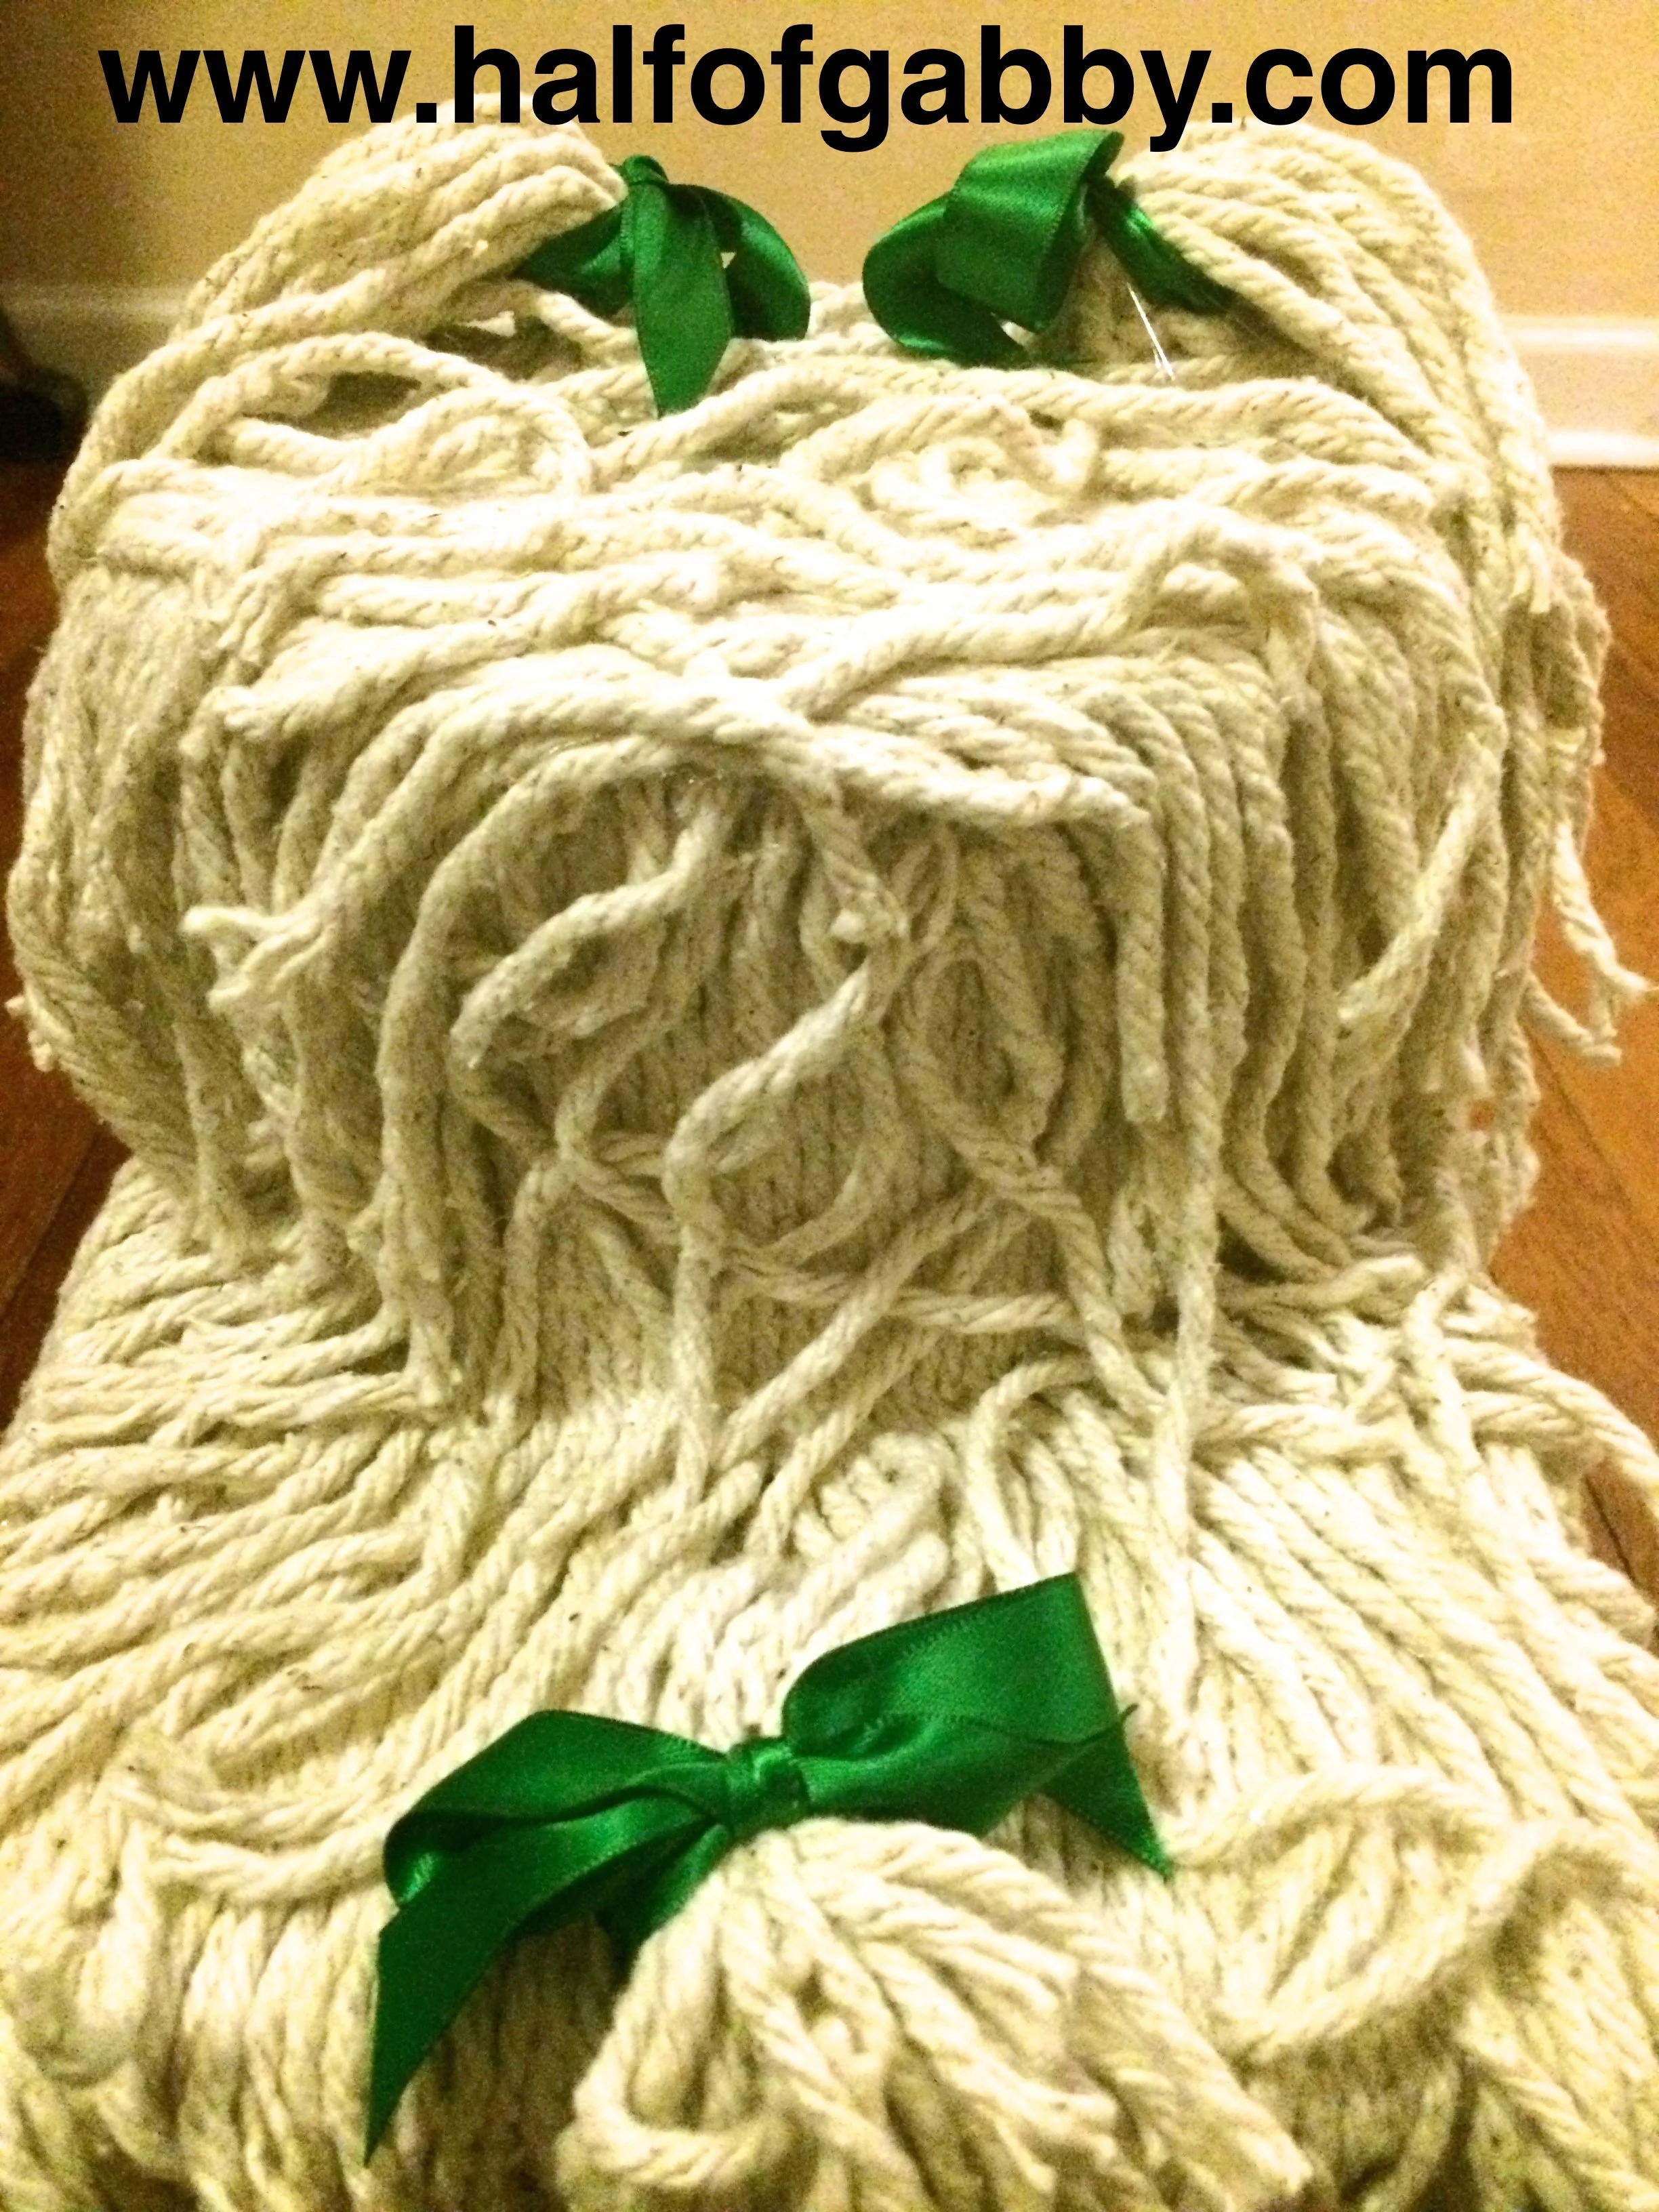
11. Glue moppies to the top of your doggie's head.
Important!
This is the only first layer that you will in fact be running a glue line for the entire length of the string.
*The mop strings that hang over are going to serve as the second layer for your doggie's head.
So DON'T cut them!
12. Time to make the doggie's ears!
Lay a pile of moppies down on the table and cut the pile in half.
Then take a mop string and tie it tight with a double knot at the top of the pile.
*Now trim ONLY the end that you just tied.
You want it to be nice and level because you will be gluing that end to the top of the head.
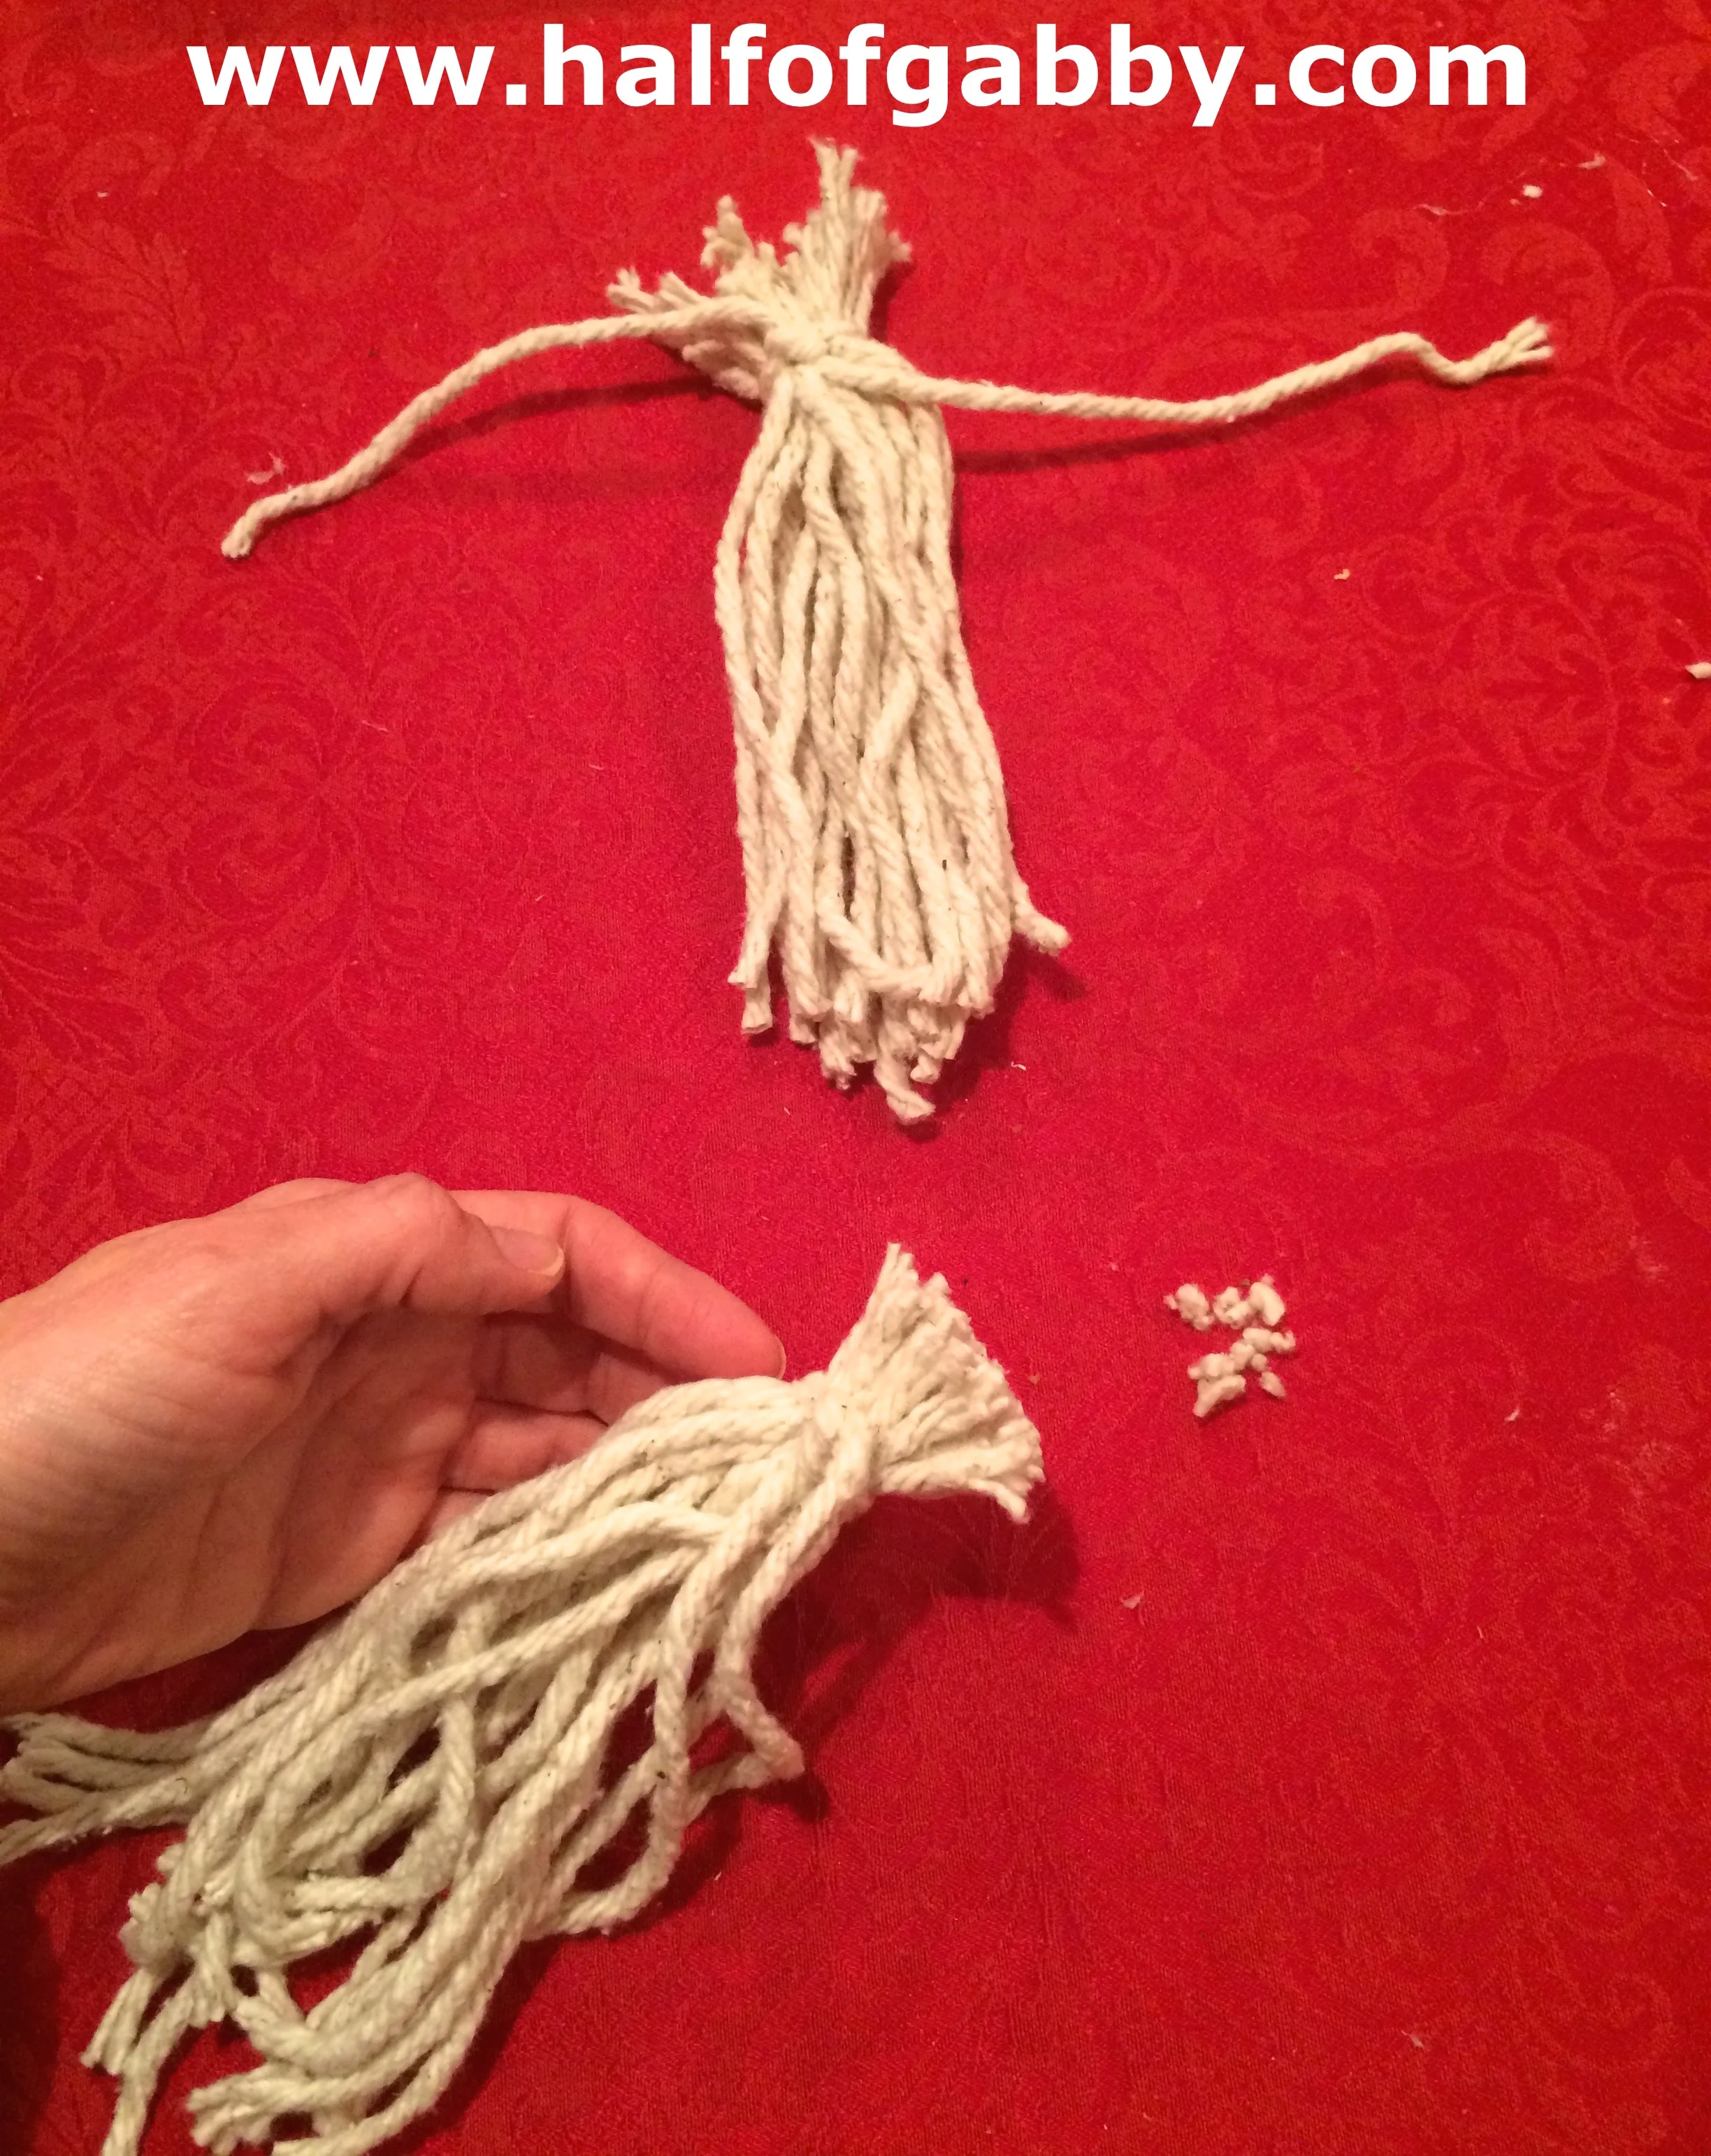
Smear hot glue all over the end that you just trimmed and place it on top of the head where you want the ears.
AW, now we have ears! YAY!
13. Time to put the second layer on top of the head.
Okay, this is different than anything you've done so far.
*You are going to strategically place beads of glue so that you can make a wavy hair effect.
It should be fairly random. You want it to look like a shaggy dog so there really is no way to mess this up. His hair is supposed to look messy and curly.
*Remember, you're not gluing the entire string down. You just want to place 2 or 3 beads down so that the hair looks three dimensional and realistic.
Continue until you're done with the whole top of the head.
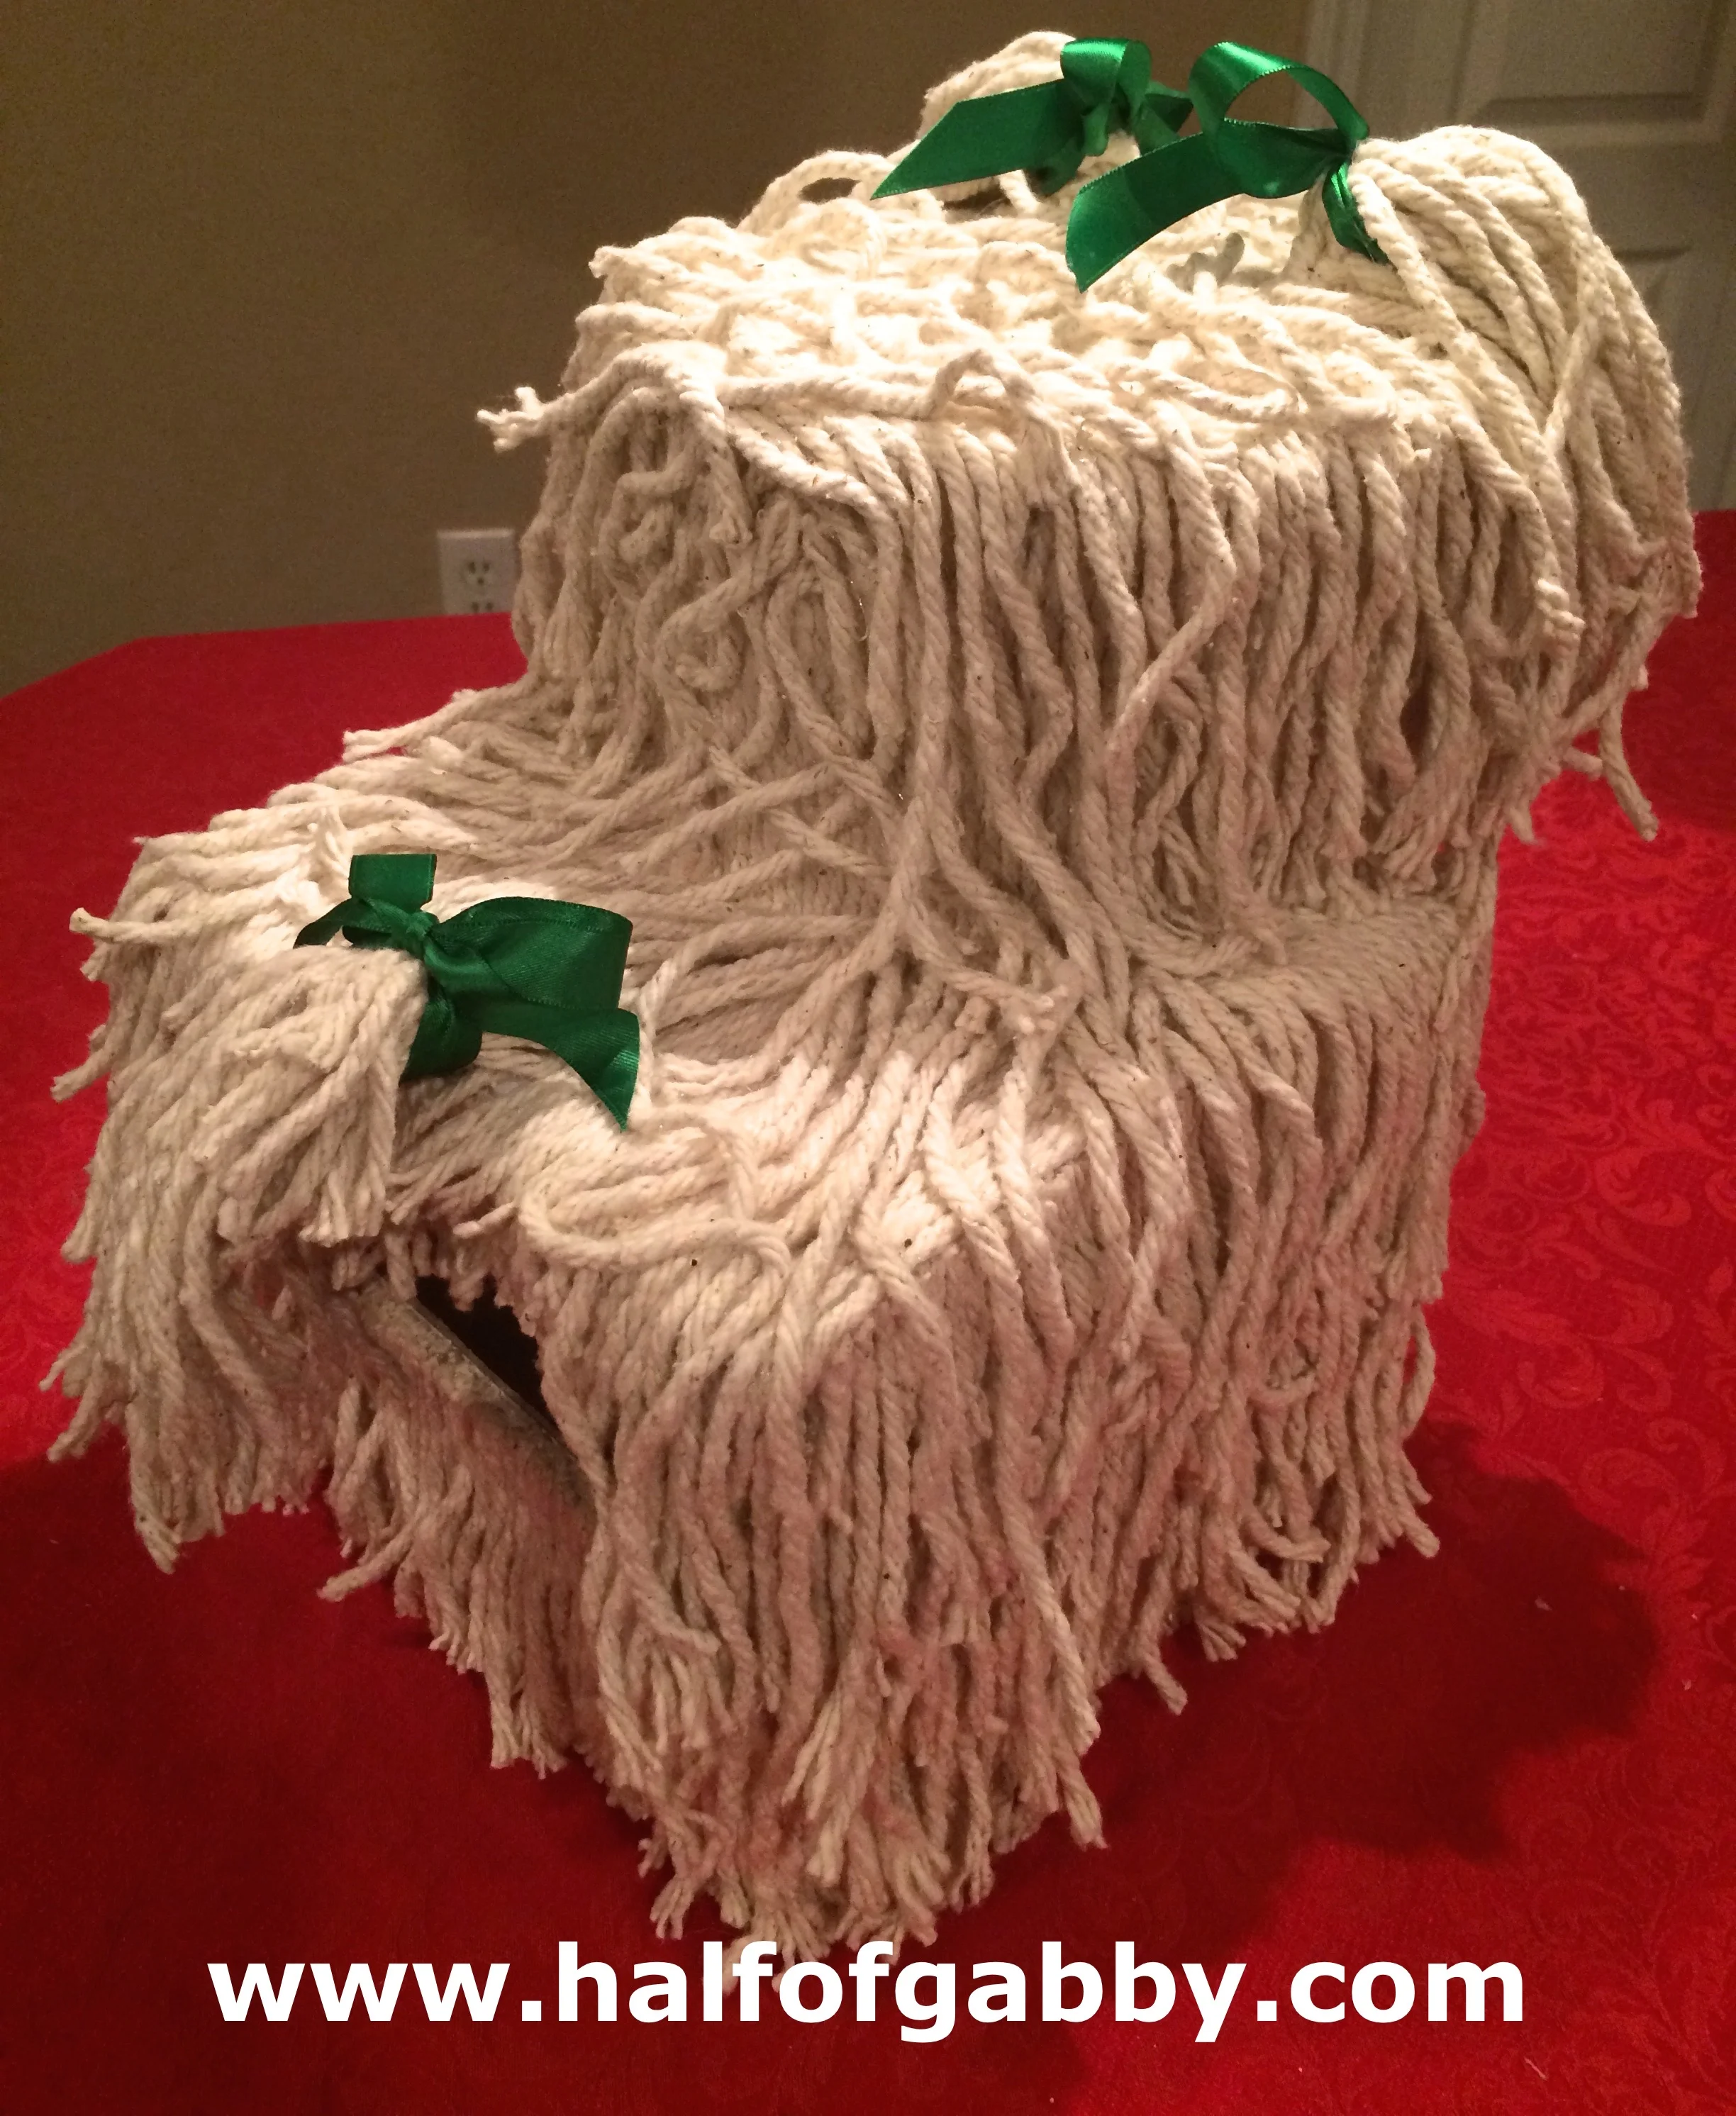
14. Add ribbons on your doggie's ears.
Just tie a simple bow and adjust until you have it looking the way you want it.

...And don't forget to tie a ribbon on his tail too!
15. It's time to bring your doggie to life! Add his face!
Glue on your googly eyes. Then cut out a nose and a tongue from the felt and glue them on. Now you have a face!
Aw, look how cute!
16. Now it's time to give your doggie a hair cut!
Go around the doggie and trim your mop strings to all different lengths. You want him to have a very layered look so that he really looks like a shaggy dog.
You'll also want to go around with the glue gun and glue on some extra pieces where there are bald spots. You will have a bald spot on the back of the head. You might also want to glue a couple moppies around the face and forehead. We glued 3 or 4 pieces to frame the face.
On the back of the head, I did the same second layer technique as I did on top of the head. I strategically placed 2 or 3 beads of glue per string and made a wavy, messy, and curly effect.
17. Collar time!
Now you have to name your doggie! What will you name yours?
Jossy named hers...
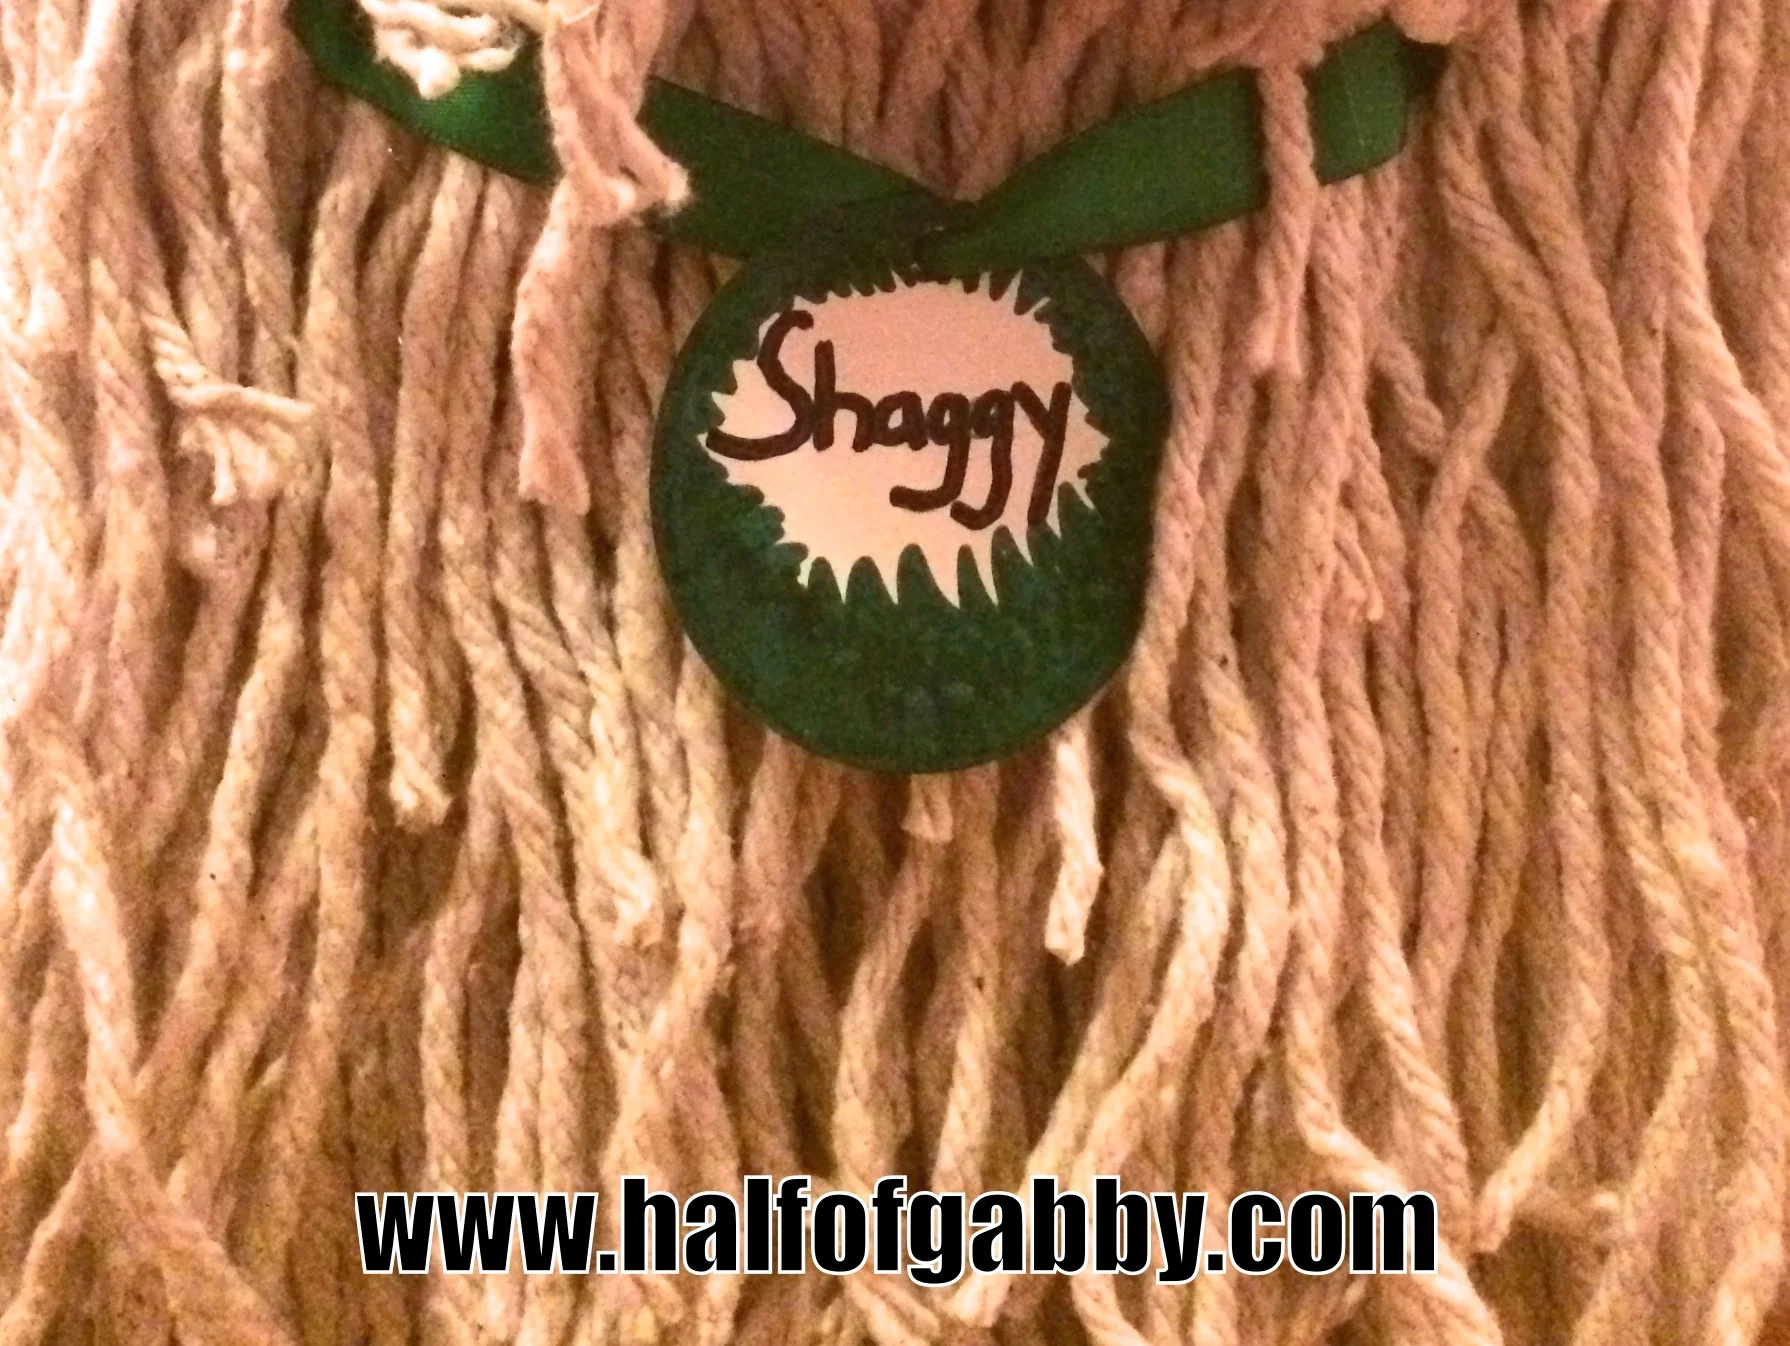
SHAGGY!
I couldn't think of a better name myself! Just perfect :)
*You can make the dog tag out of any thick paper and cut it in any shape that you want. Card stock would work perfectly.
I just so happened to find this package of card stock circles at Michael's in the dollar section. But you could easily make something at home with whatever supplies you have on hand.
Guess what?
YOU JUST MADE A DOGGIE COME TO LIFE!!!!
And I bet you have a little one who is super duper excited!!!
HAPPY VALENTINE'S DAY!
~~~
*The information on this site is not intended or implied to be a substitute for professional medical advice, diagnosis or treatment. All content in this article is for general information purposes only. I am not a doctor, nor am I a dietitian. Talk to your physician before making any changes in your diet or exercise regimen. The information found in this article is from various sources which include, but are not limited to, the sites listed above. I encourage you to do your own research and talk with your physician before making any changes in diet or exercise. What has worked for me may not work for you. This information in this article or on this website should never replace or serve as medical advice.
NEVER DISREGARD PROFESSIONAL MEDICAL ADVICE OR DELAY SEEKING MEDICAL TREATMENT BECAUSE OF SOMETHING YOU HAVE READ ON OR HAVE ACCESSED THROUGH THIS WEB SITE.
Please Note: The affiliate links provided in this article are for products I did not receive for free nor was I asked to do a product review.
*Affiliate Disclaimer: Half of Gabby has recently become an Amazon Affiliate. The Federal Trade Commission (FTC) requires all affiliates to put a disclaimer on their website/blog. Most disclaimers are so filled with confusing lingo that you don’t even understand what they're saying. I’m going to break it down for you the way I'd want it to be broken down for me. I’m not a fan of complicated and unclear regulation jargon. So here’s the dealio. Half of Gabby takes up a tremendous amount of my time. But because I love it so much, I really want to continue dedicating my time to it. For six years now, I have been providing product links to products that I use and love and in turn recommend them to my readers. These products have helped me maintain a healthy lifestyle and/or improve my family life. I have helped sell countless products for six years and have never received any commissions… Until now. As of September 15, 2016, I will be providing links just as I've always done, but now will receive a very small commission if you purchase an item through the affiliate link that I provide. An affiliate link is simply a link that brings you to a place where you can buy that product. I will not earn a commission by you simply clicking on the link, you must actually purchase the item(s) within 24 hours of putting it in your Amazon cart. Prices are exactly the same for you if you purchase through an affiliate link on Half of Gabby. You will NOT pay more by clicking through the link. My promise to you is that I will never recommend a product that I don’t fully 100% believe in and/or use myself and recommend to close friends and family. This will allow me to continue working hard on Half of Gabby without it using up time that I need to otherwise dedicate to contributing to my household. I'm happy to be able to continue my blog and to continue talking with, meeting, and helping people all over the world with their health journeys!


